Installing the Outdoor Unit
2.3.5Connecting the Indoor-to-Outdoor Cable
2.3.5.1Units with an Installed Waterproof Seal (not applicable to new ODU)
To connect the indoor-to-outdoor cable:
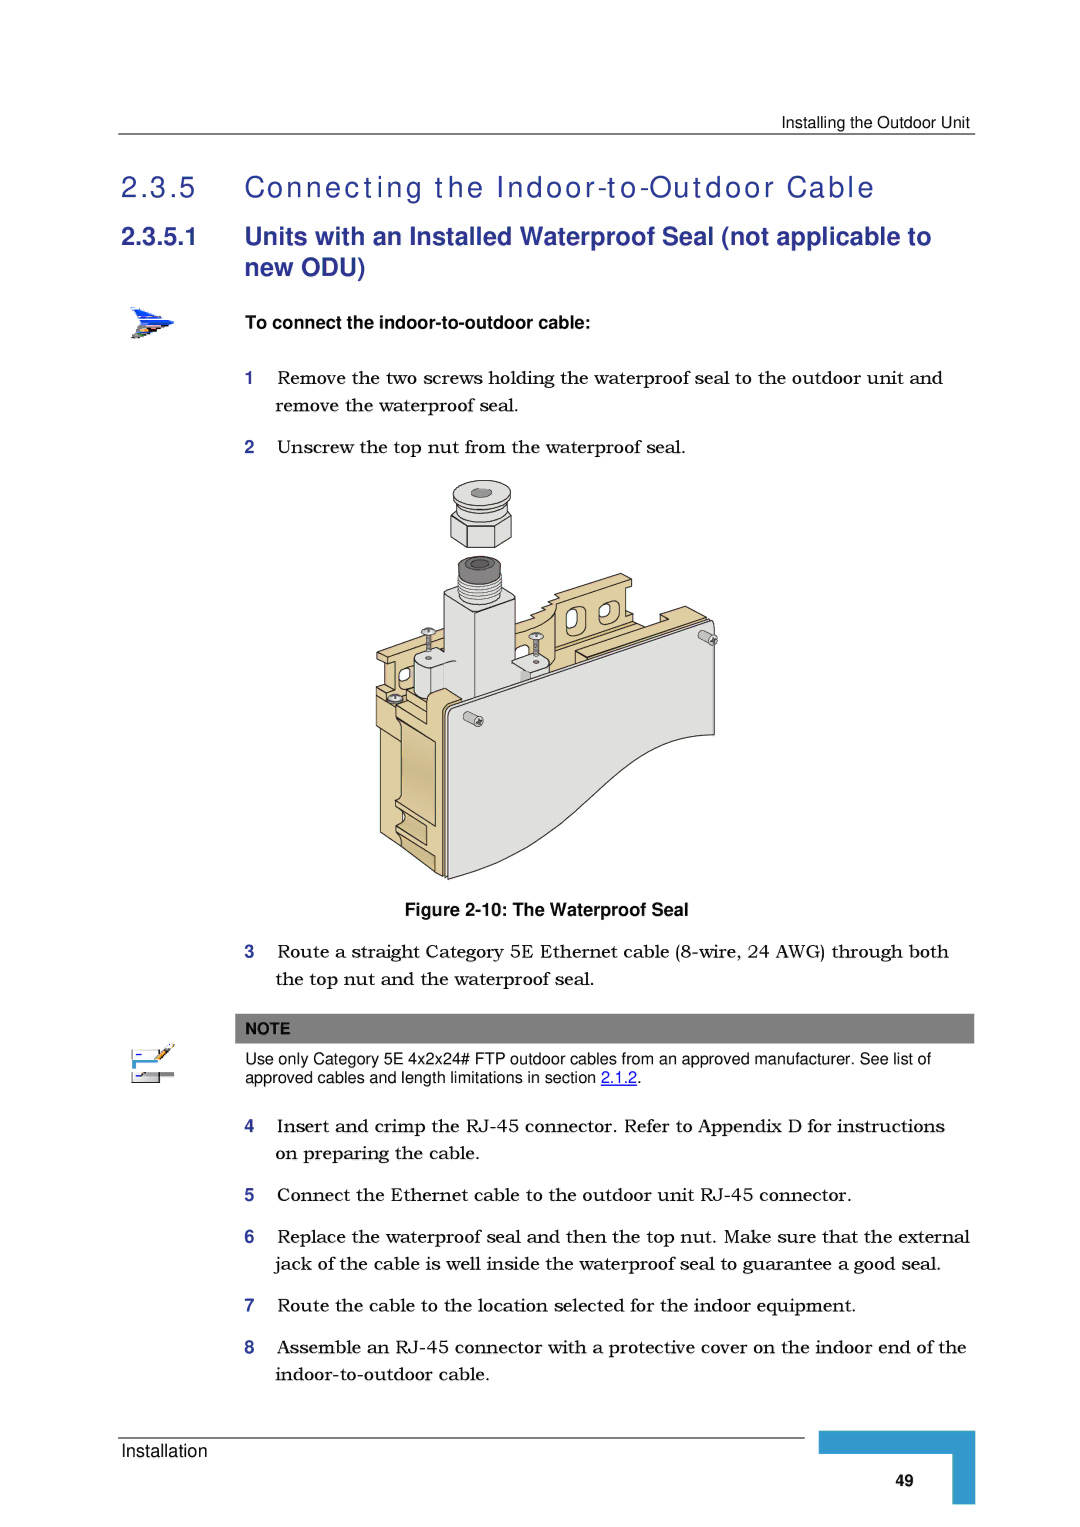
1Remove the two screws holding the waterproof seal to the outdoor unit and remove the waterproof seal.
2Unscrew the top nut from the waterproof seal.
Figure 2-10: The Waterproof Seal
3Route a straight Category 5E Ethernet cable
NOTE
Use only Category 5E 4x2x24# FTP outdoor cables from an approved manufacturer. See list of approved cables and length limitations in section 2.1.2.
4Insert and crimp the
5Connect the Ethernet cable to the outdoor unit
6Replace the waterproof seal and then the top nut. Make sure that the external jack of the cable is well inside the waterproof seal to guarantee a good seal.
7Route the cable to the location selected for the indoor equipment.
8Assemble an
Installation
49