Setup Pages
Setting the image cache
In the Protected Setup page:
1.Press the Cache button in the Protected Setup Navigation Buttons section. This opens the Cache Settings/Cache Setup page.
2.Set the cache expiration in the field Flash/RAM Cache Expires. The Up and Down arrows increment through the available time frames.
3.Press the Enable button to turn on image caching. The button appears illuminated when enabled.
Select the Up and Down arrows for the field Flash Cache Size to increase or reduce the amount of Flash memory used; the maximum amount of flash that can be allocated for caching is 75% of available flash.
Clearing the image cache
In the Protected Setup page:
1.Press the Cache button in the Protected Setup Navigation Buttons section. This opens the Cache Settings/Cache Setup page.
2.Press Clear Cache. This clears all image cache currently stored on the panel (both Flash and RAM).
Checking image cache status
In the Protected Setup page:
Press the Cache button in the Protected Setup Navigation Buttons section. This opens the Cache Settings/Cache Setup page. All status information is located in the Image Cache Status section of the page.
Password Setup Page
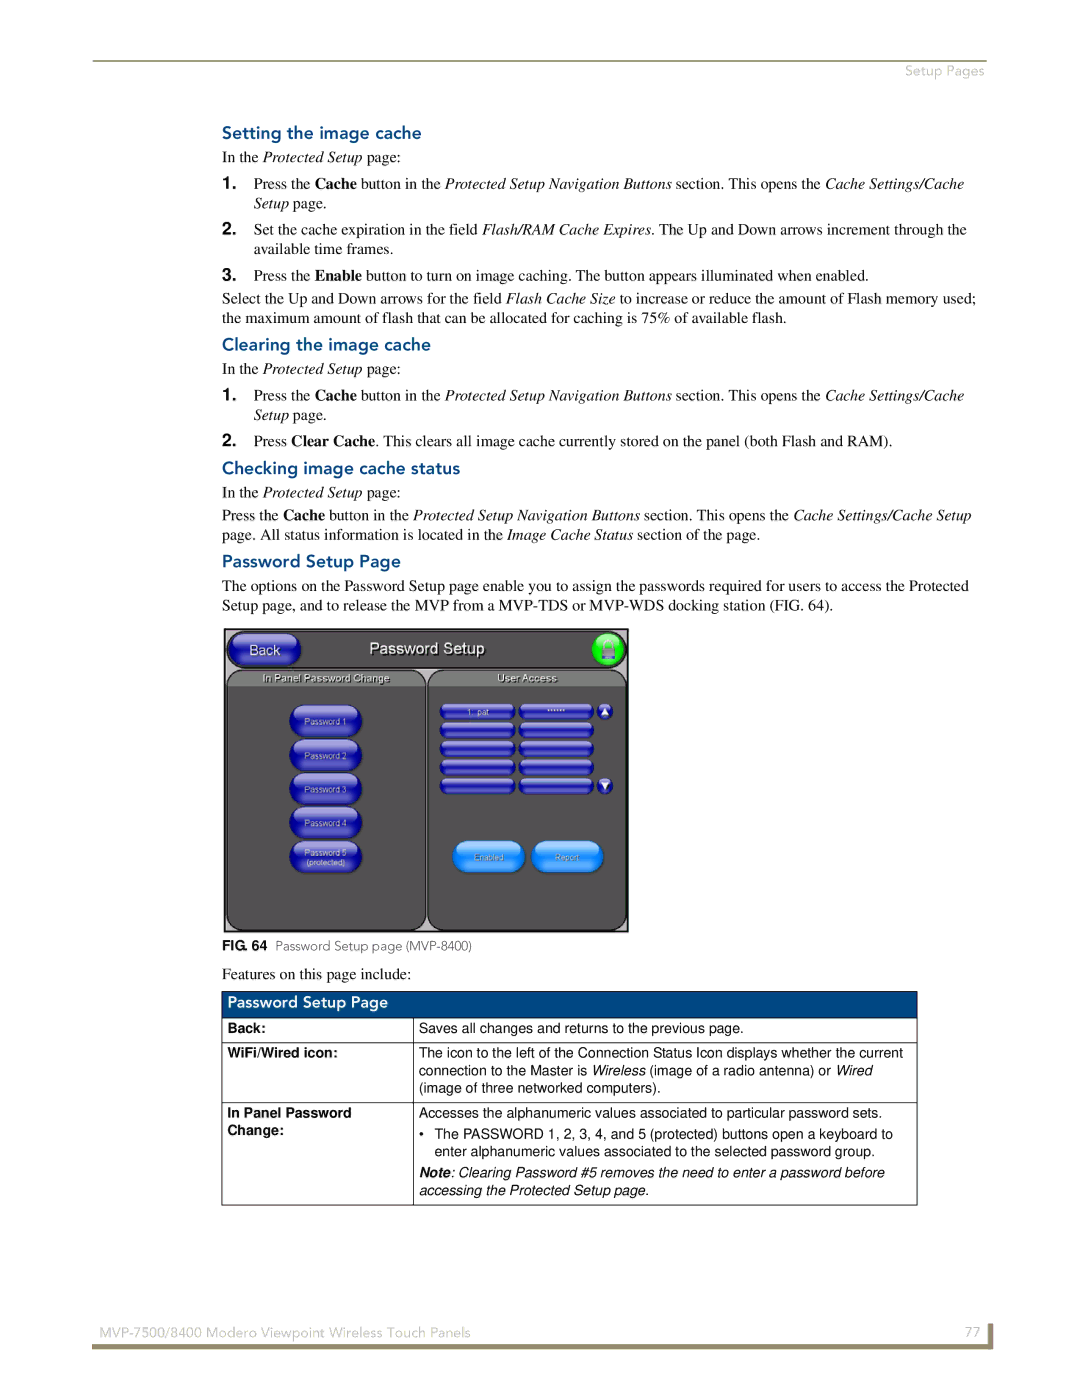
The options on the Password Setup page enable you to assign the passwords required for users to access the Protected Setup page, and to release the MVP from a
FIG. 64 Password Setup page (MVP-8400)
Features on this page include:
Password Setup Page
Back: | Saves all changes and returns to the previous page. |
|
|
WiFi/Wired icon: | The icon to the left of the Connection Status Icon displays whether the current |
| connection to the Master is Wireless (image of a radio antenna) or Wired |
| (image of three networked computers). |
|
|
In Panel Password | Accesses the alphanumeric values associated to particular password sets. |
Change: | • The PASSWORD 1, 2, 3, 4, and 5 (protected) buttons open a keyboard to |
| enter alphanumeric values associated to the selected password group. |
| Note: Clearing Password #5 removes the need to enter a password before |
| accessing the Protected Setup page. |
|
|
77 | |
|
|
