Using TPDesign3 to Download Bitmaps, Icons, and Fonts for more information on importing bitmaps into your touch panel.
1.Press EDIT to open the Edit bar.
2.Press BUTTON on the Edit bar to open the BUTTON menu (Figure 27).
3.Press TEXT/IMAGE to add text to the button. The TEXT/IMAGE operation bar shown in Figure 43 appears.
4.Press the button to open the Text/Image page shown in Figure 44.
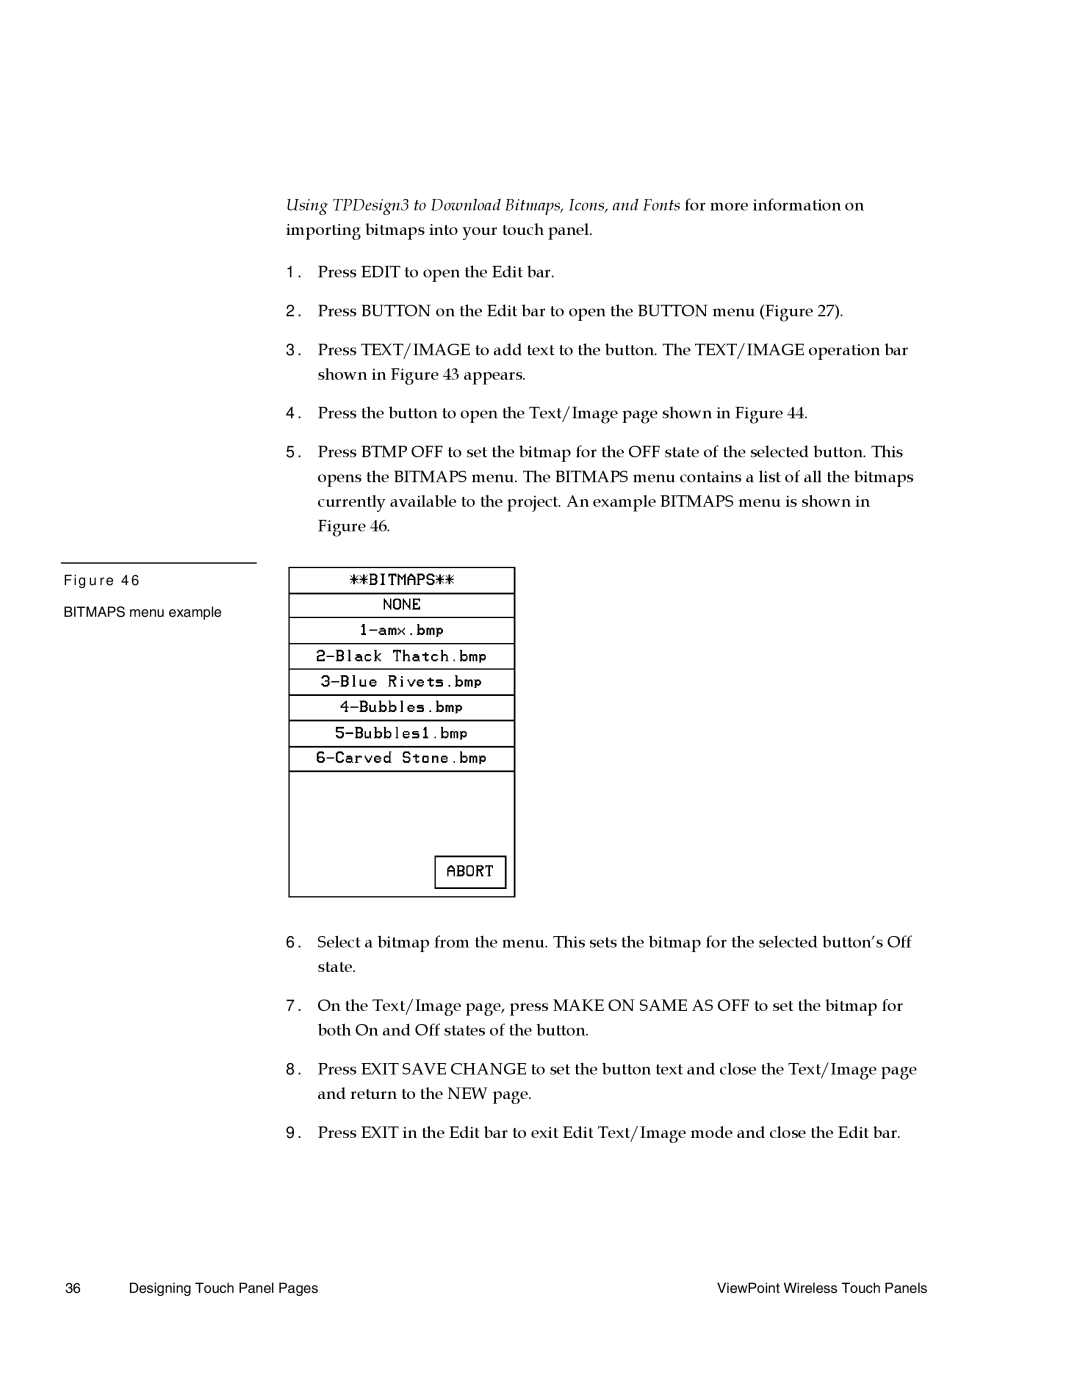
5.Press BTMP OFF to set the bitmap for the OFF state of the selected button. This opens the BITMAPS menu. The BITMAPS menu contains a list of all the bitmaps currently available to the project. An example BITMAPS menu is shown in Figure 46.
Figure 46
BITMAPS menu example
6.Select a bitmap from the menu. This sets the bitmap for the selected button’s Off state.
7.On the Text/Image page, press MAKE ON SAME AS OFF to set the bitmap for both On and Off states of the button.
8.Press EXIT SAVE CHANGE to set the button text and close the Text/Image page and return to the NEW page.
9.Press EXIT in the Edit bar to exit Edit Text/Image mode and close the Edit bar.
36 | Designing Touch Panel Pages | ViewPoint Wireless Touch Panels |