VLANs
Creating VLANs
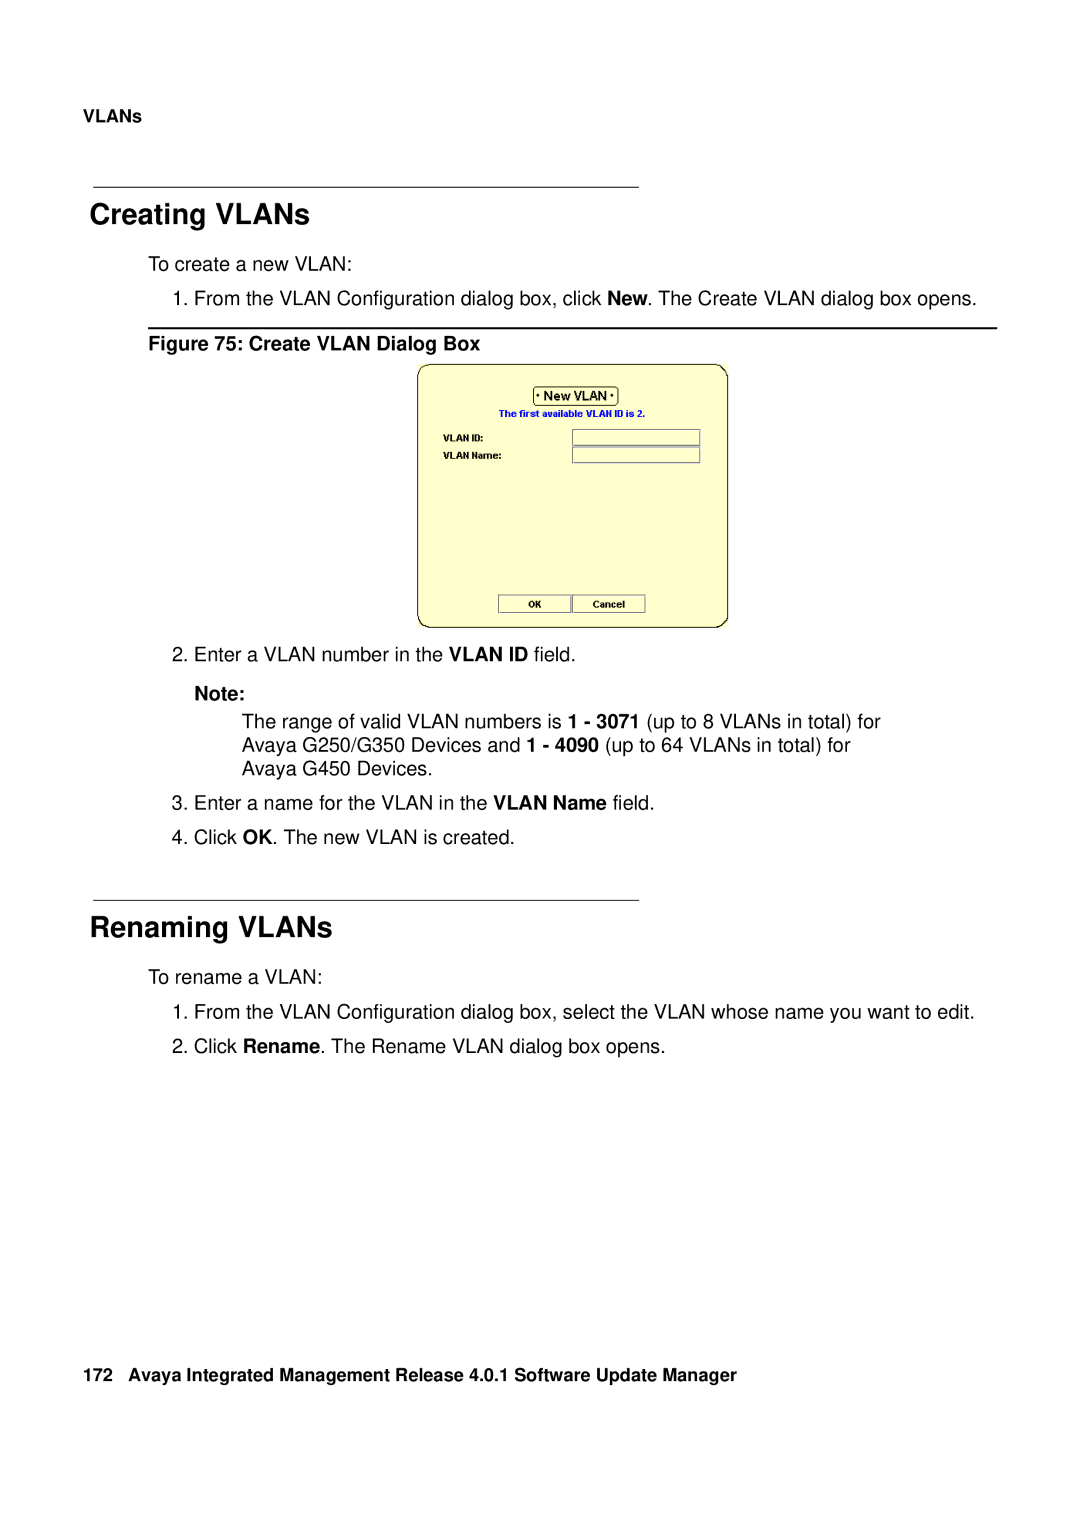
To create a new VLAN:
1. From the VLAN Configuration dialog box, click New. The Create VLAN dialog box opens.
Figure 75: Create VLAN Dialog Box
2. Enter a VLAN number in the VLAN ID field.
Note:
The range of valid VLAN numbers is 1 - 3071 (up to 8 VLANs in total) for
Avaya G250/G350 Devices and 1 - 4090 (up to 64 VLANs in total) for
Avaya G450 Devices.
3.Enter a name for the VLAN in the VLAN Name field.
4.Click OK. The new VLAN is created.
Renaming VLANs
To rename a VLAN:
1.From the VLAN Configuration dialog box, select the VLAN whose name you want to edit.
2.Click Rename. The Rename VLAN dialog box opens.
172 Avaya Integrated Management Release 4.0.1 Software Update Manager