IP Route
Note:
When editing an existing row, the following fields cannot be changed: Destination, Netmask, Next Hop, Layer 2 Interface Name, and Static Preference. To change these fields, you must create a new row and change those fields as desired, and then delete the original row.
All other fields can be edited in an existing row.
When adding Static Routing Table entries on an Avaya G250/G350/G450, you can configure the next hop method in the Form View. Available next hop methods include:
●Next Hop - Select the Next Hop option button, and enter the IP address of the next hop.
●Layer 2 Interface Name - Select the Layer 2 Interface Name option button, and select an interface from the
●Discard - Select the Discard option button.
Viewing the ARP Table
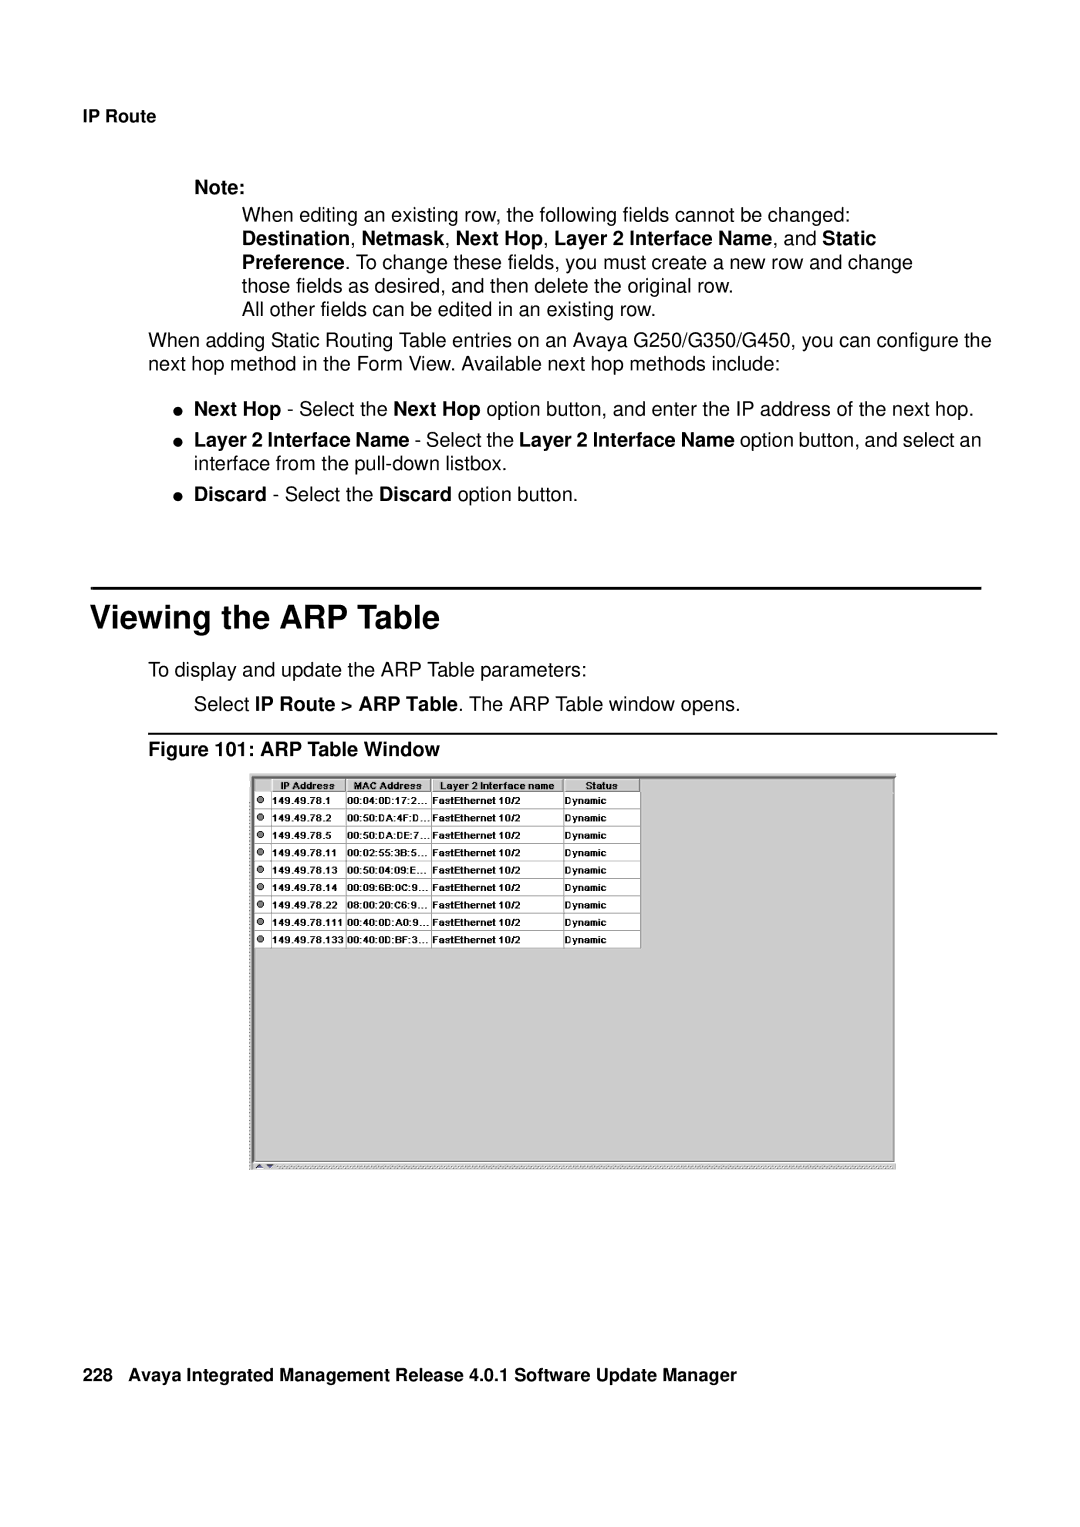
To display and update the ARP Table parameters:
Select IP Route > ARP Table. The ARP Table window opens.
Figure 101: ARP Table Window
228 Avaya Integrated Management Release 4.0.1 Software Update Manager