The G250/G350/G450 Device Manager User Interface
Table 3: Application Toolbar (continued)
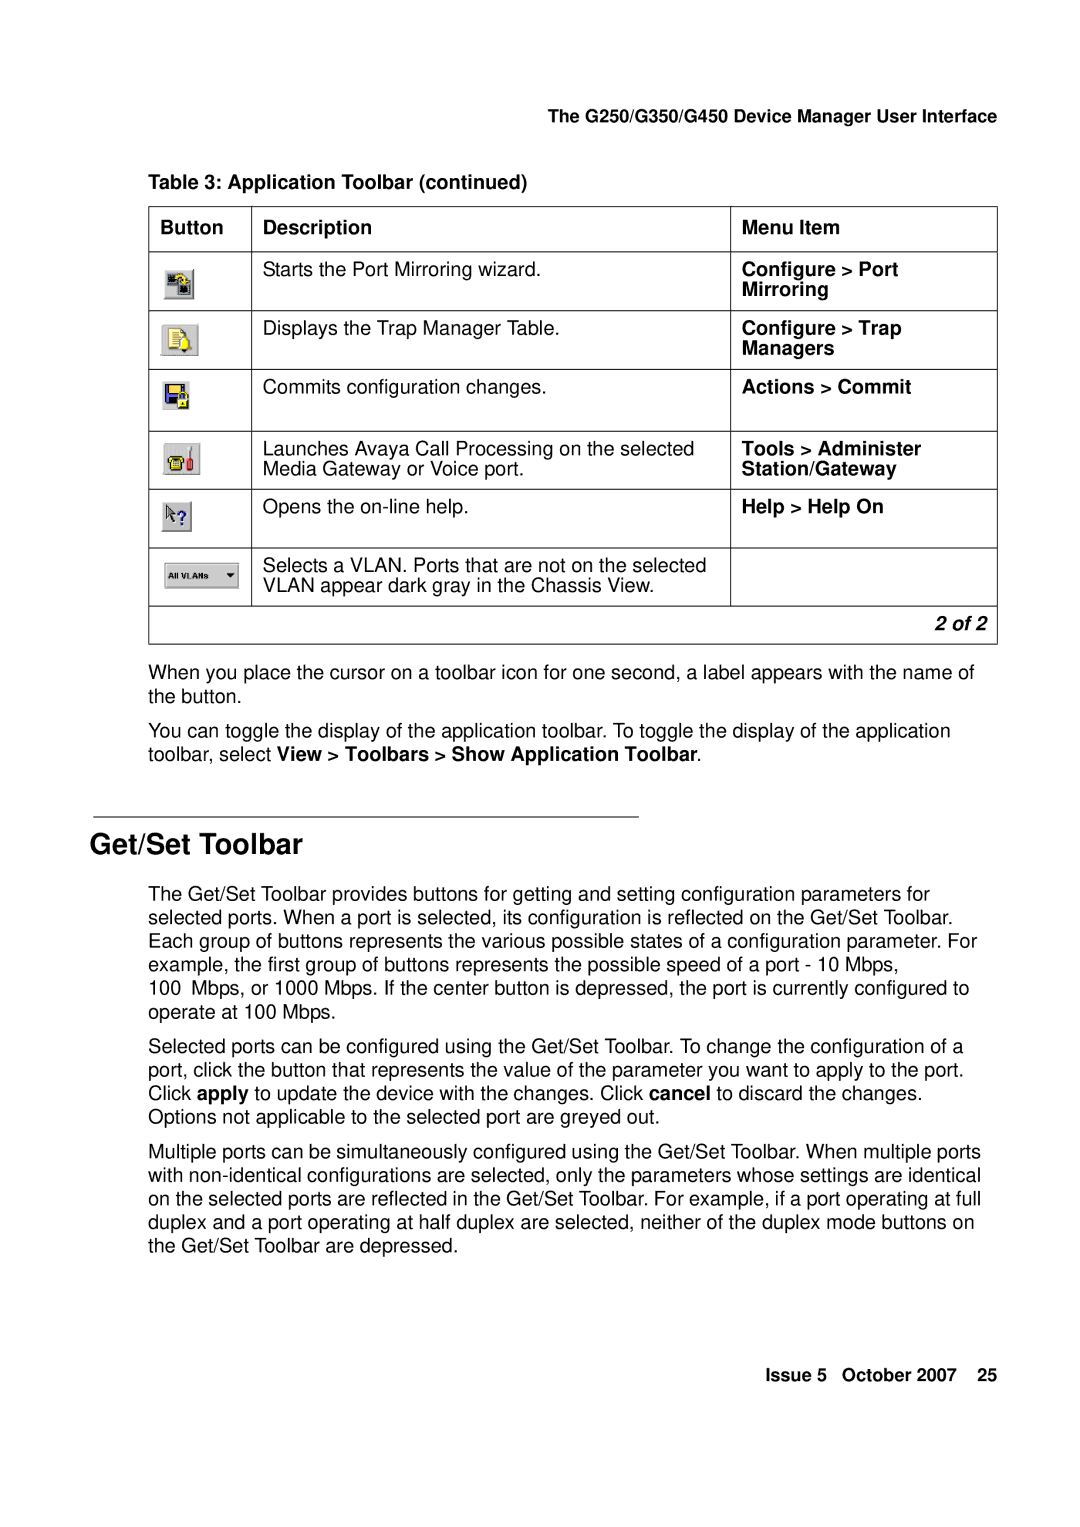
Button | Description | Menu Item |
|
|
|
| Starts the Port Mirroring wizard. | Configure > Port |
|
| Mirroring |
|
|
|
| Displays the Trap Manager Table. | Configure > Trap |
|
| Managers |
|
|
|
| Commits configuration changes. | Actions > Commit |
|
|
|
| Launches Avaya Call Processing on the selected | Tools > Administer |
| Media Gateway or Voice port. | Station/Gateway |
|
|
|
| Opens the | Help > Help On |
|
|
|
| Selects a VLAN. Ports that are not on the selected |
|
| VLAN appear dark gray in the Chassis View. |
|
|
|
|
|
| 2 of 2 |
|
|
|
When you place the cursor on a toolbar icon for one second, a label appears with the name of the button.
You can toggle the display of the application toolbar. To toggle the display of the application toolbar, select View > Toolbars > Show Application Toolbar.
Get/Set Toolbar
The Get/Set Toolbar provides buttons for getting and setting configuration parameters for selected ports. When a port is selected, its configuration is reflected on the Get/Set Toolbar. Each group of buttons represents the various possible states of a configuration parameter. For example, the first group of buttons represents the possible speed of a port - 10 Mbps,
100Mbps, or 1000 Mbps. If the center button is depressed, the port is currently configured to operate at 100 Mbps.
Selected ports can be configured using the Get/Set Toolbar. To change the configuration of a port, click the button that represents the value of the parameter you want to apply to the port. Click apply to update the device with the changes. Click cancel to discard the changes.
Options not applicable to the selected port are greyed out.
Multiple ports can be simultaneously configured using the Get/Set Toolbar. When multiple ports with
Issue 5 October 2007 25