8-12 User’s Reference Guide
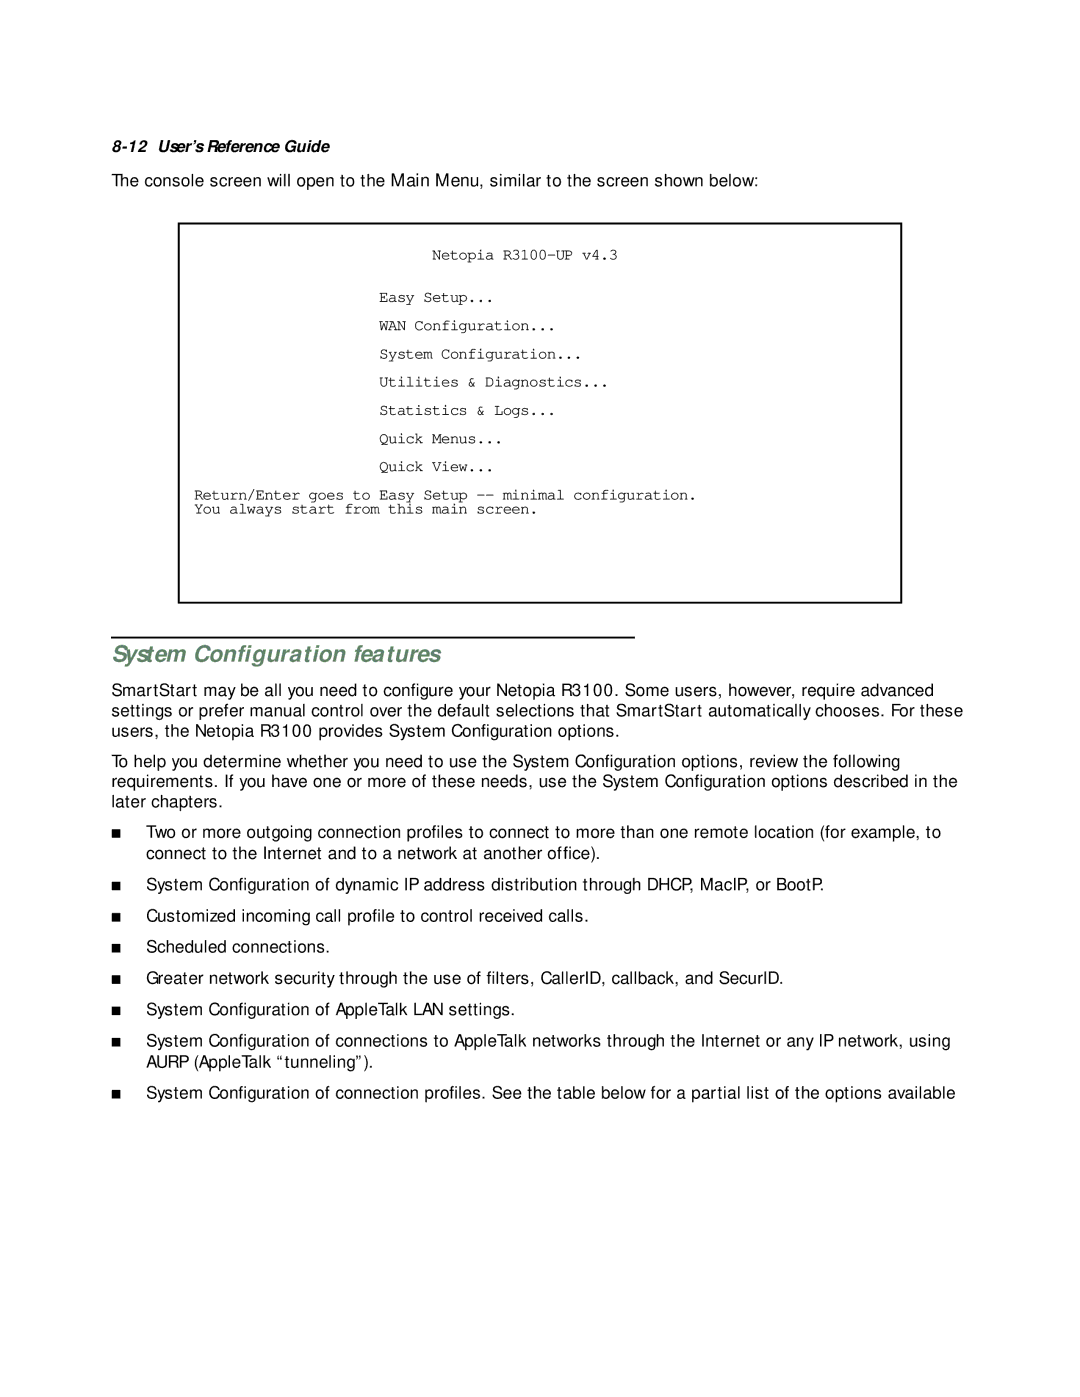
The console screen will open to the Main Menu, similar to the screen shown below:
Netopia
Easy Setup...
WAN Configuration...
System Configuration...
Utilities & Diagnostics...
Statistics & Logs...
Quick Menus...
Quick View...
Return/Enter goes to Easy Setup
You always start from this main screen.
System Configuration features
SmartStart may be all you need to configure your Netopia R3100. Some users, however, require advanced settings or prefer manual control over the default selections that SmartStart automatically chooses. For these users, the Netopia R3100 provides System Configuration options.
To help you determine whether you need to use the System Configuration options, review the following requirements. If you have one or more of these needs, use the System Configuration options described in the later chapters.
■Two or more outgoing connection profiles to connect to more than one remote location (for example, to connect to the Internet and to a network at another office).
■System Configuration of dynamic IP address distribution through DHCP, MacIP, or BootP.
■Customized incoming call profile to control received calls.
■Scheduled connections.
■Greater network security through the use of filters, CallerID, callback, and SecurID.
■System Configuration of AppleTalk LAN settings.
■System Configuration of connections to AppleTalk networks through the Internet or any IP network, using AURP (AppleTalk “tunneling”).
■System Configuration of connection profiles. See the table below for a partial list of the options available