Easy Setup 7-5
already detected the switch type automatically. If you know your switch type, you can choose CANCEL and select one of the other options manually. If the switch type has already been detected, the screen (as shown on page
+ | |
+ | |
Attempting to determine Switch Type. This may take awhile. |
If you want to proceed with manual configuration hit 'CANCEL'.
| ||
Status: Detecting Switch Type | ||
| ||
CANCEL | ||
| ||
+ | ||
■National
■AT&T 5ESS
■AT&T 5ESS Multipoint
■Nortel DMS100 Custom
European models: For European countries other than the United Kingdom, use the EuroISDN/ETSI setting. United Kingdom users select United Kingdom - EuroISDN.
3.Select Directory Number 1.
The router attempted to detect your Directory Number(s) when you selected
If it succeeded, the directory number(s) will be displayed, and the screen will indicate “Detected” (as shown on page
If it failed to detect your directory numbers, the fields will remain blank, and you must enter the primary directory number as you would dial it, including area code. Do not enter access prefixes such as Centrex or PBX prefixes like “9” (for an outside line). Press Return.
4.If you have a second directory number, select Directory Number 2 and enter the secondary directory number as you would dial it, including area code. Press Return.
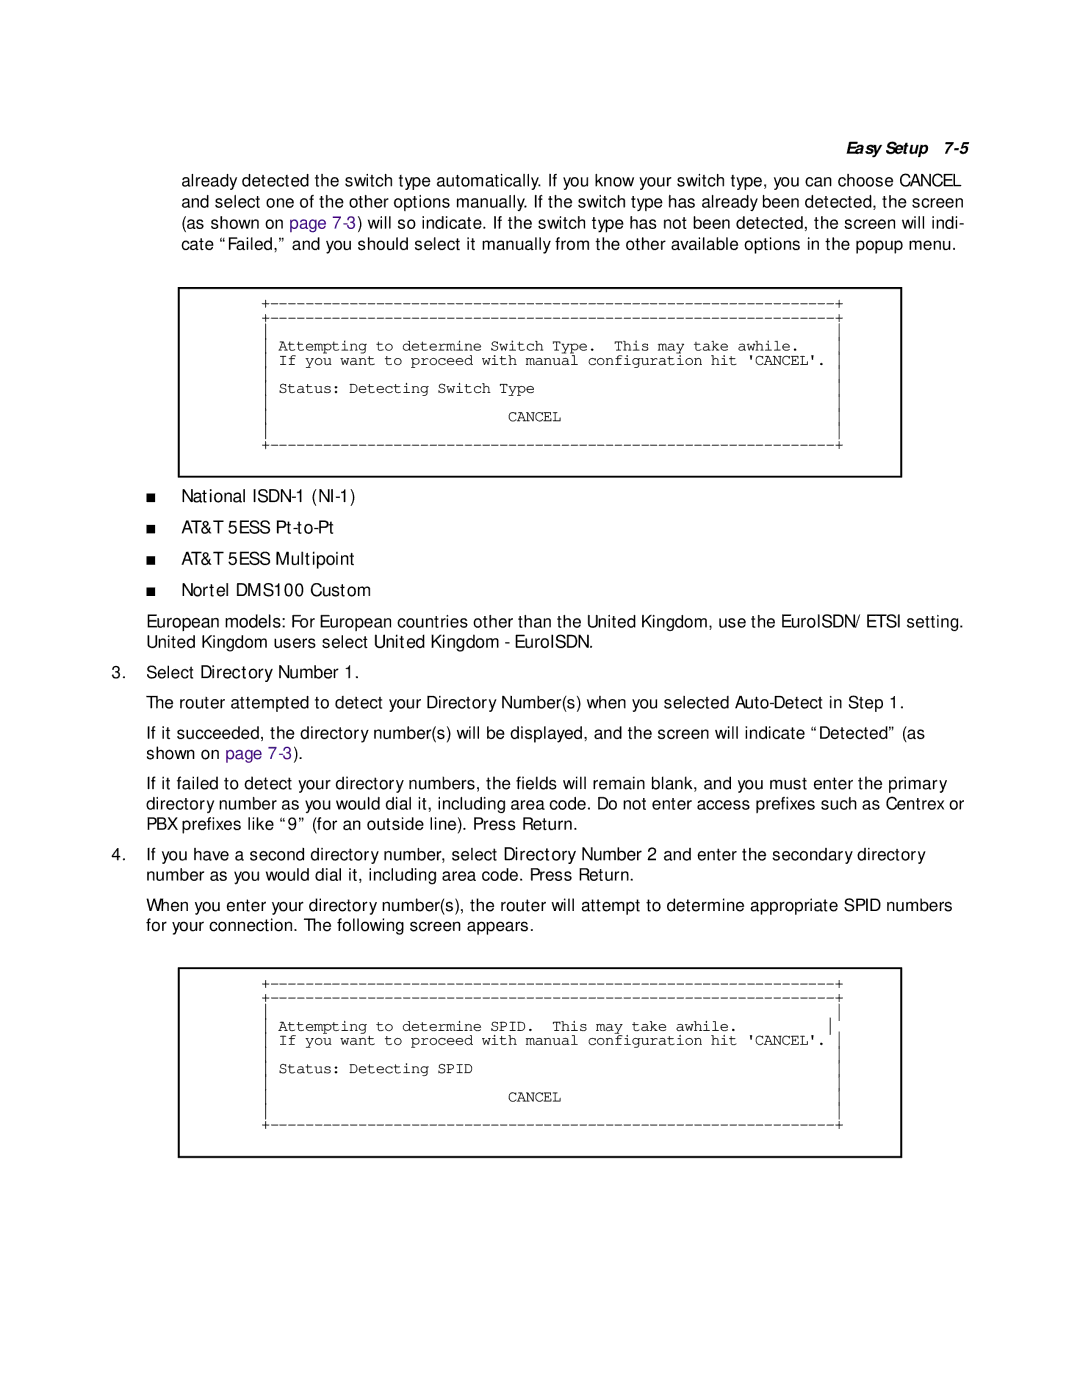
When you enter your directory number(s), the router will attempt to determine appropriate SPID numbers for your connection. The following screen appears.
+ | |
+ | |
Attempting to determine SPID. This may take awhile. |
If you want to proceed with manual configuration hit 'CANCEL'.
| ||
Status: Detecting SPID |
| |
| ||
CANCEL | ||
| ||
+ | ||
