7-6 User’s Reference Guide
If the router detected your SPIDs successfully, the screen (as shown on page
5.U models: Select SPID 1 and enter the primary SPID number. If you did not receive a SPID (AT&T 5ESS custom
Note: SPIDS and DNs may be entered with or without parentheses, commas, or dashes, as you are accustomed to writing them.
6.U models: If you have a second SPID, select SPID 2 and enter the secondary SPID number.
Note: SPID1 and SPID2 are not displayed for switch types outside North America.
7.If you require a dialing prefix such as “9” to access an outside line on a PBX or Centrex phone system, select PBX Prefix and enter your dialing prefix. Press Return.
8.Select Data Link Encapsulation and highlight the method of encapsulation that you want to use from the
Note: If you select Frame Relay as your Datalink Encapsulation method, see “Configuring Frame Relay” on page
9.Select NEXT SCREEN and press Return. The “Easy Setup Profile” screen (shown on page
Any changes you make to the ISDN configuration now or in the future will take effect immediately. You do not have to restart the router.
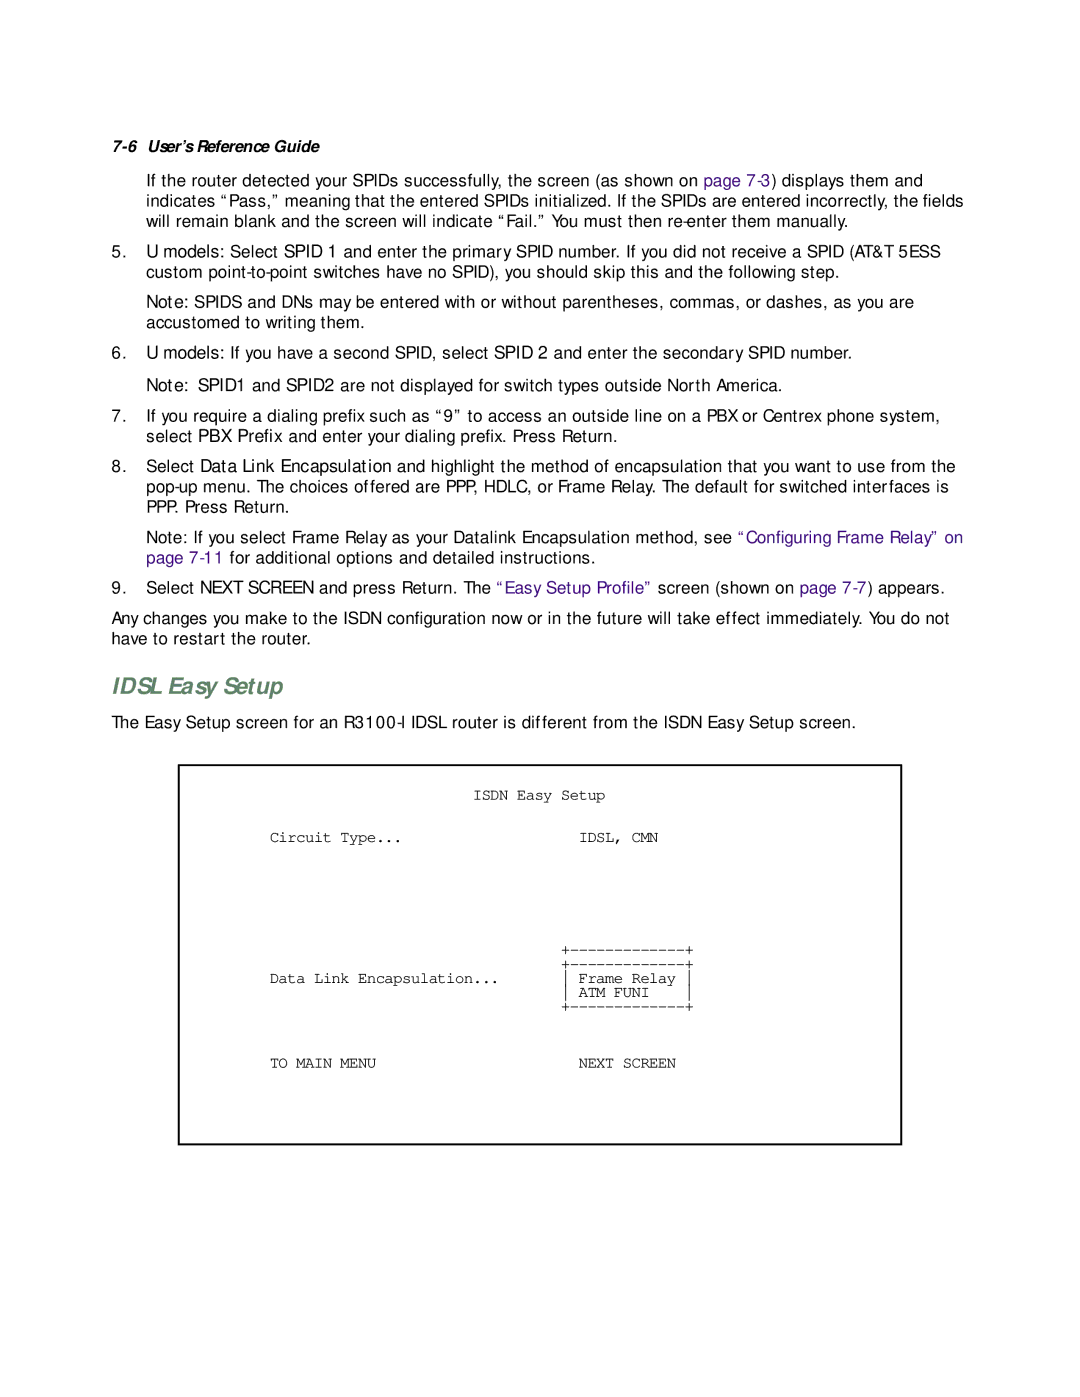
IDSL Easy Setup
The Easy Setup screen for an
ISDN Easy Setup
Circuit Type... | IDSL, CMN |
| + | |
| + | |
Data Link Encapsulation... | Frame Relay | |
| ATM FUNI | |
| + | |
TO MAIN MENU | NEXT SCREEN |
