Setting up your Router with the SmartStart Wizard 3-7
■Optionally, an alternate DNS if your ISP provided one
If you select Manual Entry, the “Connection Profile screen,” shown below appears.
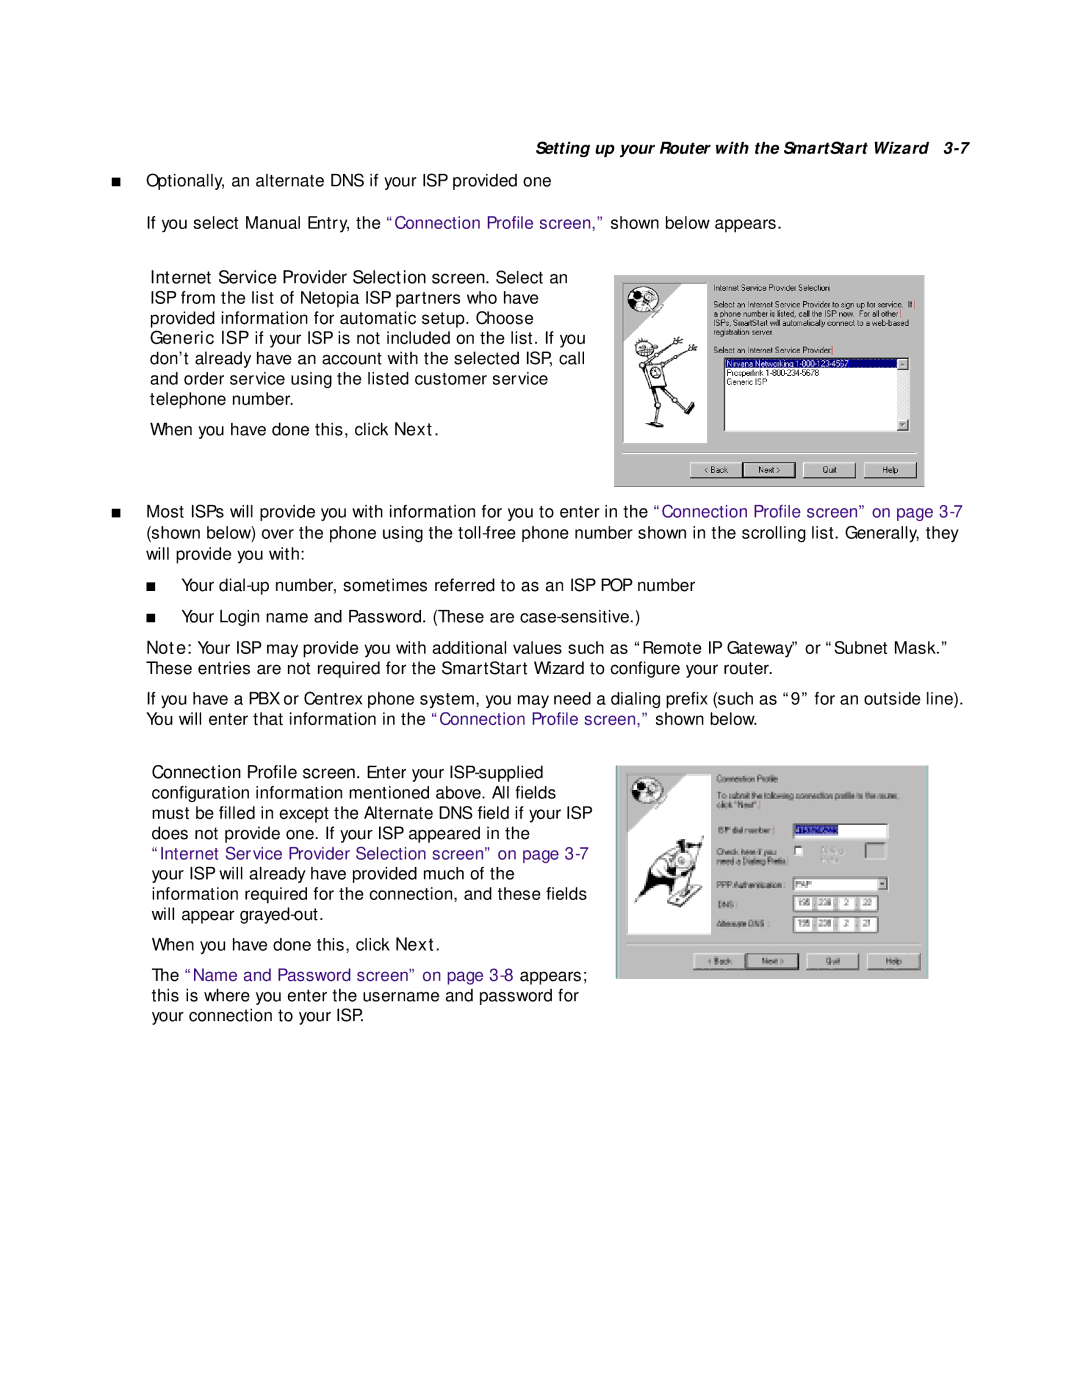
Internet Service Provider Selection screen. Select an ISP from the list of Netopia ISP partners who have provided information for automatic setup. Choose Generic ISP if your ISP is not included on the list. If you don’t already have an account with the selected ISP, call and order service using the listed customer service telephone number.
When you have done this, click Next.
■Most ISPs will provide you with information for you to enter in the “Connection Profile screen” on page
■Your
■Your Login name and Password. (These are
Note: Your ISP may provide you with additional values such as “Remote IP Gateway” or “Subnet Mask.” These entries are not required for the SmartStart Wizard to configure your router.
If you have a PBX or Centrex phone system, you may need a dialing prefix (such as “9” for an outside line). You will enter that information in the “Connection Profile screen,” shown below.
Connection Profile screen. Enter your
When you have done this, click Next.
The “Name and Password screen” on page
