98
Connecting the Ventilator to the Patient
After you have finished adjusting your ventilator settings, perform the following steps to connect the ventilator to the patient.
1. Perform System Checkout
Do not connect the ventilator to the patient until you perform the system checkout procedures defined in Chapter 10.
Note: Trilogy200 provides features to control access to the device (prescription) settings and to transfer new device settings onto the device using the SD Card. These features are intended to be used as part of your clinical/institutional procedures governing the use, security, and control of this medical device.
2. Start Therapy
Press the ![]() button to begin therapy. When you start therapy, the display backlight and the backlights on the buttons turn on, the red and yellow alarm LEDs turn on momentarily, and an audible indicator sounds to indicate that therapy has started. The Startup screen appears on the display.
button to begin therapy. When you start therapy, the display backlight and the backlights on the buttons turn on, the red and yellow alarm LEDs turn on momentarily, and an audible indicator sounds to indicate that therapy has started. The Startup screen appears on the display.
3. Connect the Breathing Circuit to the Patient Interface
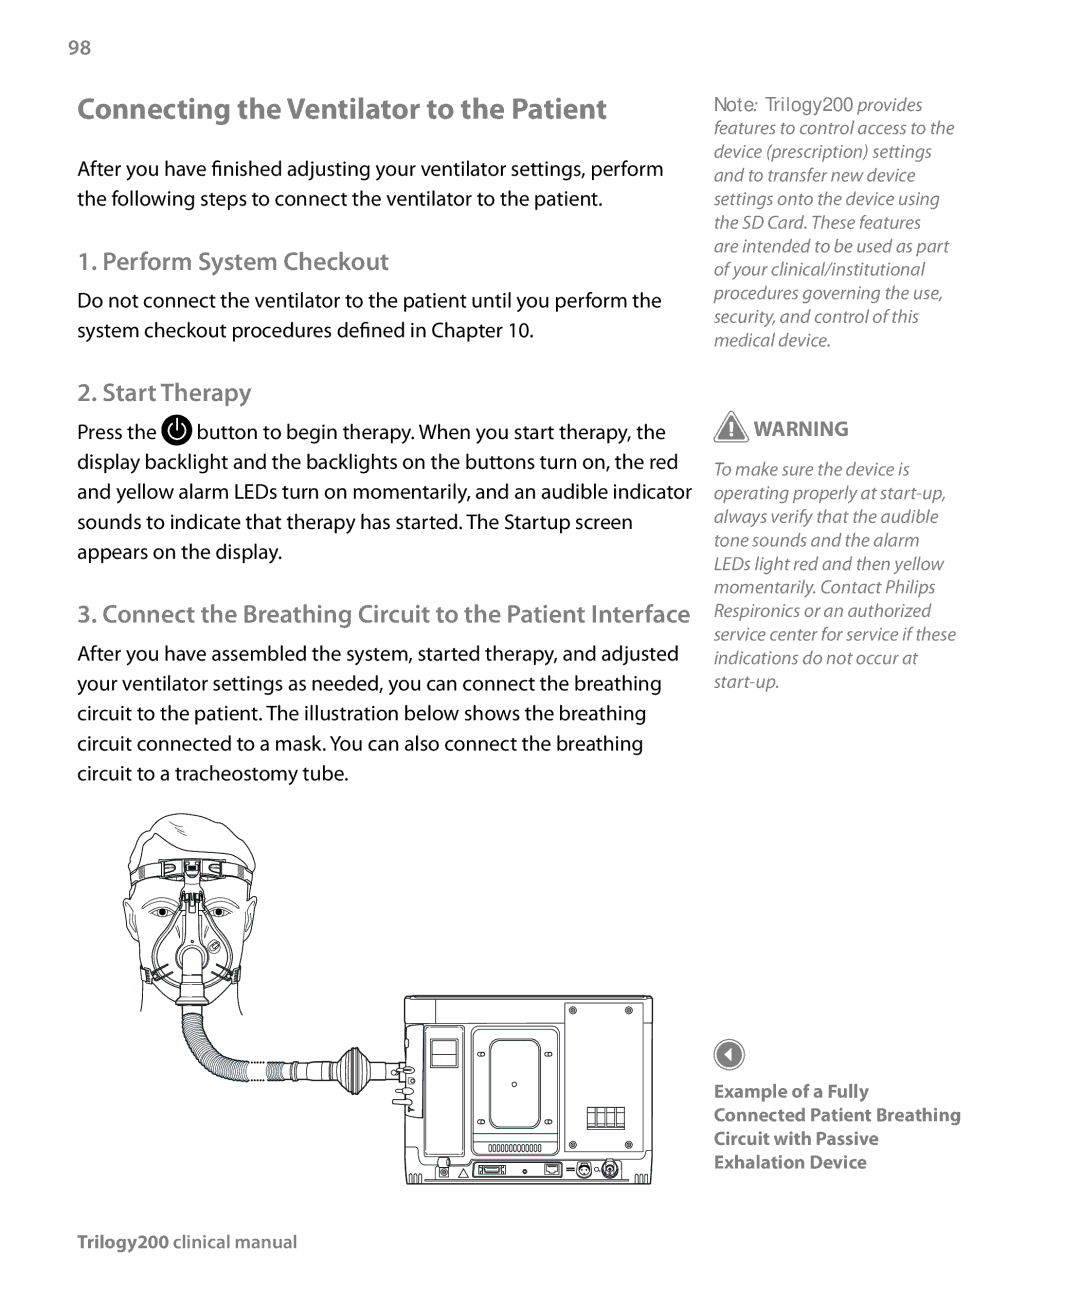
After you have assembled the system, started therapy, and adjusted your ventilator settings as needed, you can connect the breathing circuit to the patient. The illustration below shows the breathing circuit connected to a mask. You can also connect the breathing circuit to a tracheostomy tube.
![]() WARNING
WARNING
To make sure the device is operating properly at
Example of a Fully Connected Patient Breathing Circuit with Passive Exhalation Device