Manuals
/
Xantrex Technology
/
Computer Equipment
/
Projector
Xantrex Technology
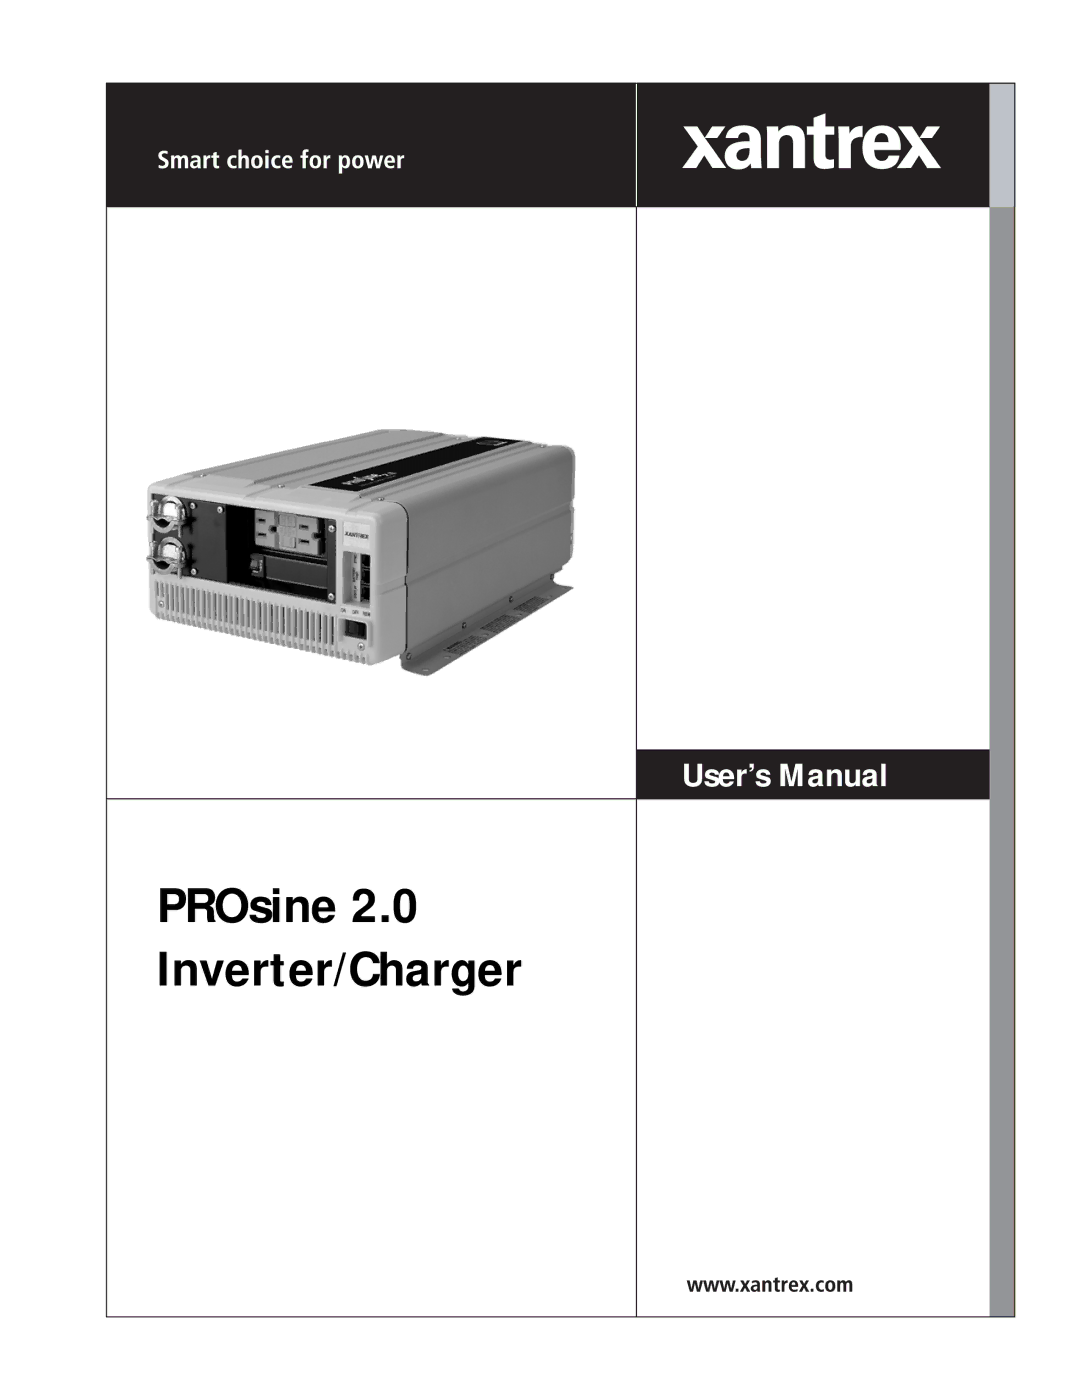
PROsine 2.0
user manual
PROsine Inverter/Charger
Models:
PROsine 2.0
1
1
148
148
Download
148 pages
27.01 Kb
1
2
3
4
5
6
7
8
Troubleshooting
Specs
Install
Error messages
System Diagrams
1PROsine Default Values
Minimum Wire Size
Warranty
Dimension
Configuration
Page 1
Image 1
User’s Manual
PROsine 2.0
Inverter/Charger
Page 1
Page 2
Page 1
Image 1
Page 1
Page 2
Contents
PROsine Inverter/Charger
Page
PROsine 2.0 Inverter/Charger
Date and Revision
Scope
Purpose
Audience
Organization
About This Manual
Abbreviations and Acronyms
Conventions Used
Related Documents
Related Information
Page
Important Safety Instructions
Precautions When Working With Batteries
Explosive gas precautions
Safety
Page
Contents
Configuration
Operation
Troubleshooting
Series Operation
System Diagrams
Specifications
Charging Algorithms
Figures
Xvi
Tables
Xviii
Introduction
Your PROsine
Inverting
Heart of a Sophisticated, Independent Power System
Charging
Power System Management
Materials List
Materials List
1PROsine Materials as Shipped
Important For Marine Installations
1PROsine Default Values
Default Values for the PROsine System
Adjustable From the Configure Battery Menu
Product Orientation
Feature Description
PROsine Features
AC End
AC End View Blank Panel Option
AC Panel Options
Feature
DC End
DC End
4DC Terminal Cover Top View on Left Bottom View on Right
DC Terminal Covers
PROsine Display Panel
Display Panel Features
Switch Position Description
Display Mode Switch
Inverter LEDs
Inverter Switch
Charger LEDs
Charger Switch
Configuration Mode
Data Display Mode
LCD Panel
Press This Button
Menu Navigation and Data Selection Buttons
6Battery Temperature Sensor
Battery Temperature Sensor
Installation
Installation Codes
Safety Instructions
Installation Procedures
Installation Tools and Materials
1Typical Recreational Vehicle and Fleet Vehicle Installation
Designing the Installation
To the PROsine system
Minimum Wire Size
1Required AC Wire Size vs Breaker Rating
Breaker Size
DC Cable Length Cable Size Fuse Amps
2Required DC Cable and Fuse Size
Manufacturer Model Numbera
3Tested Gfci Models
Choosing a Location for the PROsine
To mount the PROsine
Mounting the PROsine
General AC Wiring Considerations
Connecting the AC Input Wires
To make the AC input connections
AC Input Connections
AC Output Neutral-to-Ground Bonding System
Configuring the Output Neutral Bonding System
Status of Bonding Neutral Bonding Required Setting
4AC Output Neutral-to-Ground Bonding Screw Settings
External to the PROsine
Connections for Hardwire Option
Connecting the AC Output Wires
To make the AC output wiring connections
PROsine wiring compartment as seen from the top
6Single Hardwire Output With Gfci
Connections for Single Hardwire Output With Gfci
Shows the DC end for your reference
Connecting the DC Cables
To make the DC connections
To connect the DC ground
DC Grounding
To mount the display panel
Mounting the Display Panel
Mounting to the Negative Battery Terminal
Connecting the Battery Temperature Sensor
To mount the sensor on the negative battery terminal
Mounting Options
Installation
To mount the sensor on the battery case
Mounting to the Side of the Battery Case
Installation Steps
Connecting the Remote Shutdown
To connect the remote shutdown feature
Next Steps
11Cabling Details for Remote Shutdown Feature
Installation 445-0089-01-01
Configuration
Entering Configure Mode
Part 1 General Configuration Information
Entering Installer-Only Mode
To enter Configure mode
To change system settings
Changing Settings
To change the Audible Alarm to All Faults
To adjust the Breaker Size setting
Resetting to Factory Defaults
Part 2 Configuration Menus and Screens
To reset the PROsine to the factory defaults
Configure Battery Diagnostics
Configure PROsine-Advanced
Clear Errors in PROsine
Part 3 Configuration Options
Menu Item Access
Menu Choices or Information Displayed
Menu Items Access
Configure PROsine-Basic Menu
Menu Choices or Information Displayed
Menu Display Menu Items Access
Configure PROsine-Advanced Menu
255W
From 10-16Vdc
Has occurred
Minutes
Configure Display Panel Menu
Configure Battery Menu
Battery size, temperature, and type
Configuration
Part 3 Configuration Options
Cvcc
Diagnostics Menu
Technical support
Operation
To test the charging and inverting functions
Part 1 System Startup Check
Part 2 Operating Considerations
ON/OFF/REMote Control of PROsine Operation
Fan Operation
Hysteresis
Operation
Load Sensing Mode
Part 3 Operation in Inverter Mode
Power Output
To operate in Inverter mode
1PROsine Operating Voltage Limits
Input Voltage
Voltage Operating Condition Range Comment
Operation in Equalization Mode
Part 4 Operation in Charger Mode
To operate the PROsine in Charger mode
To equalize your batteries
Equalization Procedure
Operating Limits for Charger Operation
Power Share
PROsine Battery
Part 5 Display Mode Screens
Troubleshooting
General Troubleshooting Guidelines
Resetting PROsine Operation
Shutdown / Restart Without Error Message
AC Bad Causes
1AC Bad Causes
Details Action
2Warning Messages
2Warning Messages
3Error Messages
Error Messages
Error Message Details Action
Internal nnnn
Error Messages
3Error Messages
Internal Error nnnn
Display Panel Faults
4Panel Faults
Panel Faults Error Details
5Unexplained Faults
Unexplained Faults
Error Details
Resistive Loads
Inverter Applications
Motor Loads
Long Transfer Times
Problem Loads
Series Operation
System Overview
Designing a Series System
System Components
1Two PROsine Series Operation System
AC Input
Battery Disconnect and Over-Current Protection Requirements
AC Output
Series Sync Connection
Connecting AC Input Wiring
Installing a Series System
Configuring the Inverter Output Neutral Bonding
Connecting AC Output Wiring
Connecting the DC Cables
To connect each PROsine to the load panel
Installing the Display Panels
Connecting the DC Ground
Installing the Battery Temperature Sensors
To install the series sync cable
Installing the Series Sync Cable
To configure the series system
Configuring a Series System
To test the system’s inverting and charging functions
Series System Startup Test
Charge Mode
Invert Mode
Series System Operation
Series Operation 445-0089-01-01
Specifications
DC Input
Electrical Specifications Invert Mode
AC Output
Other
AC Input
Electrical Specifications Charge Mode
DC Output
System
Environmental Specifications
Regulatory Approvals
Typical Inverter Efficiency
Inverter Overload Operation
Time to Shutdown vs. Current
Inverter Efficiency
PROsine Charger Output Current vs. AC Input Voltage
Invert Power Derating vs. Ambient Temperature
Figure A-1PROsine Dimensions
PROsine Dimensions
Page
System Diagrams
Figure B-1Residential Backup System
Residential Backup System
Figure B-2Typical Marine System
Marine System
Page
Charging Algorithms
Table C-1Charge Algorithms
Charge Algorithms
Bulk / Absorption
Table C-2Battery Type Charge Algorithm Guide
Battery Type-Charge Algorithm Guide
Table C-2Battery Type Charge Algorithm Guide
Warranty
Warranty and Return Information
Product
Disclaimer
Exclusions
Return Procedure
Return Material Authorization Policy
Out of Warranty Service
Purchased From Purchase Date
Information About Your System
Index
IX-2 445-0089-01-01
AC In 2-6
On/Off/Rem switch 2-2, 3-10, 3-24, 5-2, 5-3, 5-7
445-0089-01-01 IX-5
IX-6 445-0089-01-01
Page
Xantrex Technology Inc
Top
Page
Image
Contents