Editing the Contents of a Playlist
To perform all of the playlist editing functions described in the various procedures below, you must open the playlist in the Playlist Editor panel.
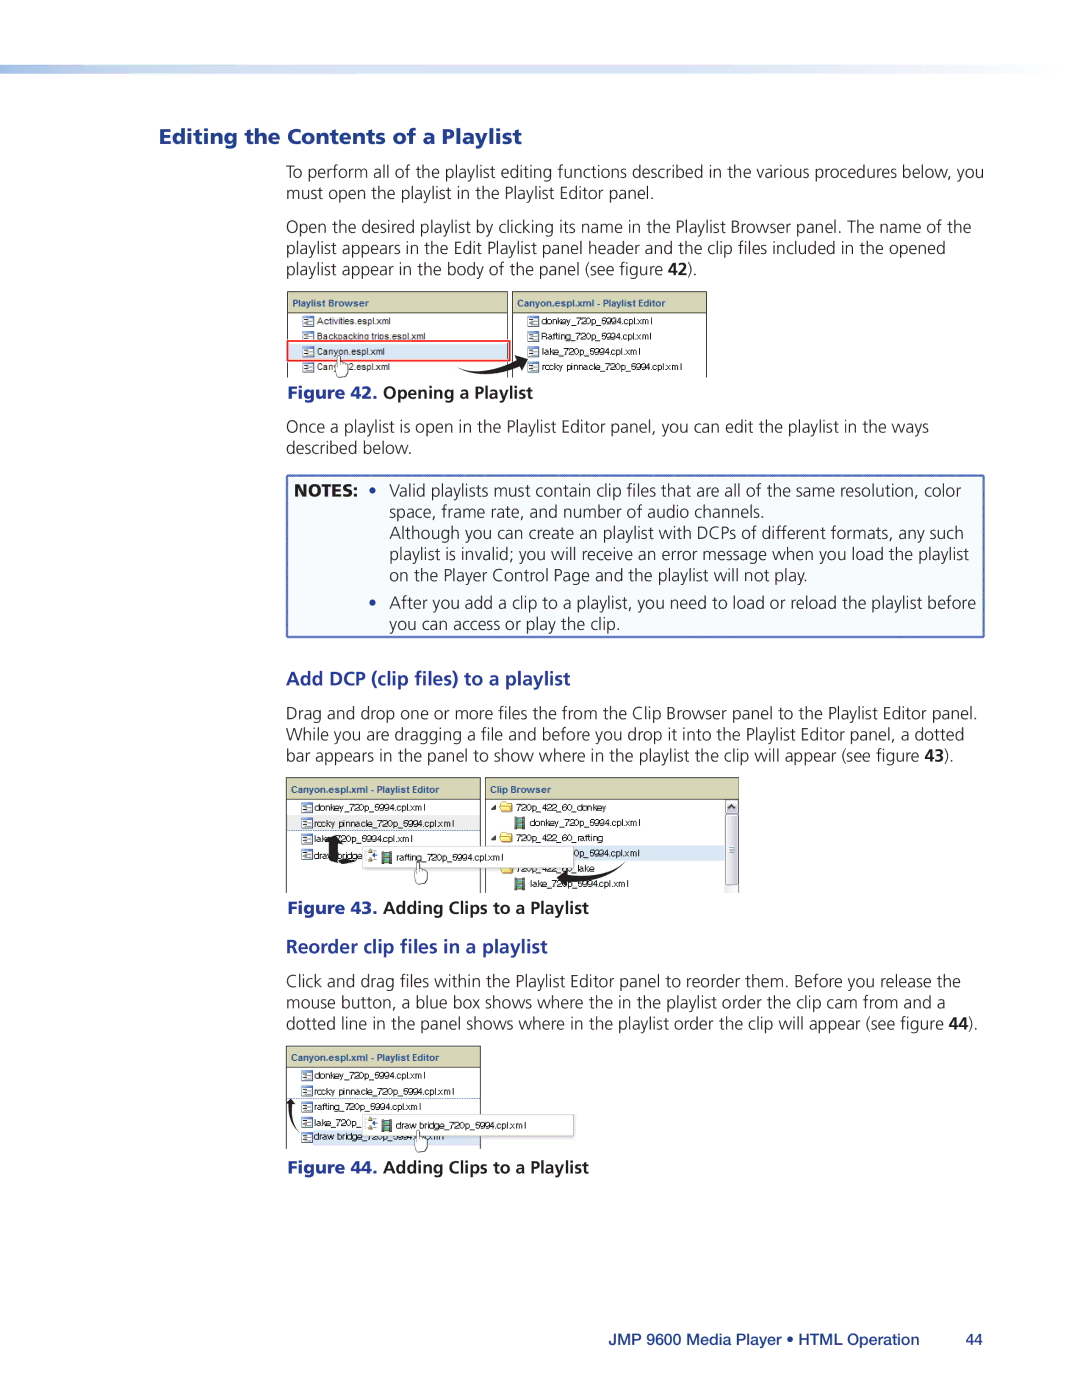
Open the desired playlist by clicking its name in the Playlist Browser panel. The name of the playlist appears in the Edit Playlist panel header and the clip files included in the opened playlist appear in the body of the panel (see figure 42).
Figure 42. Opening a Playlist
Once a playlist is open in the Playlist Editor panel, you can edit the playlist in the ways described below.
![]() NOTES: • Valid playlists must contain clip files that are all of the same resolution, color
NOTES: • Valid playlists must contain clip files that are all of the same resolution, color
space, frame rate, and number of audio channels. Although you can create an playlist with DCPs of different formats, any such playlist is invalid; you will receive an error message when you load the playlist on the Player Control Page and the playlist will not play.
• After you add a clip to a playlist, you need to load or reload the playlist before ![]() you can access or play the clip.
you can access or play the clip.![]()
Add DCP (clip files) to a playlist
Drag and drop one or more files the from the Clip Browser panel to the Playlist Editor panel. While you are dragging a file and before you drop it into the Playlist Editor panel, a dotted bar appears in the panel to show where in the playlist the clip will appear (see figure 43).
Figure 43. Adding Clips to a Playlist
Reorder clip files in a playlist
Click and drag files within the Playlist Editor panel to reorder them. Before you release the mouse button, a blue box shows where the in the playlist order the clip cam from and a dotted line in the panel shows where in the playlist order the clip will appear (see figure 44).
Figure 44. Adding Clips to a Playlist
JMP 9600 Media Player • HTML Operation | 44 |