Editing the Properties of a Playlist
![]() NOTE: See “Synchronization“ and “Configuring a player as an LTC master“
NOTE: See “Synchronization“ and “Configuring a player as an LTC master“
in the “Detailed System Interaction” section for a detailed discussion of the JMP 9600 timecode feature, its interaction with other timing references and system components, and specific application examples.
You can edit the timecode mode and other properties of a playlist using controls available in the Playlist Editor panel.
1.Open the desired playlist by clicking its name in the Playlist Browser panel. The name of the panel appears in the Edit Playlist panel header and the clip files included in the opened playlist appear in the body of the panel (see figure 45 on the preceding page).
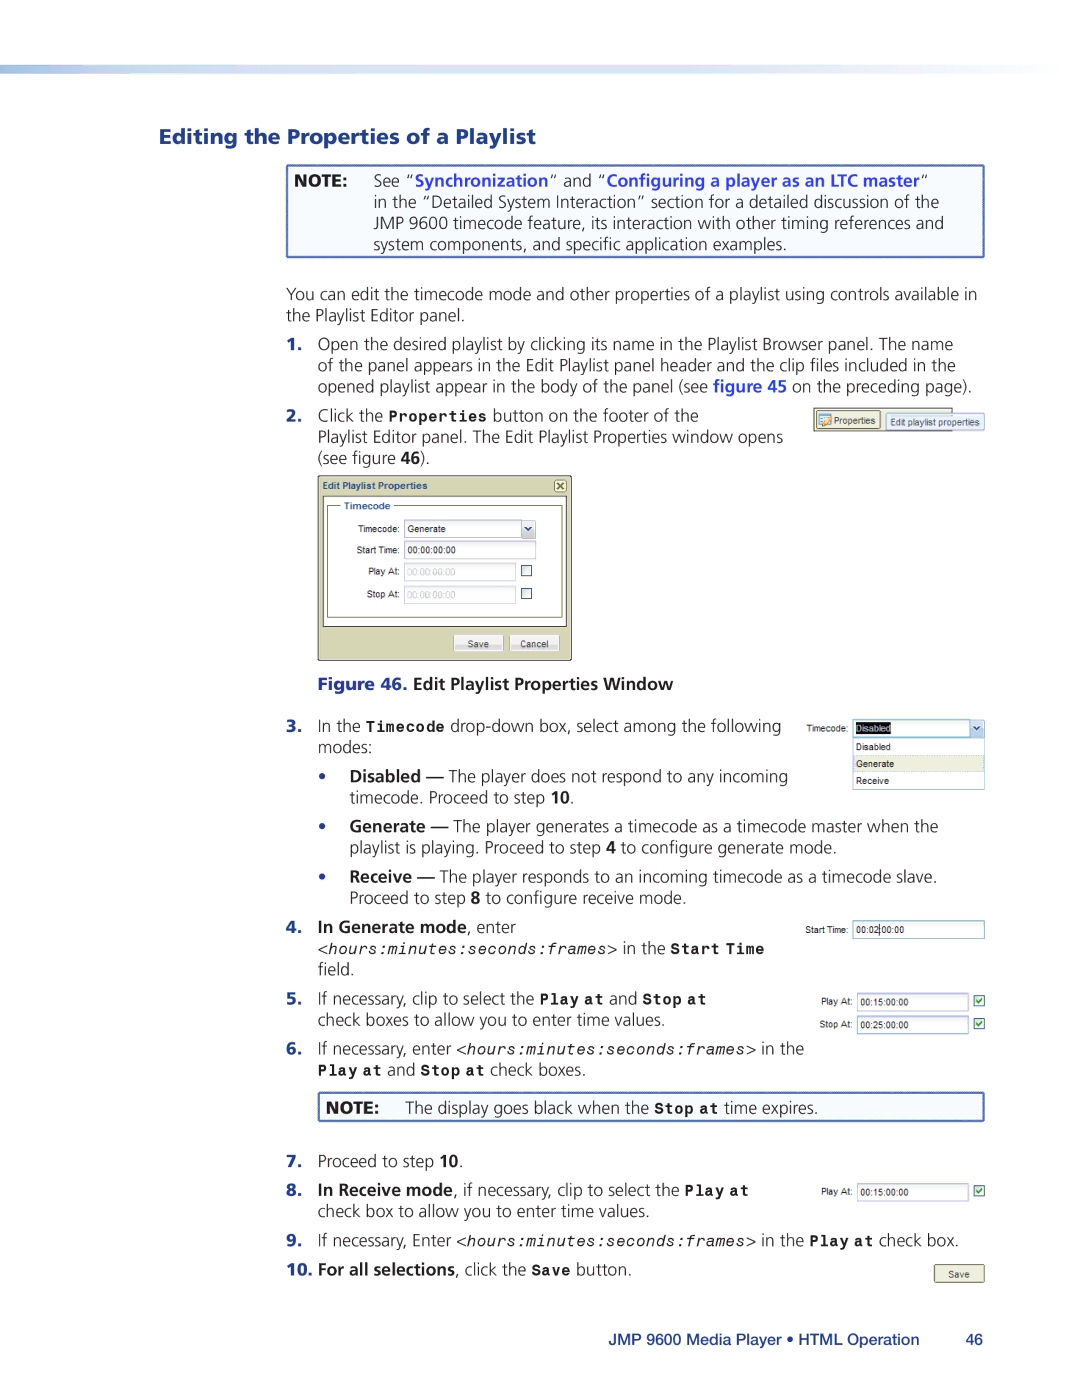
2.Click the Properties button on the footer of the
Playlist Editor panel. The Edit Playlist Properties window opens
(see figure 46).
Figure 46. Edit Playlist Properties Window
3.In the Timecode
•Disabled — The player does not respond to any incoming timecode. Proceed to step 10.
•Generate — The player generates a timecode as a timecode master when the playlist is playing. Proceed to step 4 to configure generate mode.
•Receive — The player responds to an incoming timecode as a timecode slave. Proceed to step 8 to configure receive mode.
4. In Generate mode, enter <hours:minutes:seconds:frames> in the Start Time field.
5. | If necessary, clip to select the Play at and Stop at | |
| check boxes to allow you to enter time values. | |
6. | If necessary, enter <hours:minutes:seconds:frames> in the | |
| Play at and Stop at check boxes. | |
| NOTE: | The display goes black when the Stop at time expires. |
7. | Proceed to step 10. | |
8. In Receive mode, if necessary, clip to select the Play at check box to allow you to enter time values.
9.If necessary, Enter <hours:minutes:seconds:frames> in the Play at check box.
10. For all selections, click the Save button.
JMP 9600 Media Player • HTML Operation | 46 |