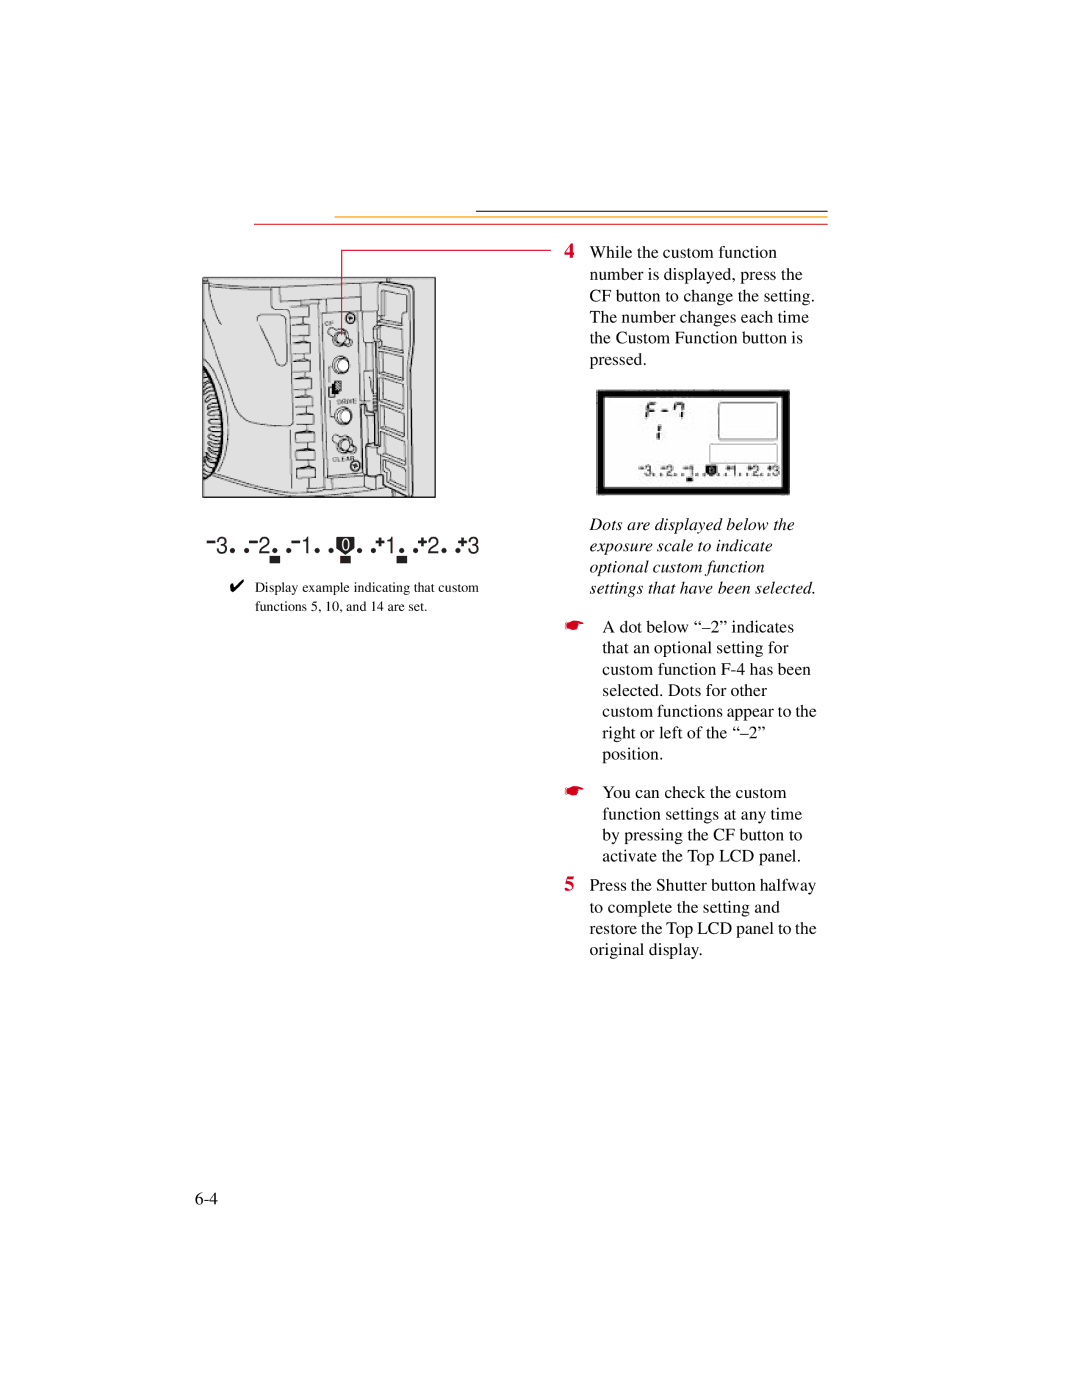
4 While the custom function number is displayed, press the CF button to change the setting. The number changes each time the Custom Function button is pressed.
| 3 |
|
|
| 2 |
|
| 1 |
|
|
|
|
| 1 |
|
|
|
| 2 |
|
|
| 3 | Dots are displayed below the | ||
|
|
|
|
|
| 0 |
|
|
|
|
|
|
|
|
|
|
| exposure scale to indicate | ||||||||
|
|
|
|
|
|
|
|
|
|
|
|
|
|
|
|
| ||||||||||
|
|
|
|
|
|
|
|
|
|
|
|
|
|
|
|
|
|
|
|
|
|
|
|
|
| optional custom function |
|
| ✔ Display example indicating that custom | ||||||||||||||||||||||||
|
| settings that have been selected. | ||||||||||||||||||||||||
functions 5, 10, and 14 are set.
☛ A dot below
☛ You can check the custom function settings at any time by pressing the CF button to activate the Top LCD panel.
5 Press the Shutter button halfway to complete the setting and restore the Top LCD panel to the original display.
