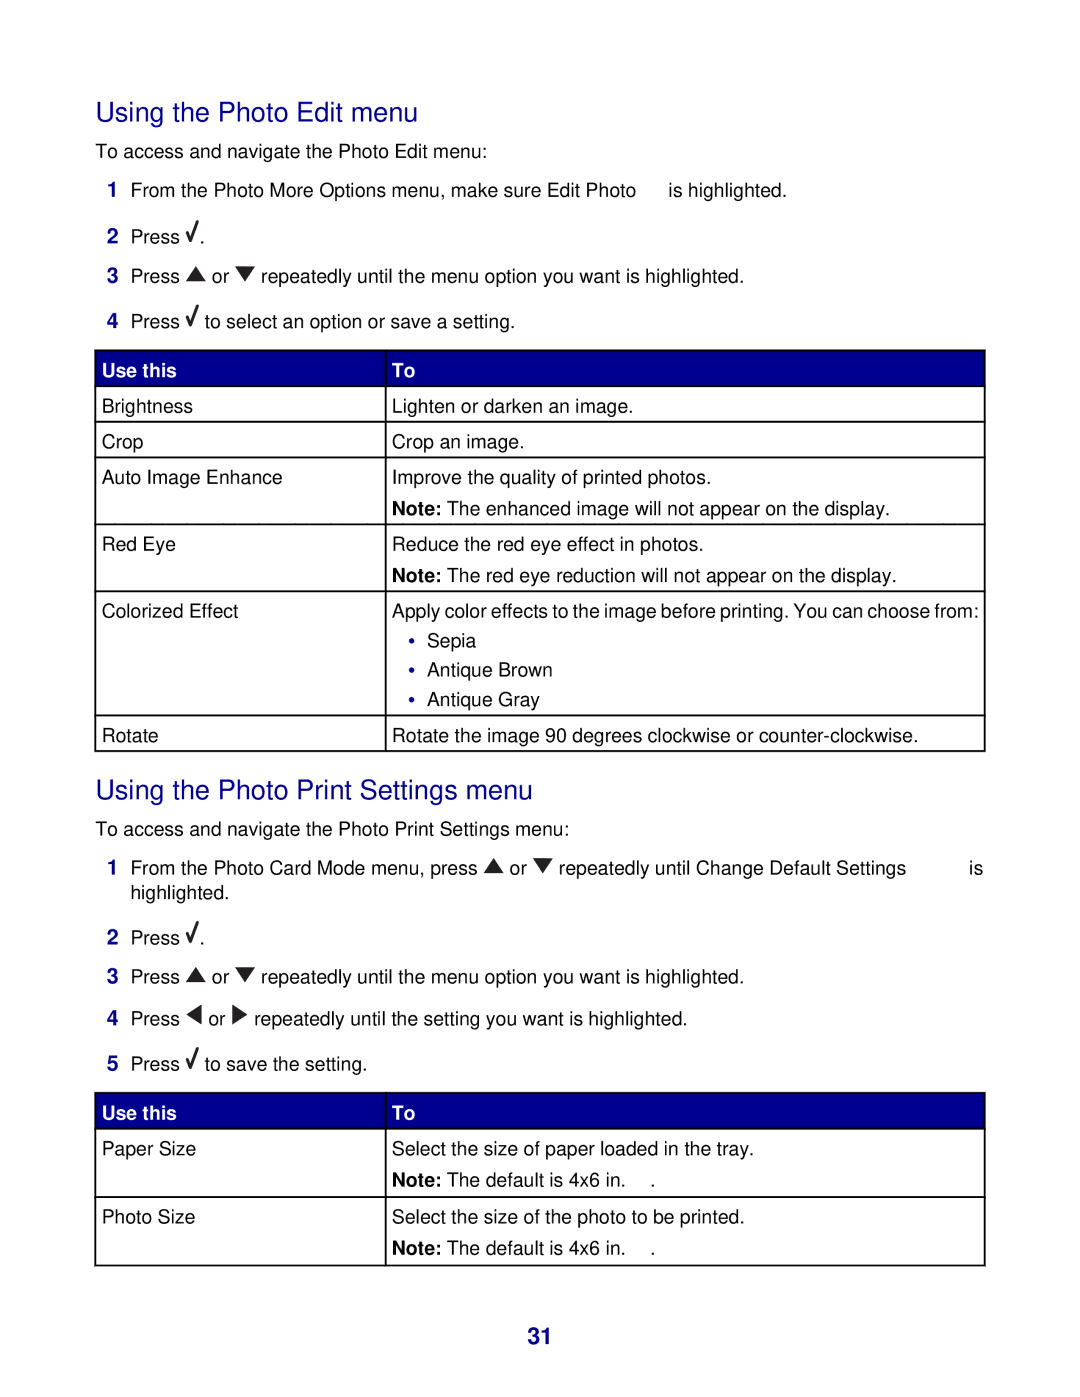
Using the Photo Edit menu
To access and navigate the Photo Edit menu:
1From the Photo More Options menu, make sure Edit Photo is highlighted.
2Press ![]() .
.
3Press ![]() or
or ![]() repeatedly until the menu option you want is highlighted.
repeatedly until the menu option you want is highlighted.
4Press ![]() to select an option or save a setting.
to select an option or save a setting.
Use this | To |
|
Brightness | Lighten or darken an image. | |
|
|
|
Crop | Crop an image. | |
|
|
|
Auto Image Enhance | Improve the quality of printed photos. | |
| Note: The enhanced image will not appear on the display. | |
|
|
|
Red Eye | Reduce the red eye effect in photos. | |
| Note: The red eye reduction will not appear on the display. | |
|
|
|
Colorized Effect | Apply color effects to the image before printing. You can choose from: | |
| • | Sepia |
| • | Antique Brown |
| • | Antique Gray |
|
|
|
Rotate | Rotate the image 90 degrees clockwise or | |
|
|
|
Using the Photo Print Settings menu
To access and navigate the Photo Print Settings menu:
1From the Photo Card Mode menu, press ![]() or
or ![]() repeatedly until Change Default Settings is highlighted.
repeatedly until Change Default Settings is highlighted.
2Press ![]() .
.
3Press ![]() or
or ![]() repeatedly until the menu option you want is highlighted.
repeatedly until the menu option you want is highlighted.
4Press ![]() or
or ![]() repeatedly until the setting you want is highlighted.
repeatedly until the setting you want is highlighted.
5Press ![]() to save the setting.
to save the setting.
Use this | To |
|
Paper Size | Select the size of paper loaded in the tray. | |
| Note: The default is 4x6 | in.. |
|
|
|
Photo Size | Select the size of the photo to be printed. | |
| Note: The default is 4x6 | in.. |
|
|
|
31
