If the document still does not have the print quality you want, follow these steps:
1Align the print cartridges. For more information, see “Aligning print cartridges” on page 96. If print quality has not improved, continue to step 2.
2Clean the print nozzles. For more information, see “Cleaning the print cartridge nozzles using the control panel” on page 97.
If print quality has not improved, continue to step 3.
3Remove and reinsert the print cartridges. For more information, see “Removing a used print cartridge” on page 94 and “Installing print cartridges” on page 95.
If print quality has not improved, continue to step 4.
4Wipe the print nozzles and contacts. For more information, see “Wiping the print cartridge nozzles and contacts” on page 98.
If print quality is still not satisfactory, replace the print cartridges. For more information, see “Ordering supplies” on page 100.
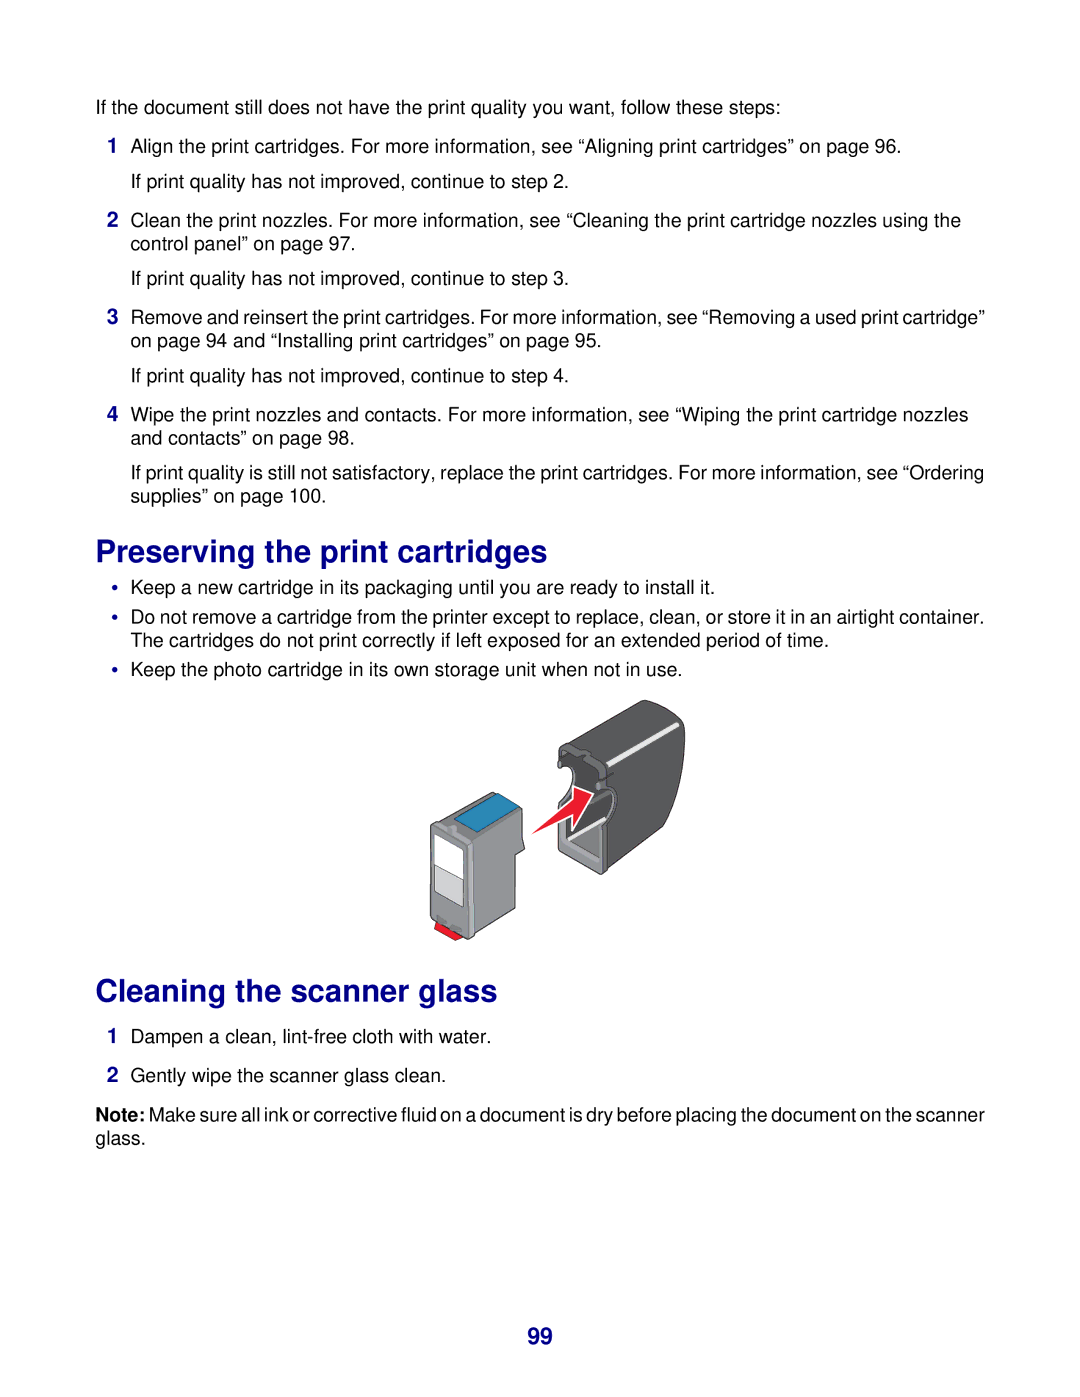
Preserving the print cartridges
•Keep a new cartridge in its packaging until you are ready to install it.
•Do not remove a cartridge from the printer except to replace, clean, or store it in an airtight container. The cartridges do not print correctly if left exposed for an extended period of time.
•Keep the photo cartridge in its own storage unit when not in use.
Cleaning the scanner glass
1Dampen a clean,
2Gently wipe the scanner glass clean.
Note: Make sure all ink or corrective fluid on a document is dry before placing the document on the scanner glass.
99