Upgrading CMS to the High Availability Option | CentreVu CMS R3V8 High Availability |
| |
|
| Connectivity, Upgrade and Administration |
|
Setting Up CMS on an HA Server |
| ||
|
|
|
|
Procedures
To set up a network connection to an
•Edit the /etc/hosts file.
•Set up a second network interface.
•Edit the /etc/defaultrouter file.
Editing the
/etc/hosts File
1.To save a backup copy of the file, enter: cp /etc/hosts /etc/hosts.old
2.To edit the /etc/hosts file, enter: vi /etc/hosts
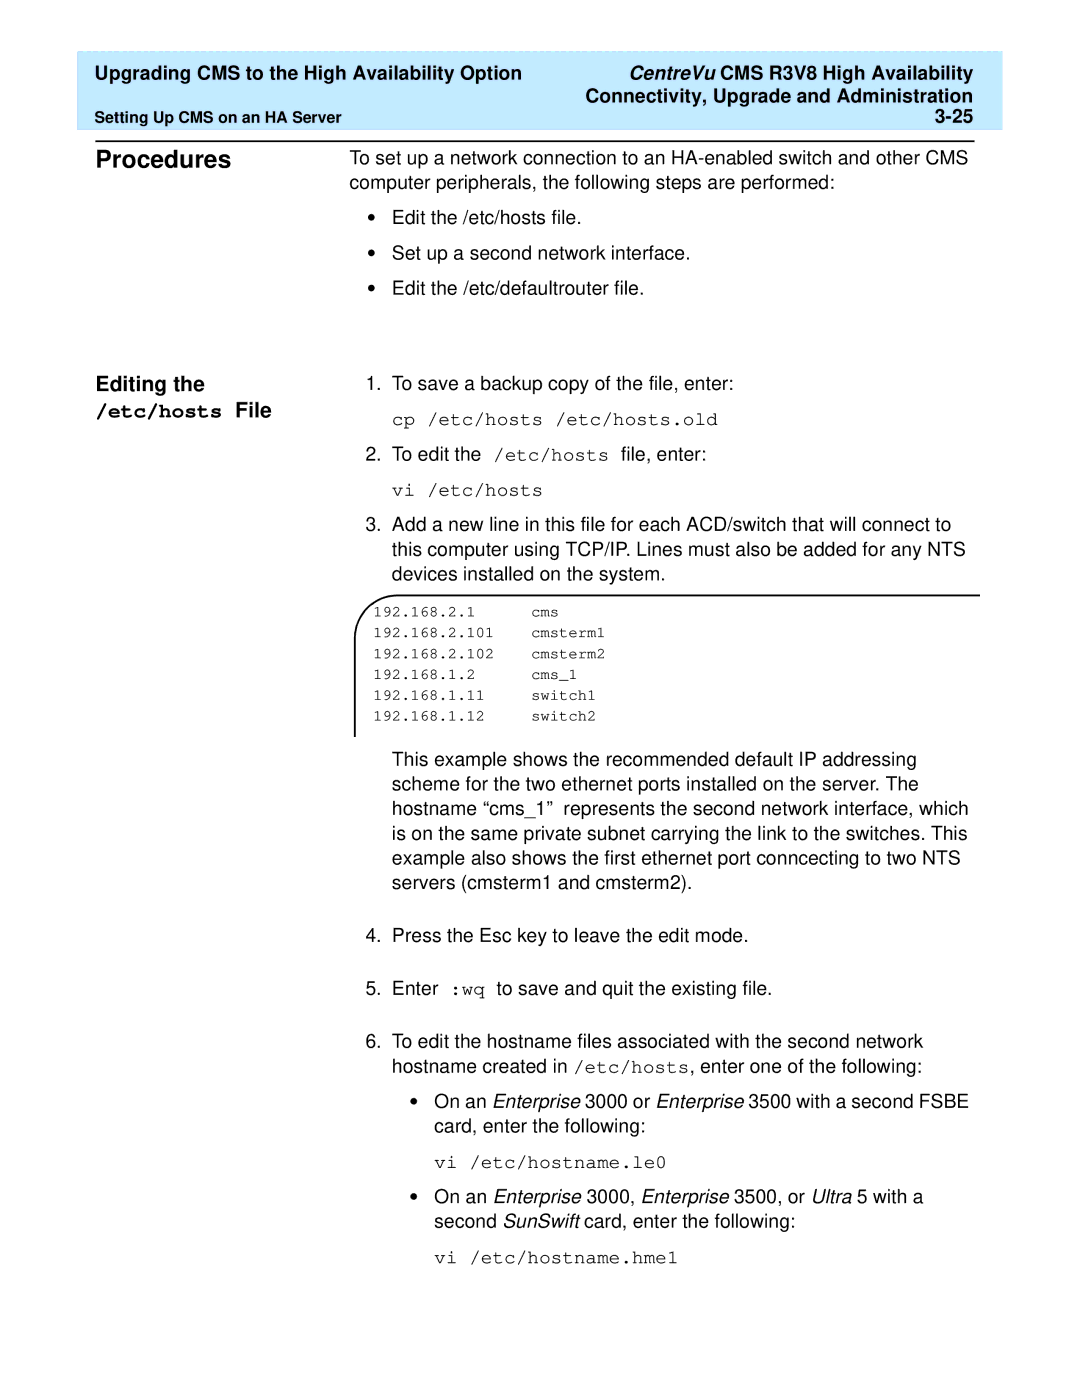
3.Add a new line in this file for each ACD/switch that will connect to this computer using TCP/IP. Lines must also be added for any NTS devices installed on the system.
192.168.2.1 cms
192.168.2.101 cmsterm1
192.168.2.102 cmsterm2
192.168.1.2 cms_1
192.168.1.11 switch1
192.168.1.12 switch2
This example shows the recommended default IP addressing scheme for the two ethernet ports installed on the server. The hostname “cms_1” represents the second network interface, which is on the same private subnet carrying the link to the switches. This example also shows the first ethernet port conncecting to two NTS servers (cmsterm1 and cmsterm2).
4.Press the Esc key to leave the edit mode.
5.Enter :wq to save and quit the existing file.
6.To edit the hostname files associated with the second network hostname created in /etc/hosts, enter one of the following:
•On an Enterprise 3000 or Enterprise 3500 with a second FSBE card, enter the following:
vi/etc/hostname.le0
•On an Enterprise 3000, Enterprise 3500, or Ultra 5 with a second SunSwift card, enter the following:
vi/etc/hostname.hme1