CHAPTER 4 INITIALIZATION
SETUP FOR A REMOTE CONSOLE
Performing the following setup operations on the
(1)Set an IP address and validate the interface
(2)Check the settings
(3)Start up the telnet server
(4)Check the communication state
(5)Save setting data
You must set up the terminal (such as a PC) used as a remote console in advance so that telnet can be used, referring to the instruction manual supplied with that terminal.
If using telnet with IPv6, make sure that software that enables IPv6 communication has been installed in the terminal used as a remote console.
Setting an IP address and validating the interface
In this example, the LAN1
To set the IP address of the LAN1
Setting the IP address
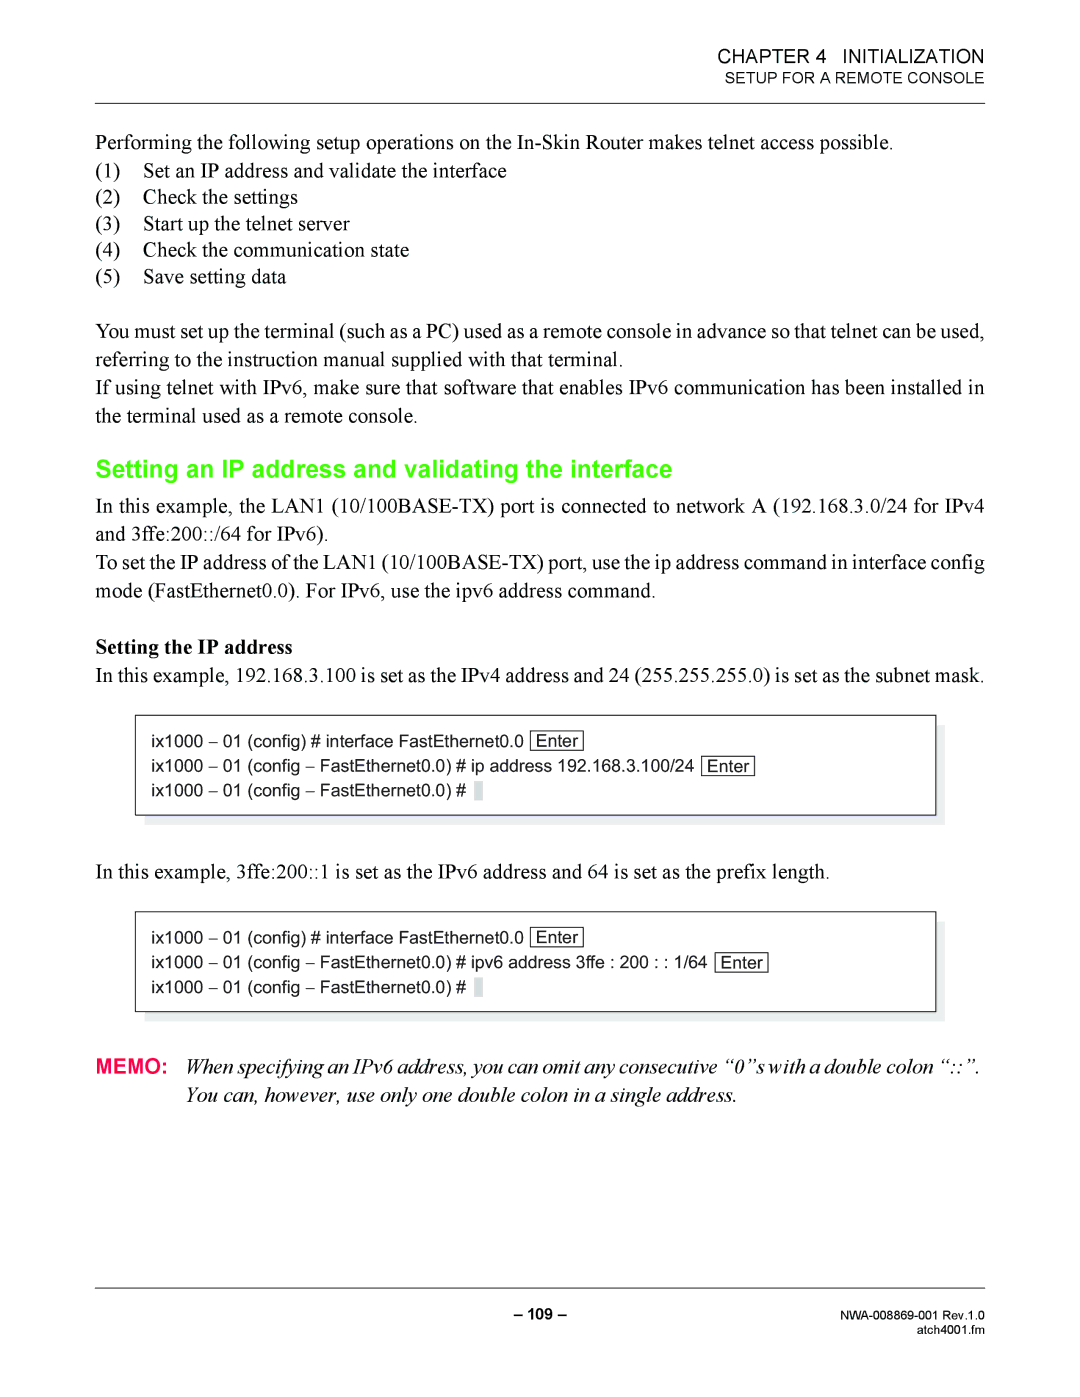
In this example, 192.168.3.100 is set as the IPv4 address and 24 (255.255.255.0) is set as the subnet mask.
ix1000 − 01 (config) # interface FastEthernet0.0 Enter
ix1000 − 01 (config − FastEthernet0.0) # ip address 192.168.3.100/24 Enter ix1000 − 01 (config − FastEthernet0.0) # ![]()
In this example, 3ffe:200::1 is set as the IPv6 address and 64 is set as the prefix length.
ix1000 − 01 (config) # interface FastEthernet0.0 Enter
ix1000 − 01 (config − FastEthernet0.0) # ipv6 address 3ffe : 200 : : 1/64 Enter ix1000 − 01 (config − FastEthernet0.0) # ![]()
MEMO: When specifying an IPv6 address, you can omit any consecutive “0”s with a double colon “::”. You can, however, use only one double colon in a single address.
– 109 – | |
| atch4001.fm |
