4 SYSTEM FUNCTIONS
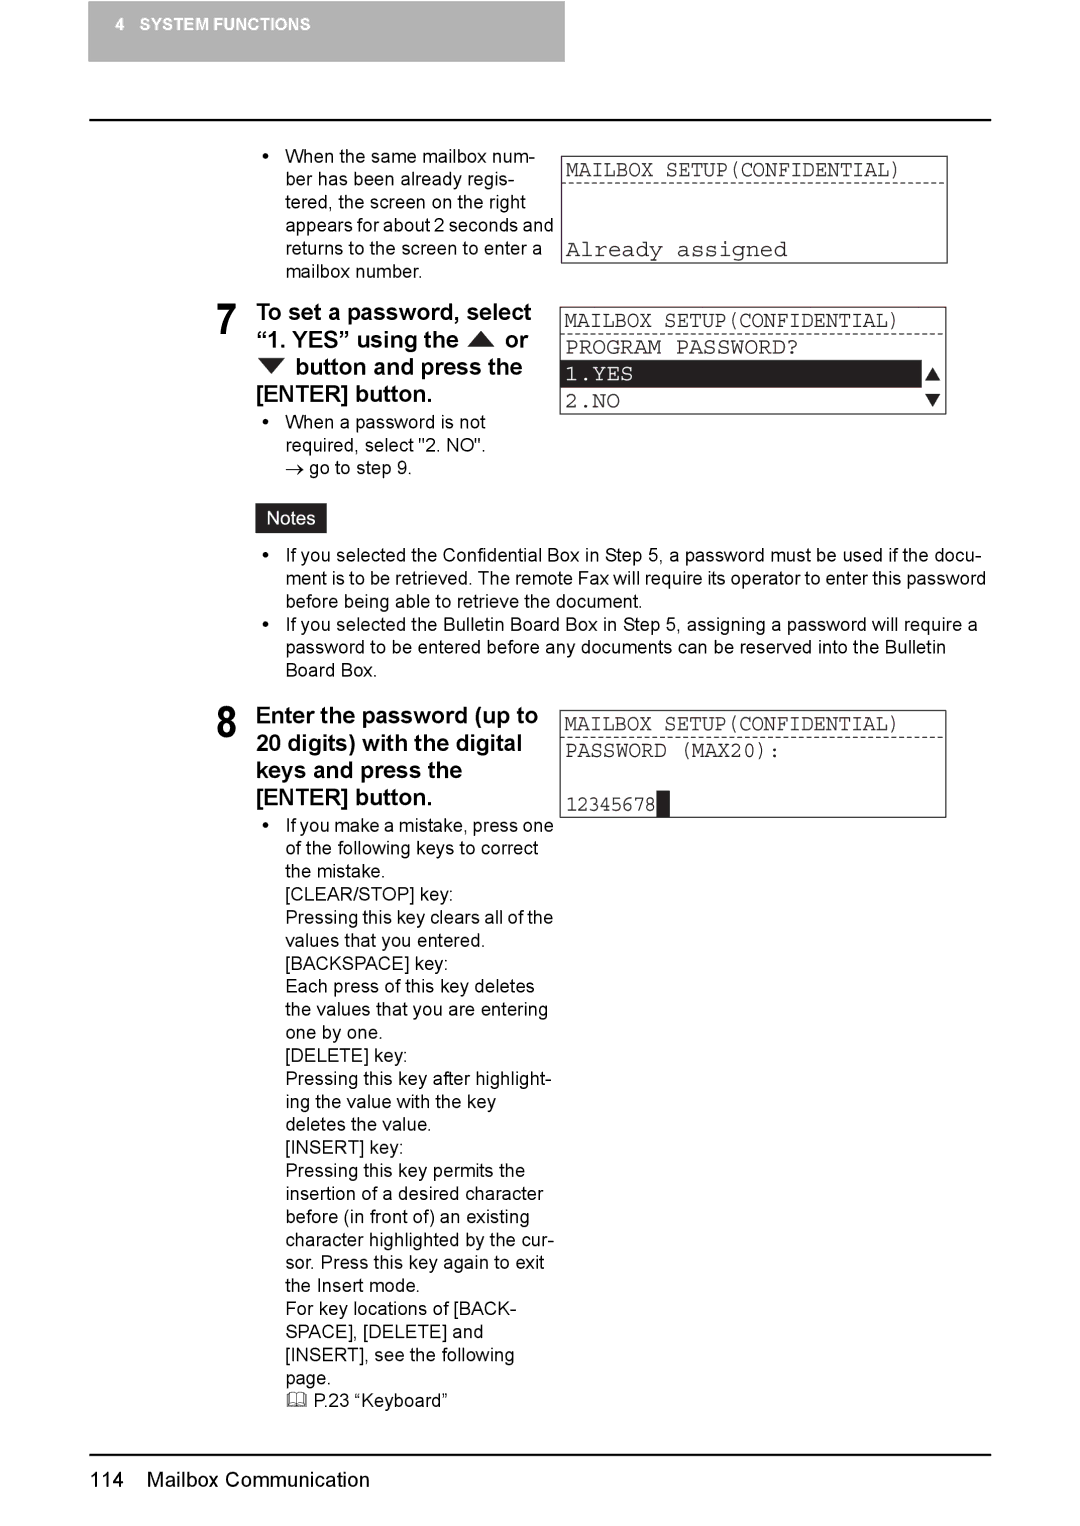
yWhen the same mailbox num- ber has been already regis- tered, the screen on the right appears for about 2 seconds and returns to the screen to enter a mailbox number.
MAILBOX SETUP(CONFIDENTIAL)
Already assigned
7 To set a password, select “1. YES” using the ![]() or
or ![]() button and press the [ENTER] button.
button and press the [ENTER] button.
yWhen a password is not required, select "2. NO". → go to step 9.
MAILBOX SETUP(CONFIDENTIAL) PROGRAM PASSWORD?
1.YES
2.NO
yIf you selected the Confidential Box in Step 5, a password must be used if the docu- ment is to be retrieved. The remote Fax will require its operator to enter this password before being able to retrieve the document.
yIf you selected the Bulletin Board Box in Step 5, assigning a password will require a password to be entered before any documents can be reserved into the Bulletin Board Box.
8 Enter the password (up to
20 digits) with the digital keys and press the [ENTER] button.
yIf you make a mistake, press one of the following keys to correct the mistake.
[CLEAR/STOP] key:
Pressing this key clears all of the values that you entered. [BACKSPACE] key:
Each press of this key deletes the values that you are entering one by one.
[DELETE] key:
Pressing this key after highlight- ing the value with the key deletes the value.
[INSERT] key:
Pressing this key permits the insertion of a desired character before (in front of) an existing character highlighted by the cur- sor. Press this key again to exit the Insert mode.
For key locations of [BACK- SPACE], [DELETE] and [INSERT], see the following page.
P.23 “Keyboard”
MAILBOX SETUP(CONFIDENTIAL) PASSWORD (MAX20):
12345678
114 Mailbox Communication