5 ENTERING & SETTING ITEMS
4 Select the desired function
using the ![]() or
or ![]() button and press the [ENTER] but- ton.
button and press the [ENTER] but- ton.
[1.OFF]:
Disables the security TX function. [2.ON]:
Enables the security TX function.
*Default: [1.OFF]
SECURITY TX
1.OFF
2.ON
5 Press the [FAX] button to return to the Fax basic screen.
y You can press the [USER FUNCTIONS] button instead of [FAX] to exit the user func- tions menu and return to the default mode basic screen.
P.24 “Message LCD Screen”
Cover sheet
This function enables the attachment of a cover sheet to the document being transmitted. For registering a cover sheet, see the following page.
P.89 “Cover sheet registration”
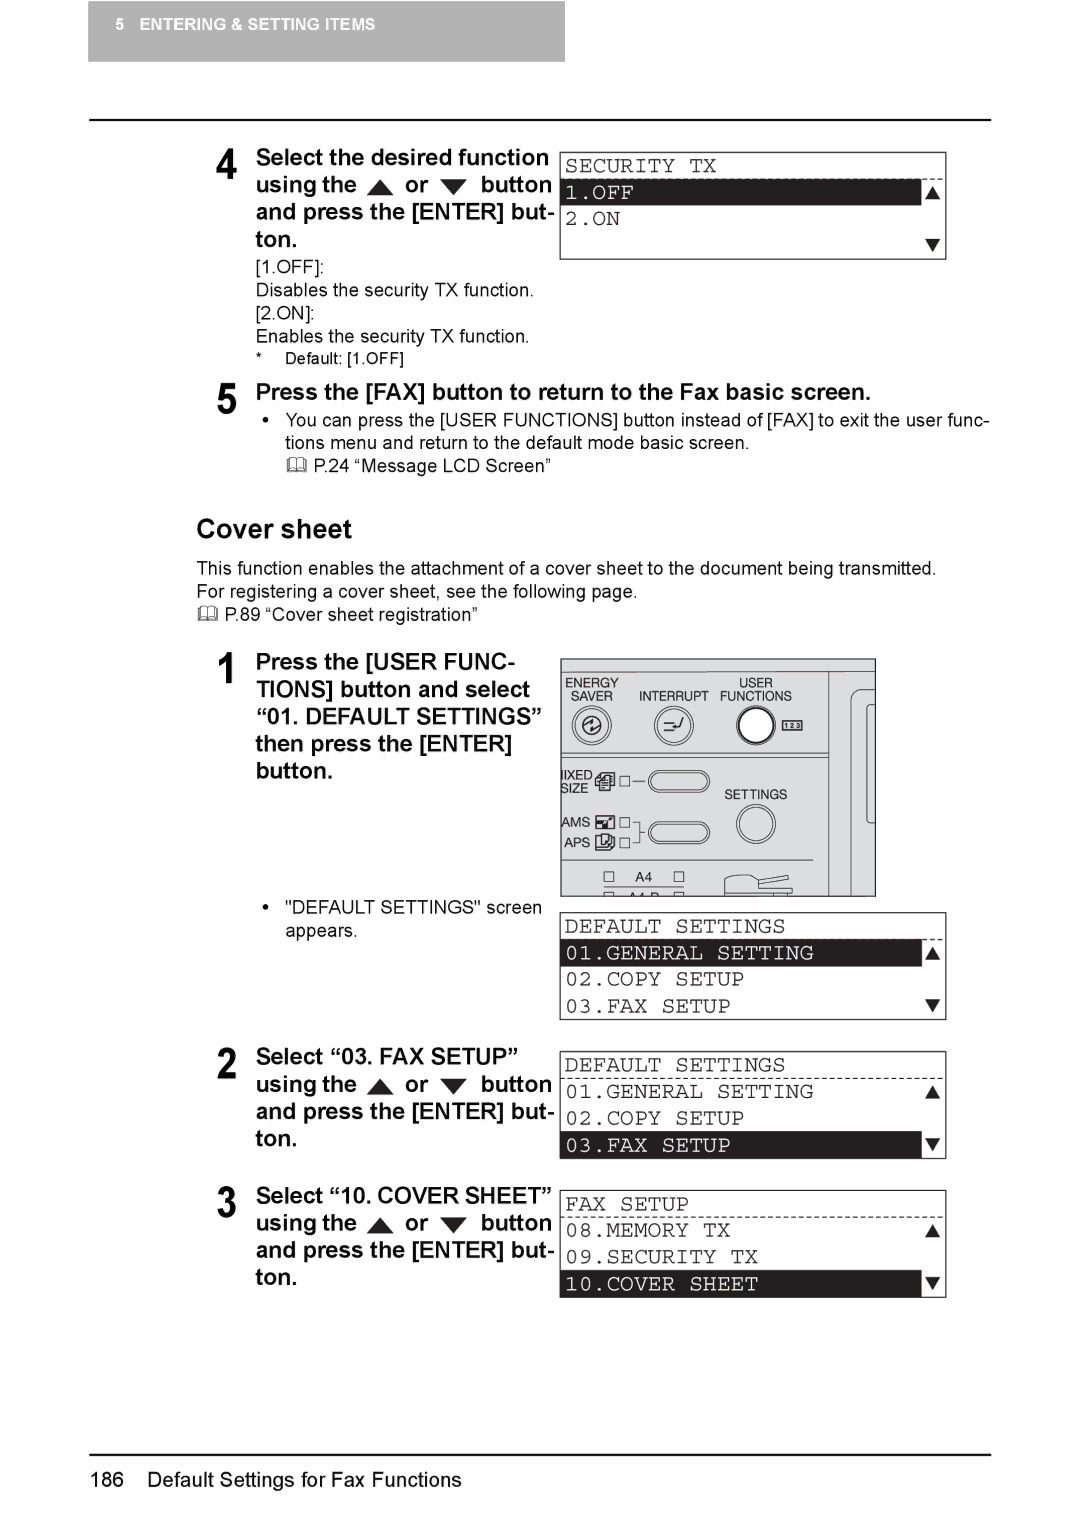
1 Press the [USER FUNC- TIONS] button and select “01. DEFAULT SETTINGS” then press the [ENTER] button.
y"DEFAULT SETTINGS" screen appears.
DEFAULT SETTINGS |
01.GENERAL SETTING
02.COPY SETUP 03.FAX SETUP
2 Select “03. FAX SETUP”
using the ![]() or
or ![]() button and press the [ENTER] but- ton.
button and press the [ENTER] but- ton.
3 Select “10. COVER SHEET”
using the ![]() or
or ![]() button and press the [ENTER] but- ton.
button and press the [ENTER] but- ton.
DEFAULT SETTINGS 01.GENERAL SETTING 02.COPY SETUP
03.FAX SETUP
FAX SETUP 08.MEMORY TX 09.SECURITY TX
10.COVER SHEET
186 Default Settings for Fax Functions
