Xerox Printer fwww manual Using Your Printer with a Macintosh, Installing Software for Macintosh

Models: Printer fwww

1 133
Download 133 pages 7.29 Kb
Page 127
Image 127
9 Using Your Printer with a Macintosh

9 Using Your Printer with a Macintosh

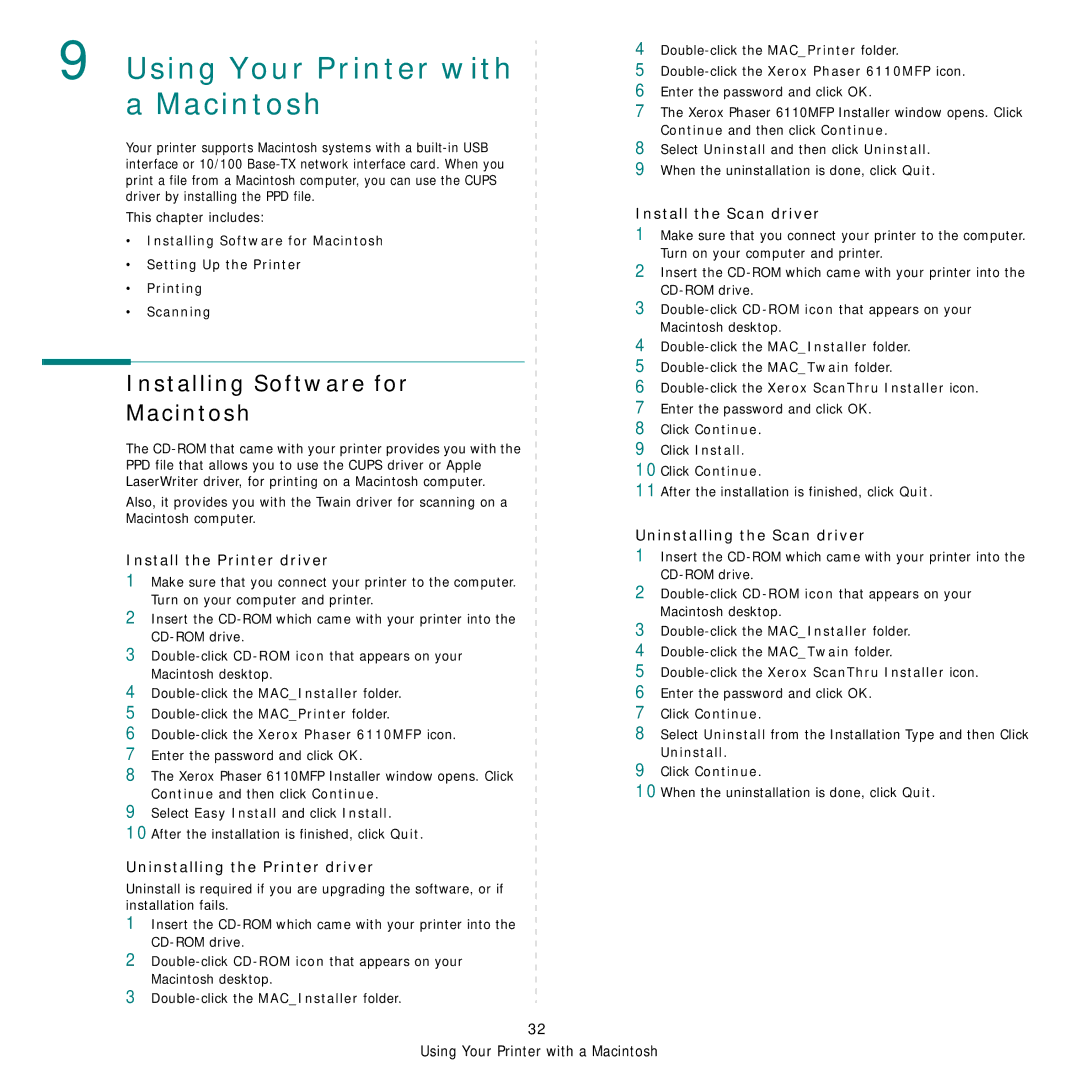
Your printer supports Macintosh systems with a built-in USB interface or 10/100 Base-TX network interface card. When you print a file from a Macintosh computer, you can use the CUPS driver by installing the PPD file.

This chapter includes:

Installing Software for Macintosh

Setting Up the Printer

Printing

Scanning

Installing Software for

Macintosh

The CD-ROM that came with your printer provides you with the PPD file that allows you to use the CUPS driver or Apple LaserWriter driver, for printing on a Macintosh computer.

Also, it provides you with the Twain driver for scanning on a Macintosh computer.

Install the Printer driver

1Make sure that you connect your printer to the computer. Turn on your computer and printer.

2Insert the CD-ROM which came with your printer into the CD-ROM drive.

3Double-click CD-ROM icon that appears on your Macintosh desktop.

4Double-click the MAC_Installer folder.

5Double-click the MAC_Printer folder.

6Double-click the Xerox Phaser 6110MFP icon.

7Enter the password and click OK.

8The Xerox Phaser 6110MFP Installer window opens. Click Continue and then click Continue.

9Select Easy Install and click Install.

10After the installation is finished, click Quit.

Uninstalling the Printer driver

Uninstall is required if you are upgrading the software, or if installation fails.

1Insert the CD-ROM which came with your printer into the CD-ROM drive.

2Double-click CD-ROM icon that appears on your Macintosh desktop.

3Double-click the MAC_Installer folder.

4Double-click the MAC_Printer folder.

5Double-click the Xerox Phaser 6110MFP icon.

6Enter the password and click OK.

7The Xerox Phaser 6110MFP Installer window opens. Click Continue and then click Continue.

8Select Uninstall and then click Uninstall.

9When the uninstallation is done, click Quit.

Install the Scan driver

1Make sure that you connect your printer to the computer. Turn on your computer and printer.

2Insert the CD-ROM which came with your printer into the CD-ROM drive.

3Double-click CD-ROM icon that appears on your Macintosh desktop.

4Double-click the MAC_Installer folder.

5Double-click the MAC_Twain folder.

6Double-click the Xerox ScanThru Installer icon.

7Enter the password and click OK.

8Click Continue.

9Click Install.

10Click Continue.

11After the installation is finished, click Quit.

Uninstalling the Scan driver

1Insert the CD-ROM which came with your printer into the CD-ROM drive.

2Double-click CD-ROM icon that appears on your Macintosh desktop.

3Double-click the MAC_Installer folder.

4Double-click the MAC_Twain folder.

5Double-click the Xerox ScanThru Installer icon.

6Enter the password and click OK.

7Click Continue.

8Select Uninstall from the Installation Type and then Click Uninstall.

9Click Continue.

10When the uninstallation is done, click Quit.

32

Using Your Printer with a Macintosh
Page 127
Image 127
Xerox Printer fwww Using Your Printer with a Macintosh, Installing Software for Macintosh, Install the Printer driver