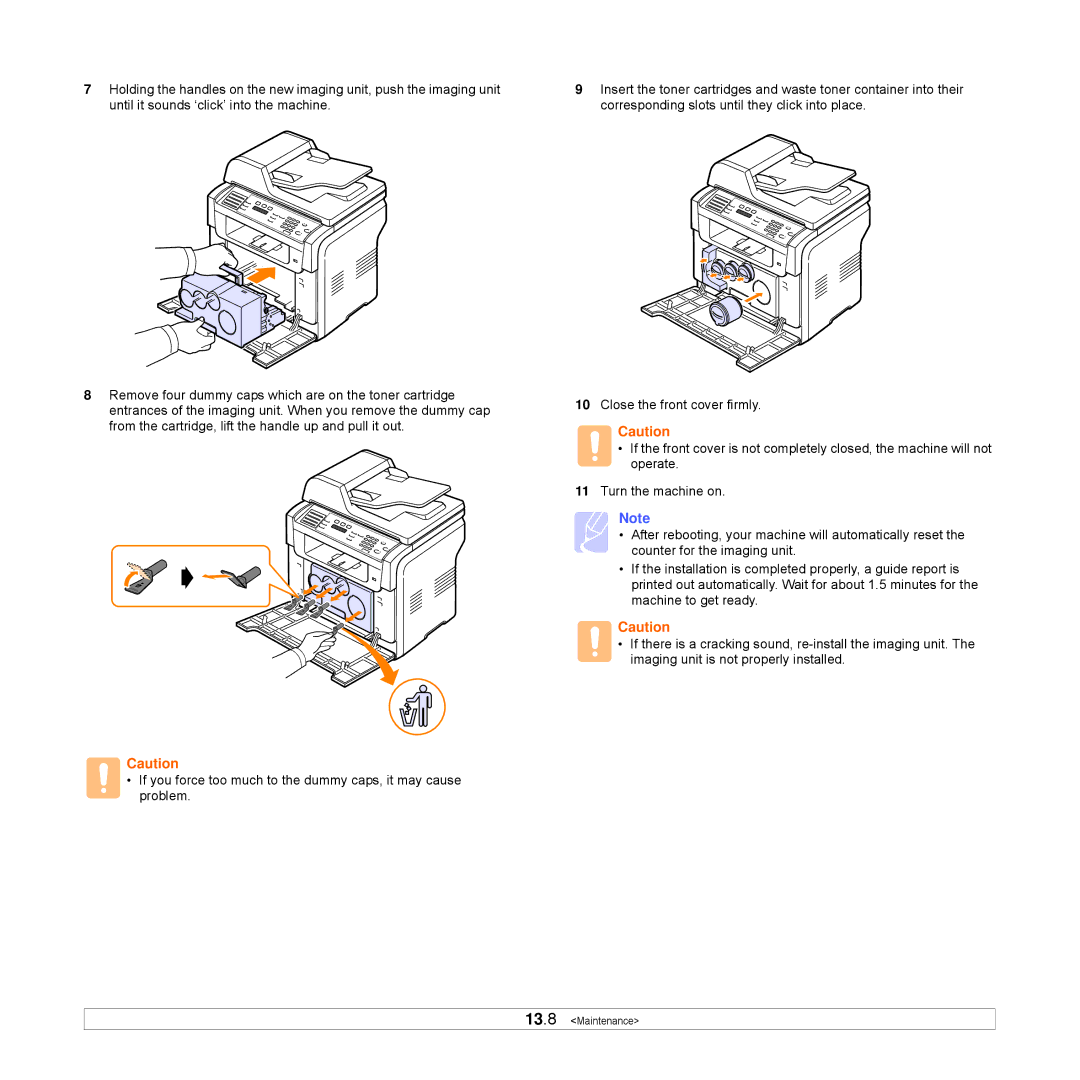
7Holding the handles on the new imaging unit, push the imaging unit until it sounds ‘click’ into the machine.
8Remove four dummy caps which are on the toner cartridge entrances of the imaging unit. When you remove the dummy cap from the cartridge, lift the handle up and pull it out.
Caution
•If you force too much to the dummy caps, it may cause problem.
9Insert the toner cartridges and waste toner container into their corresponding slots until they click into place.
10Close the front cover firmly.
Caution
•If the front cover is not completely closed, the machine will not operate.
11Turn the machine on.
Note
• After rebooting, your machine will automatically reset the counter for the imaging unit.
•If the installation is completed properly, a guide report is printed out automatically. Wait for about 1.5 minutes for the machine to get ready.
Caution
• If there is a cracking sound,