Graphics Tab
Use the following Graphic options to adjust the print quality for your specific printing needs. See “Printing a Document” on page 11 for more information on accessing printer properties.
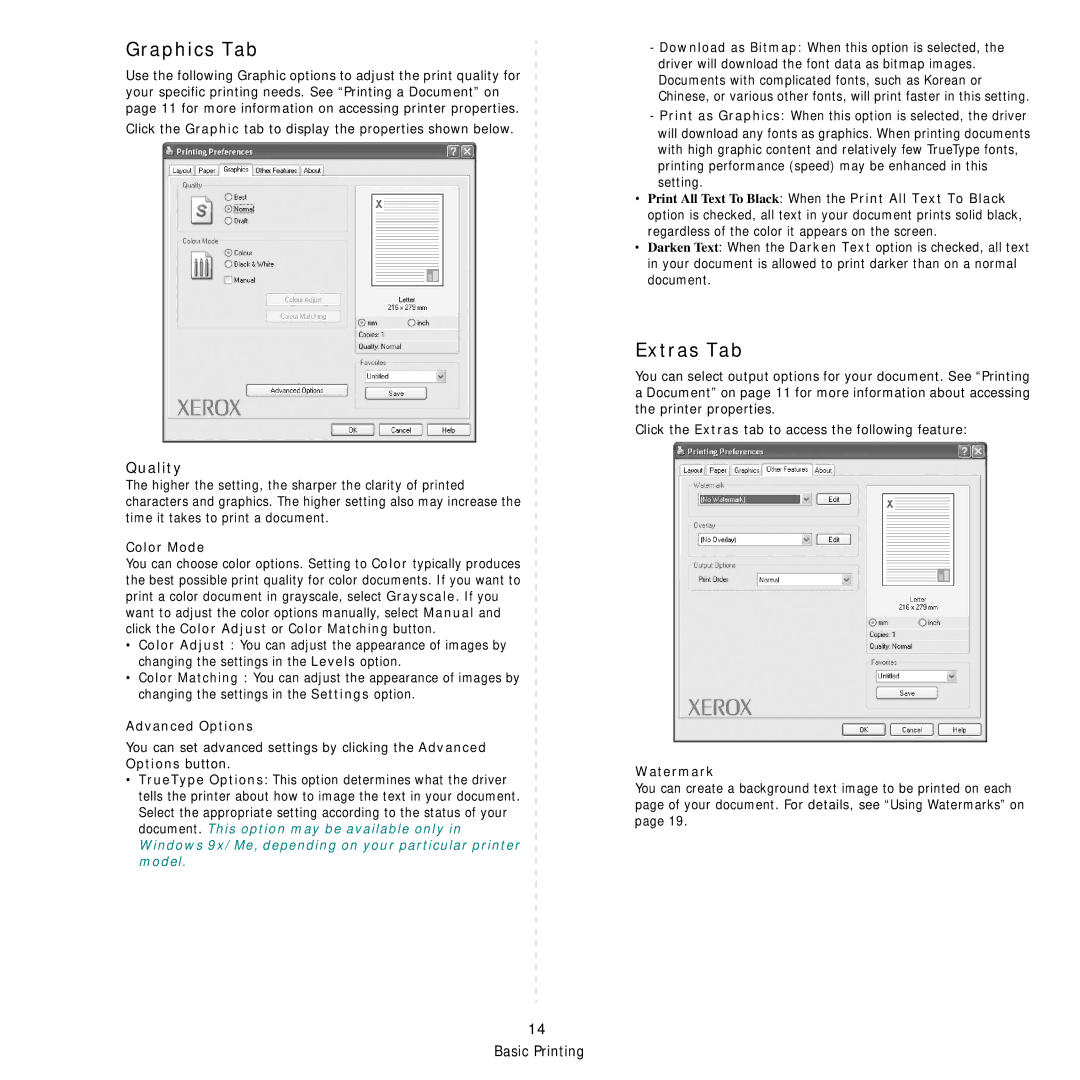
Click the Graphic tab to display the properties shown below.
Quality
The higher the setting, the sharper the clarity of printed characters and graphics. The higher setting also may increase the time it takes to print a document.
Color Mode
You can choose color options. Setting to Color typically produces the best possible print quality for color documents. If you want to print a color document in grayscale, select Grayscale. If you want to adjust the color options manually, select Manual and click the Color Adjust or Color Matching button.
•Color Adjust : You can adjust the appearance of images by changing the settings in the Levels option.
•Color Matching : You can adjust the appearance of images by changing the settings in the Settings option.
Advanced Options
You can set advanced settings by clicking the Advanced Options button.
•TrueType Options: This option determines what the driver tells the printer about how to image the text in your document. Select the appropriate setting according to the status of your document. This option may be available only in
Windows 9x/Me, depending on your particular printer model.
-Download as Bitmap: When this option is selected, the driver will download the font data as bitmap images. Documents with complicated fonts, such as Korean or Chinese, or various other fonts, will print faster in this setting.
-Print as Graphics: When this option is selected, the driver
will download any fonts as graphics. When printing documents with high graphic content and relatively few TrueType fonts, printing performance (speed) may be enhanced in this setting.
•Print All Text To Black: When the Print All Text To Black option is checked, all text in your document prints solid black, regardless of the color it appears on the screen.
•Darken Text: When the Darken Text option is checked, all text in your document is allowed to print darker than on a normal document.
Extras Tab
You can select output options for your document. See “Printing a Document” on page 11 for more information about accessing the printer properties.
Click the Extras tab to access the following feature:
Watermark
You can create a background text image to be printed on each page of your document. For details, see “Using Watermarks” on page 19.
14 Basic Printing