Bridging
Defining and Editing Filters in the Special Database
You can edit an existing Þlter or deÞne a new Þlter using the following steps:
1.Click to select the filter you wish to edit. The filter is selected when it is highlighted. When the bridge uses the Special Database, it starts with the lowest numbered enabled filter.
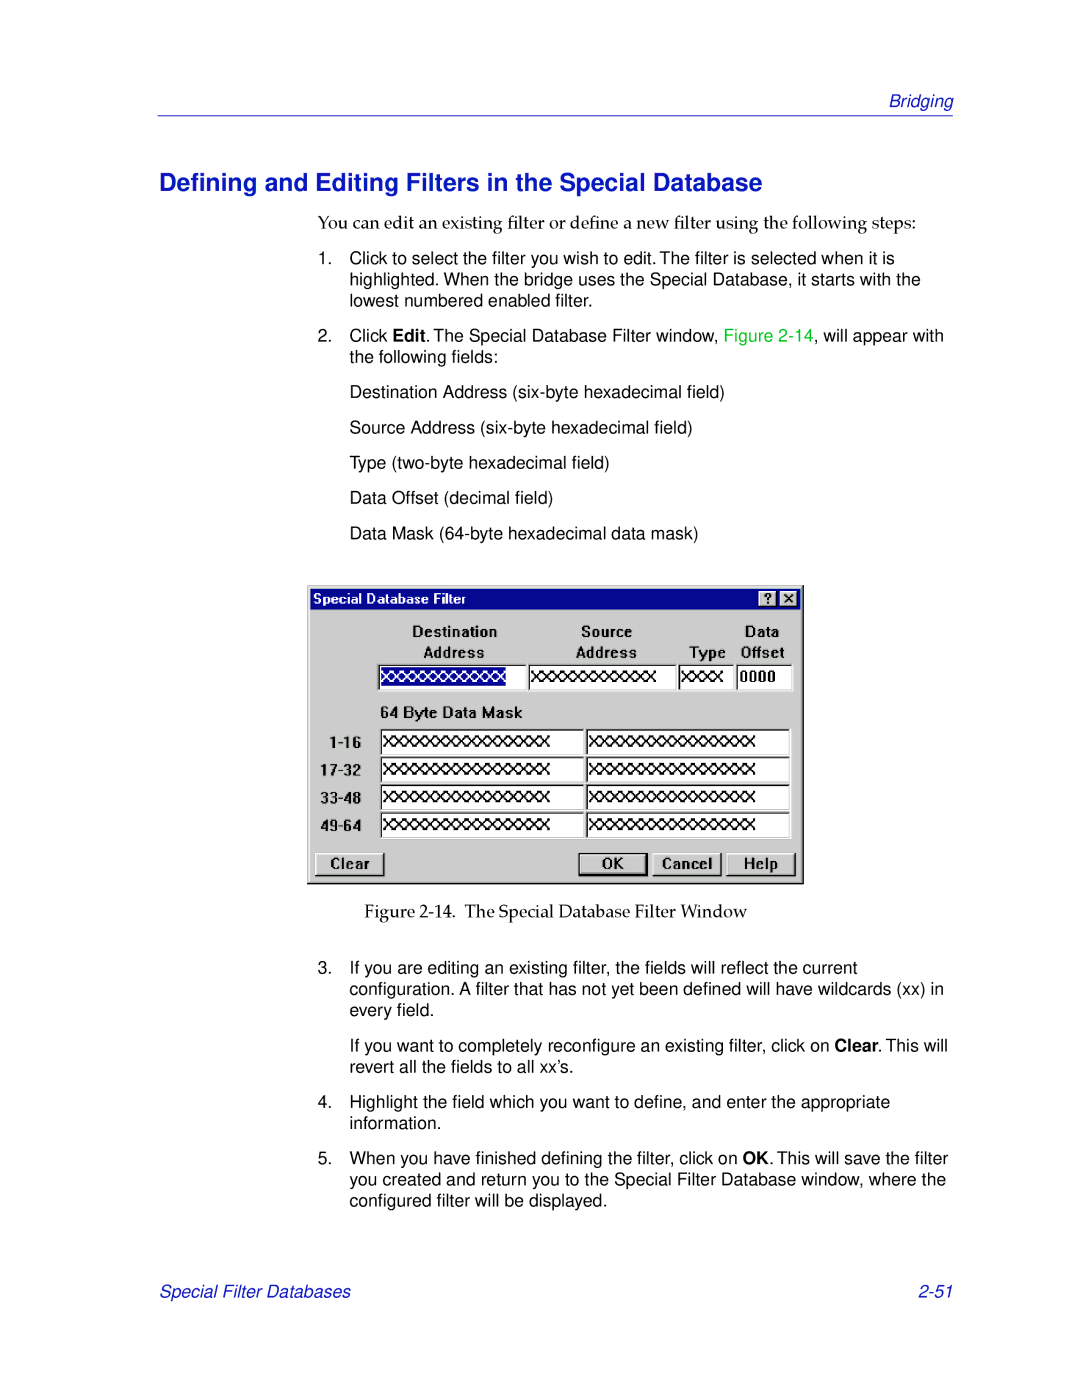
2.Click Edit. The Special Database Filter window, Figure
Destination Address
Data Offset (decimal field)
Data Mask
Figure 2-14. The Special Database Filter Window
3.If you are editing an existing filter, the fields will reflect the current configuration. A filter that has not yet been defined will have wildcards (xx) in every field.
If you want to completely reconfigure an existing filter, click onClear. This will revert all the fields to all xx’s.
4.Highlight the field which you want to define, and enter the appropriate information.
5.When you have finished defining the filter, click OKon . This will save the filter you created and return you to the Special Filter Database window, where the configured filter will be displayed.
Special Filter Databases |