2Remove the computer cover (see "Removing the Desktop Computer Cover" on page 21).
CAUTION: Do not pull the drive out of the computer by the drive cables. Doing so may cause damage to cables and the cable connectors.
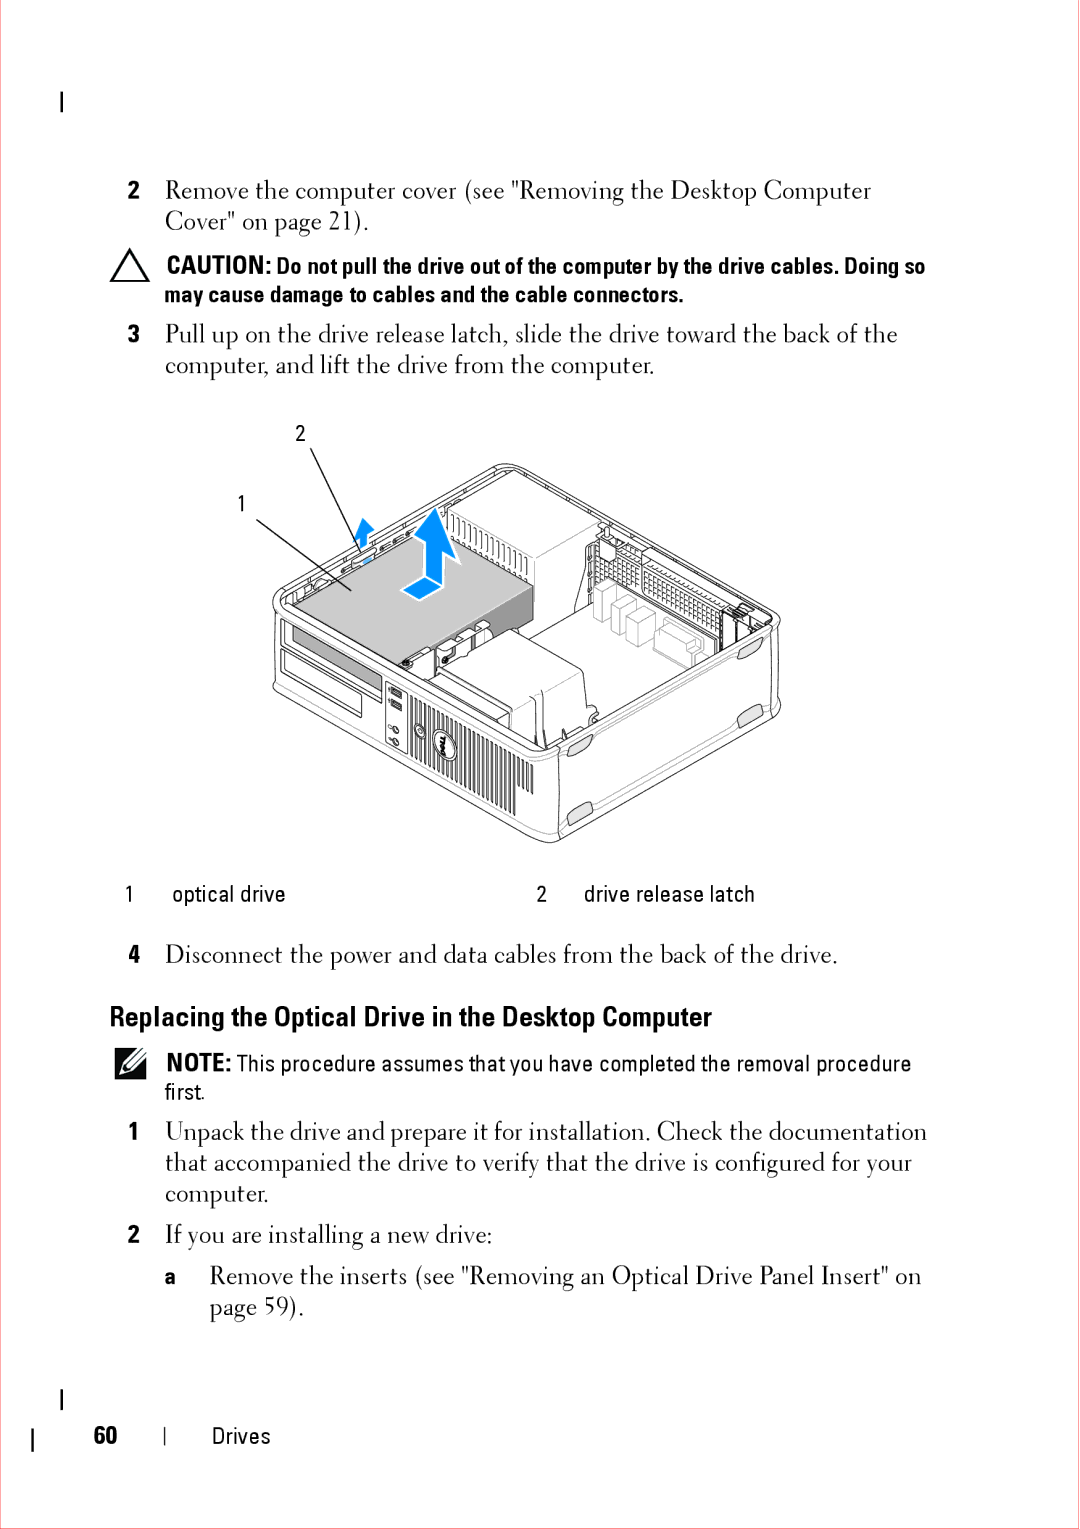
3Pull up on the drive release latch, slide the drive toward the back of the computer, and lift the drive from the computer.
2
1
1 | optical drive | 2 | drive release latch |
4Disconnect the power and data cables from the back of the drive.
Replacing the Optical Drive in the Desktop Computer
NOTE: This procedure assumes that you have completed the removal procedure first.
1Unpack the drive and prepare it for installation. Check the documentation that accompanied the drive to verify that the drive is configured for your computer.
2If you are installing a new drive:
a Remove the inserts (see "Removing an Optical Drive Panel Insert" on page 59).
60