4Attach the power and data cables to the floppy drive or media card reader.
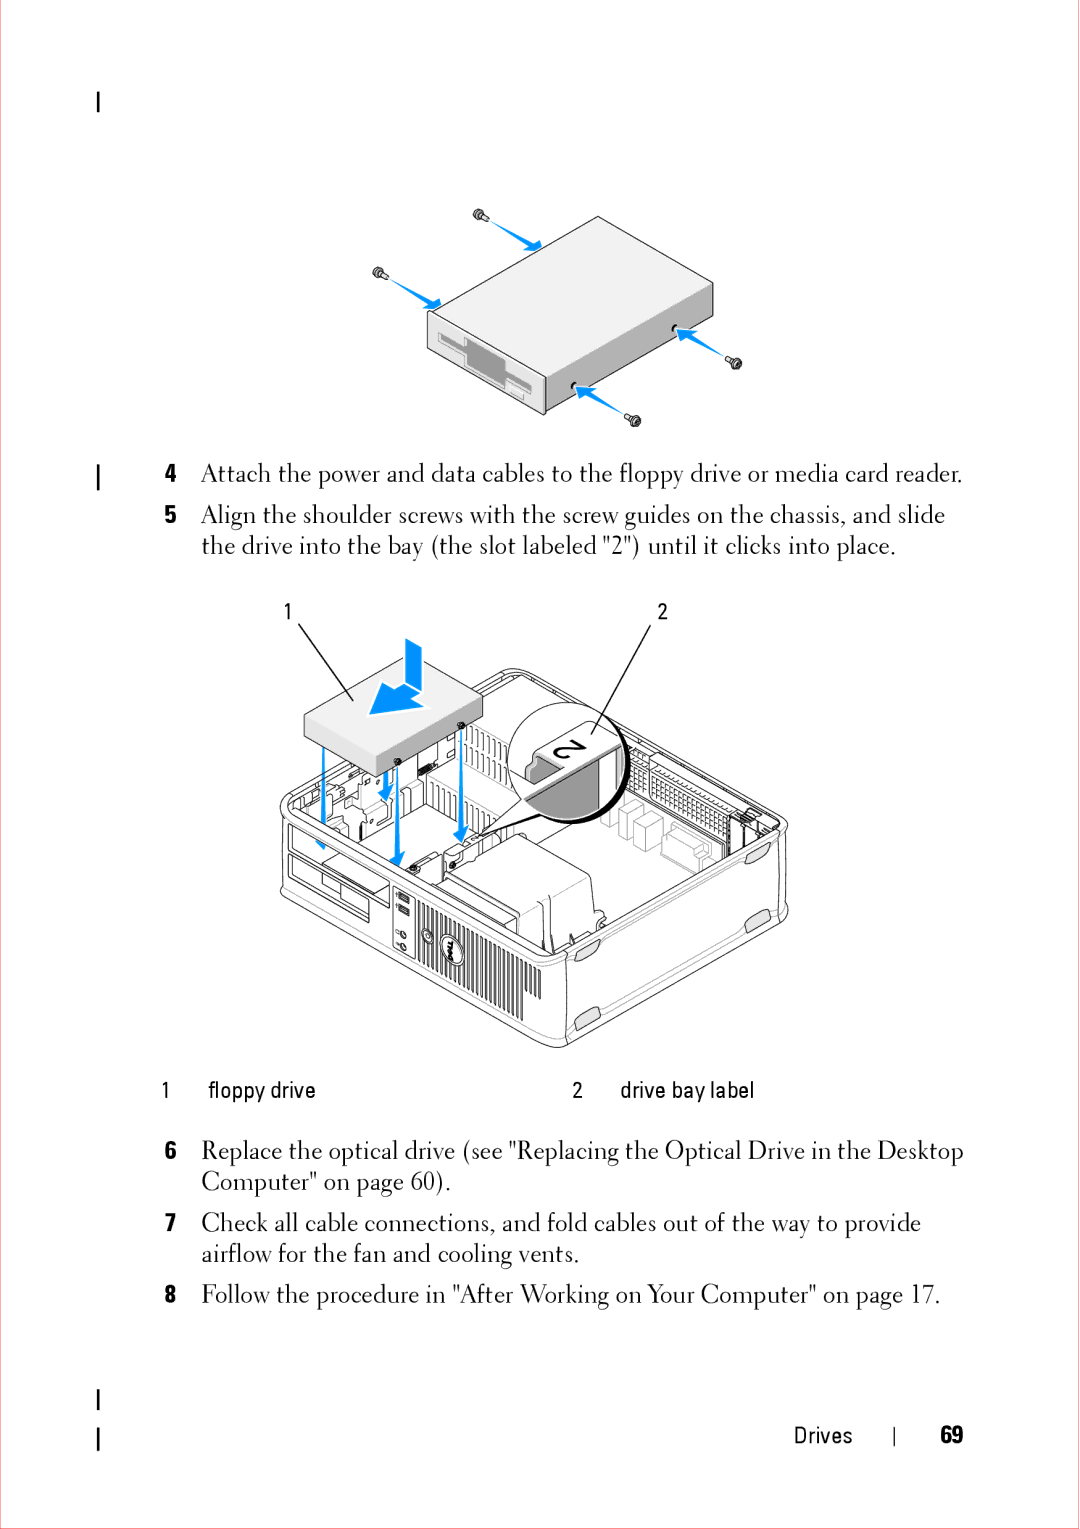
5Align the shoulder screws with the screw guides on the chassis, and slide the drive into the bay (the slot labeled "2") until it clicks into place.
1 | 2 |
1 | floppy drive | 2 | drive bay label |
6Replace the optical drive (see "Replacing the Optical Drive in the Desktop Computer" on page 60).
7Check all cable connections, and fold cables out of the way to provide airflow for the fan and cooling vents.
8Follow the procedure in "After Working on Your Computer" on page 17.
Drives
69
