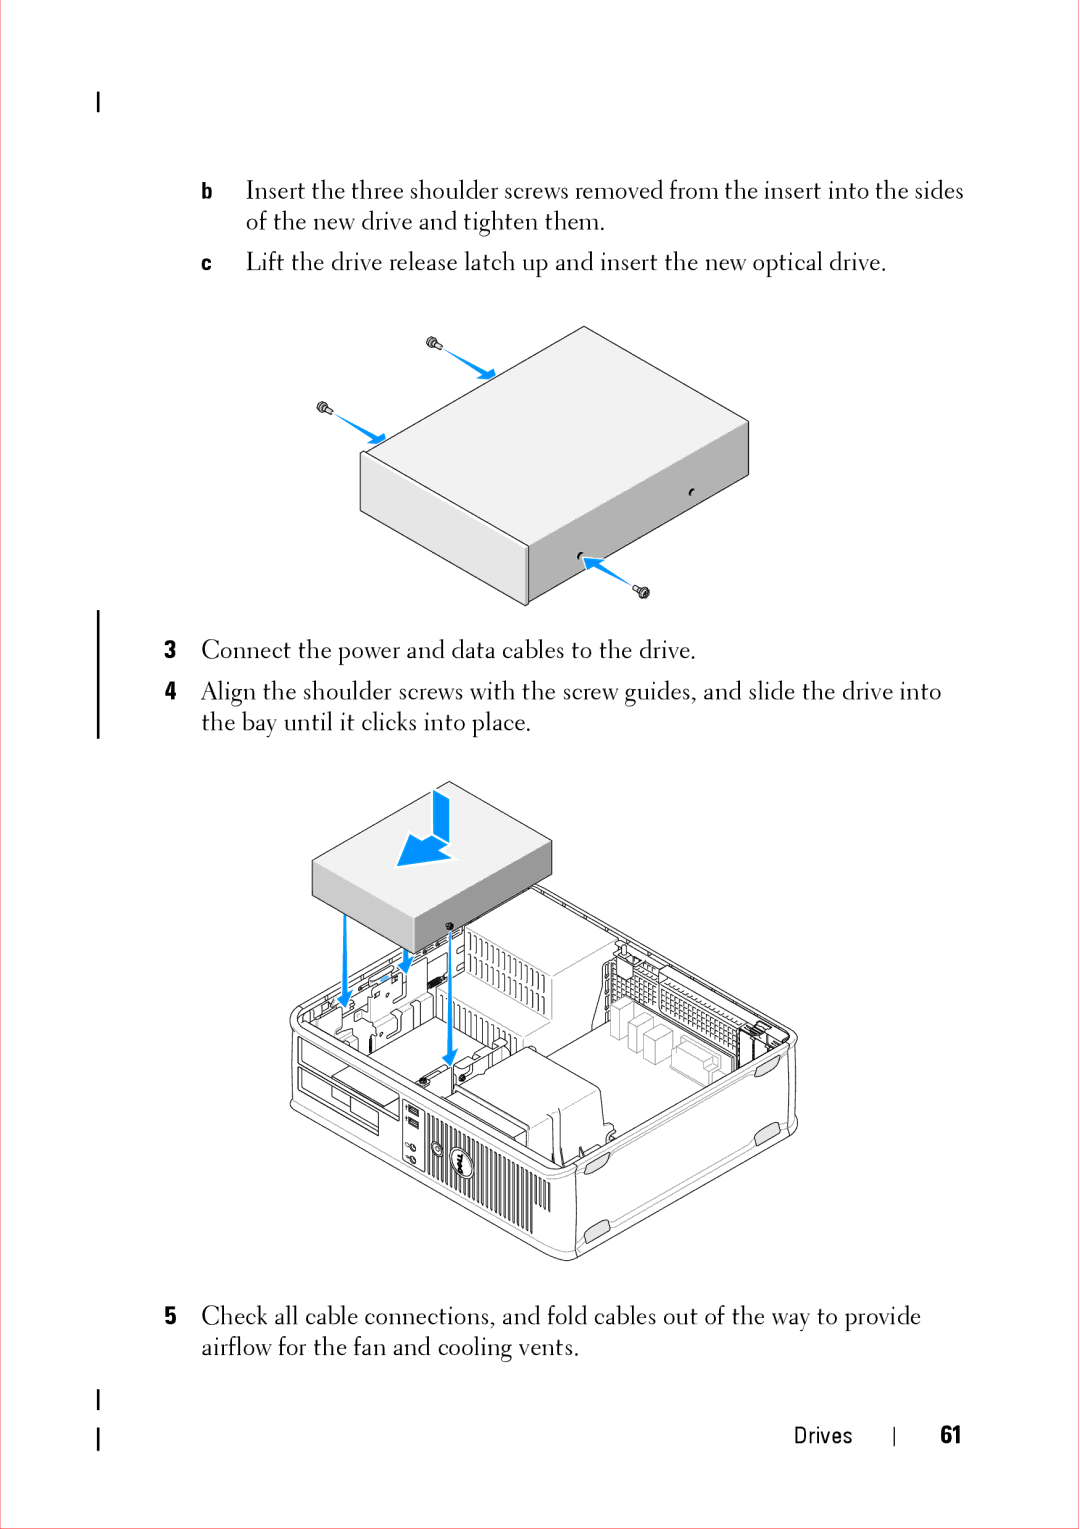
bInsert the three shoulder screws removed from the insert into the sides of the new drive and tighten them.
cLift the drive release latch up and insert the new optical drive.
3Connect the power and data cables to the drive.
4Align the shoulder screws with the screw guides, and slide the drive into the bay until it clicks into place.
5Check all cable connections, and fold cables out of the way to provide airflow for the fan and cooling vents.
Drives
61
