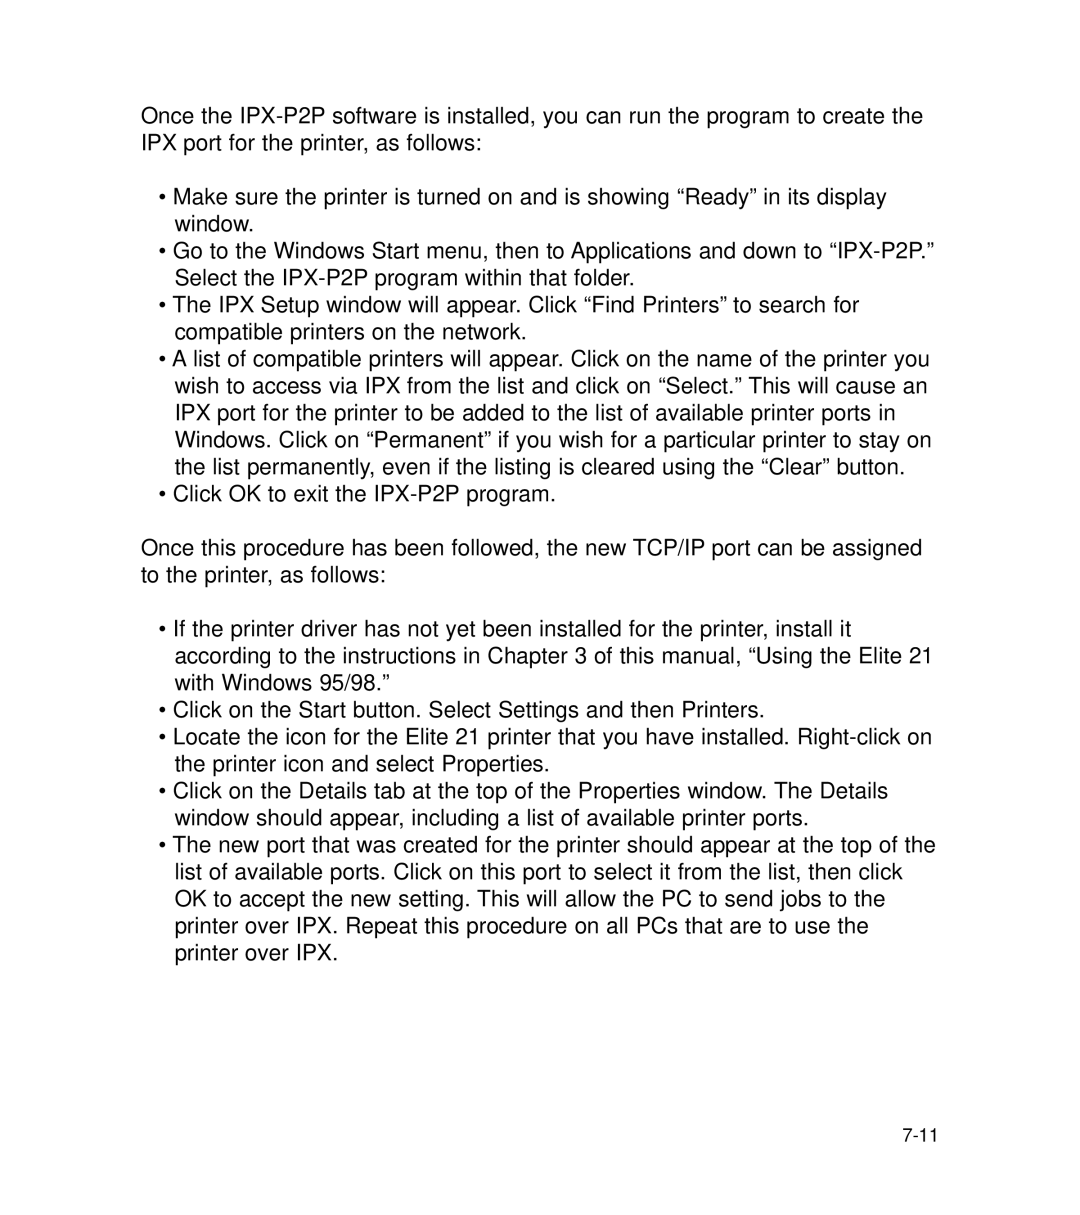
Once the
•Make sure the printer is turned on and is showing “Ready” in its display window.
•Go to the Windows Start menu, then to Applications and down to
•The IPX Setup window will appear. Click “Find Printers” to search for compatible printers on the network.
•A list of compatible printers will appear. Click on the name of the printer you wish to access via IPX from the list and click on “Select.” This will cause an IPX port for the printer to be added to the list of available printer ports in Windows. Click on “Permanent” if you wish for a particular printer to stay on the list permanently, even if the listing is cleared using the “Clear” button.
•Click OK to exit the
Once this procedure has been followed, the new TCP/IP port can be assigned to the printer, as follows:
•If the printer driver has not yet been installed for the printer, install it according to the instructions in Chapter 3 of this manual, “Using the Elite 21 with Windows 95/98.”
•Click on the Start button. Select Settings and then Printers.
•Locate the icon for the Elite 21 printer that you have installed.
•Click on the Details tab at the top of the Properties window. The Details window should appear, including a list of available printer ports.
•The new port that was created for the printer should appear at the top of the list of available ports. Click on this port to select it from the list, then click OK to accept the new setting. This will allow the PC to send jobs to the printer over IPX. Repeat this procedure on all PCs that are to use the printer over IPX.
