Troubleshooting
Chapter 11
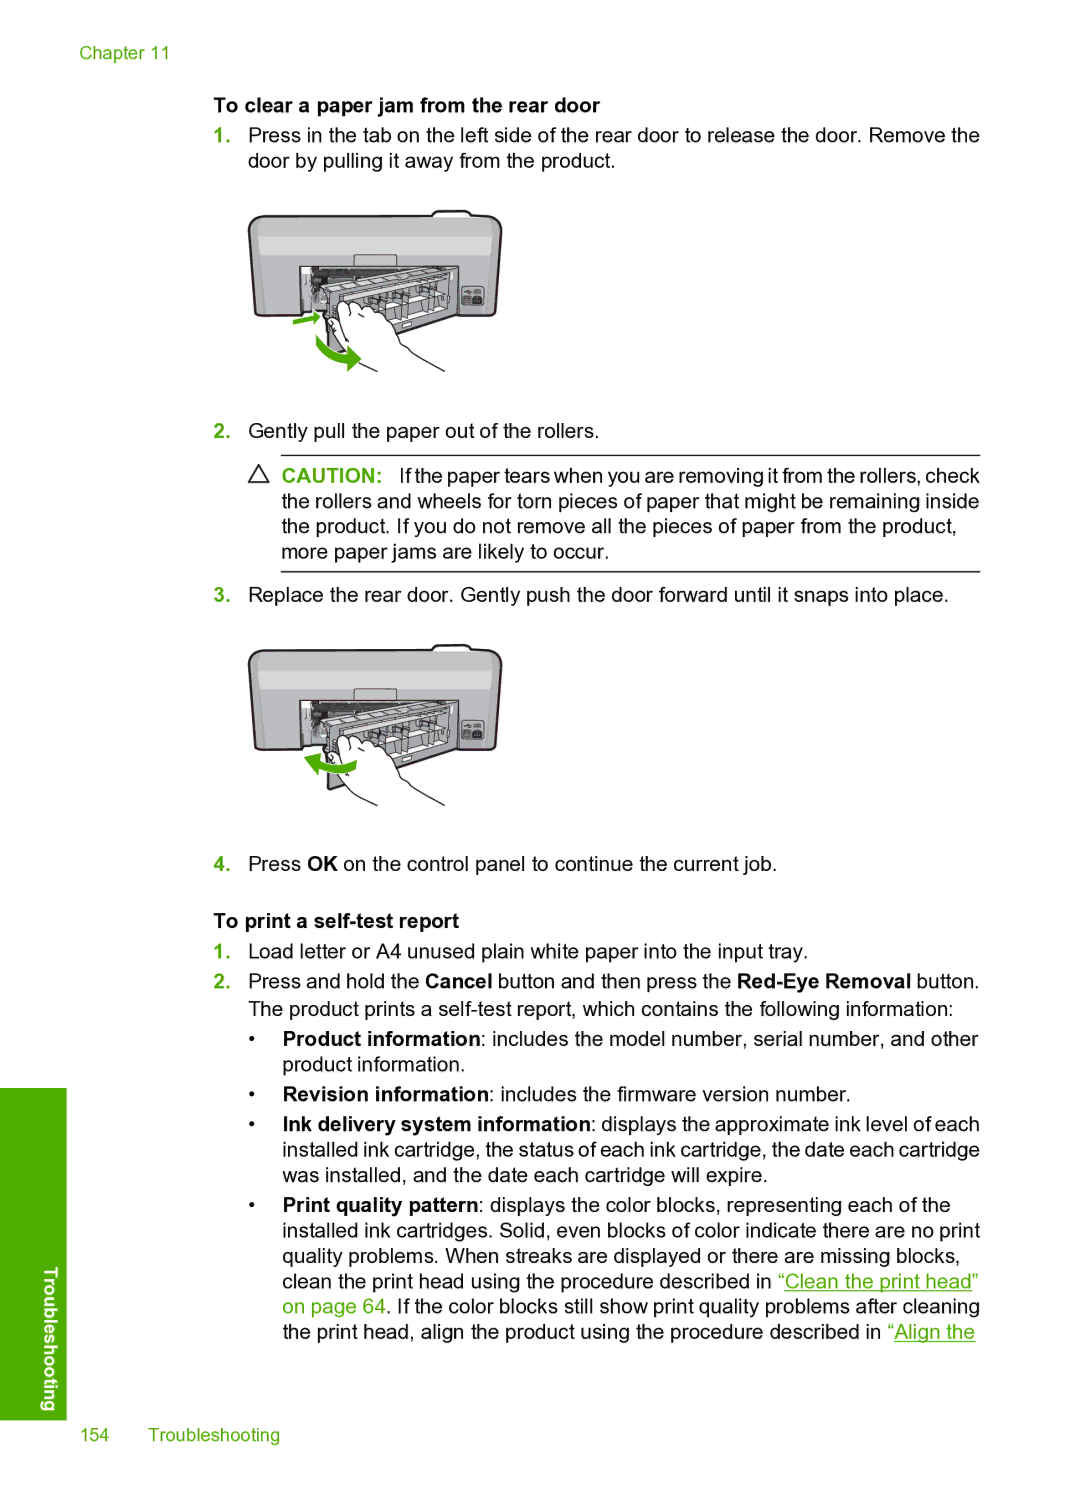
To clear a paper jam from the rear door
1.Press in the tab on the left side of the rear door to release the door. Remove the door by pulling it away from the product.
2.Gently pull the paper out of the rollers.
![]() CAUTION: If the paper tears when you are removing it from the rollers, check the rollers and wheels for torn pieces of paper that might be remaining inside the product. If you do not remove all the pieces of paper from the product, more paper jams are likely to occur.
CAUTION: If the paper tears when you are removing it from the rollers, check the rollers and wheels for torn pieces of paper that might be remaining inside the product. If you do not remove all the pieces of paper from the product, more paper jams are likely to occur.
3.Replace the rear door. Gently push the door forward until it snaps into place.
4.Press OK on the control panel to continue the current job.
To print a self-test report
1.Load letter or A4 unused plain white paper into the input tray.
2.Press and hold the Cancel button and then press the
•Product information: includes the model number, serial number, and other product information.
•Revision information: includes the firmware version number.
•Ink delivery system information: displays the approximate ink level of each installed ink cartridge, the status of each ink cartridge, the date each cartridge was installed, and the date each cartridge will expire.
•Print quality pattern: displays the color blocks, representing each of the installed ink cartridges. Solid, even blocks of color indicate there are no print quality problems. When streaks are displayed or there are missing blocks, clean the print head using the procedure described in “Clean the print head” on page 64. If the color blocks still show print quality problems after cleaning the print head, align the product using the procedure described in “Align the
154 Troubleshooting