Chapter 8
Photos
5.Press Print Photos.
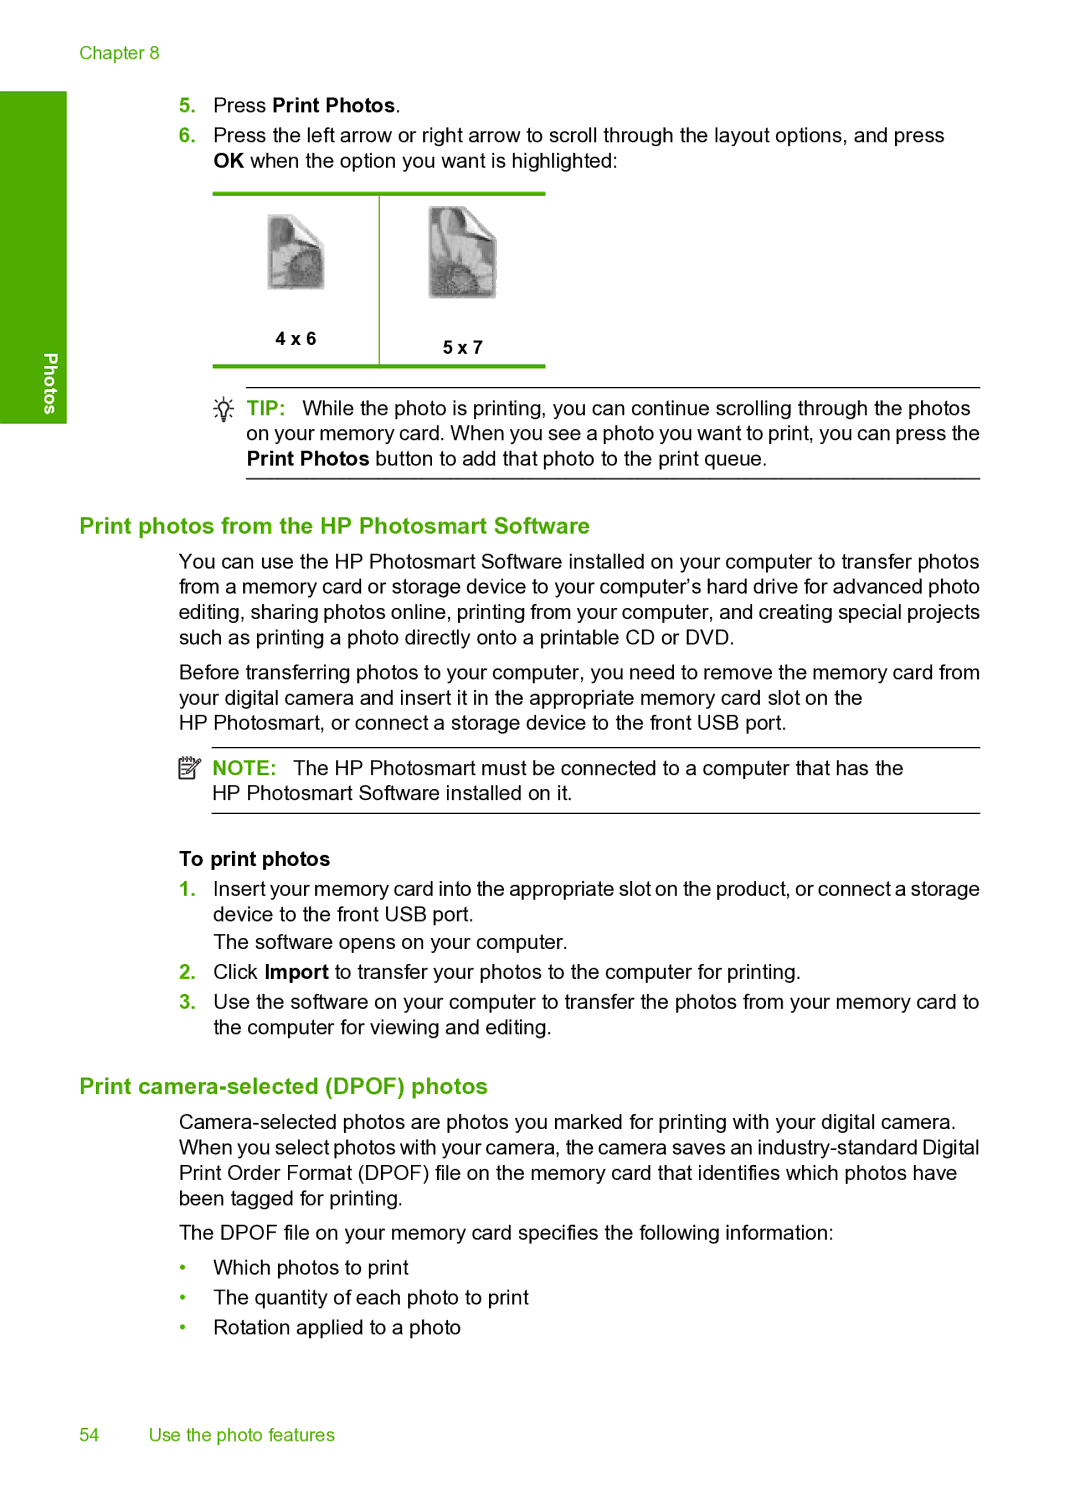
6.Press the left arrow or right arrow to scroll through the layout options, and press OK when the option you want is highlighted:
4 x 6 | 5 x 7 |
|
![]() TIP: While the photo is printing, you can continue scrolling through the photos on your memory card. When you see a photo you want to print, you can press the Print Photos button to add that photo to the print queue.
TIP: While the photo is printing, you can continue scrolling through the photos on your memory card. When you see a photo you want to print, you can press the Print Photos button to add that photo to the print queue.
Print photos from the HP Photosmart Software
You can use the HP Photosmart Software installed on your computer to transfer photos from a memory card or storage device to your computer’s hard drive for advanced photo editing, sharing photos online, printing from your computer, and creating special projects such as printing a photo directly onto a printable CD or DVD.
Before transferring photos to your computer, you need to remove the memory card from your digital camera and insert it in the appropriate memory card slot on the
HP Photosmart, or connect a storage device to the front USB port.
![]() NOTE: The HP Photosmart must be connected to a computer that has the HP Photosmart Software installed on it.
NOTE: The HP Photosmart must be connected to a computer that has the HP Photosmart Software installed on it.
To print photos
1.Insert your memory card into the appropriate slot on the product, or connect a storage device to the front USB port.
The software opens on your computer.
2.Click Import to transfer your photos to the computer for printing.
3.Use the software on your computer to transfer the photos from your memory card to the computer for viewing and editing.
Print camera-selected (DPOF) photos
The DPOF file on your memory card specifies the following information:
•Which photos to print
•The quantity of each photo to print
•Rotation applied to a photo
54 Use the photo features