|
|
| What | to | do | next? |
|
|
|
|
|
|
|
|
|
|
|
| Ÿ |
|
|
|
|
|
|
|
|
|
|
| |||||
| To | install | or | remove | a | in | bay 3, go to step | ||||||||||
| Ÿ | To | install | or remove a | in | bay | 3, go to step | ||||||||||
|
|
| page |
|
|
|
|
|
|
|
|
|
|
| |||
| Ÿ | To | install | or | remove | a drive | in bay | 4 | or | 5, | go | to | step | 23 | |||
| Ÿ | If | you | have no more drives to install | or | remove, | go |
| to | 20 | |||||||
|
|
|
|
|
|
|
| ||||||||||
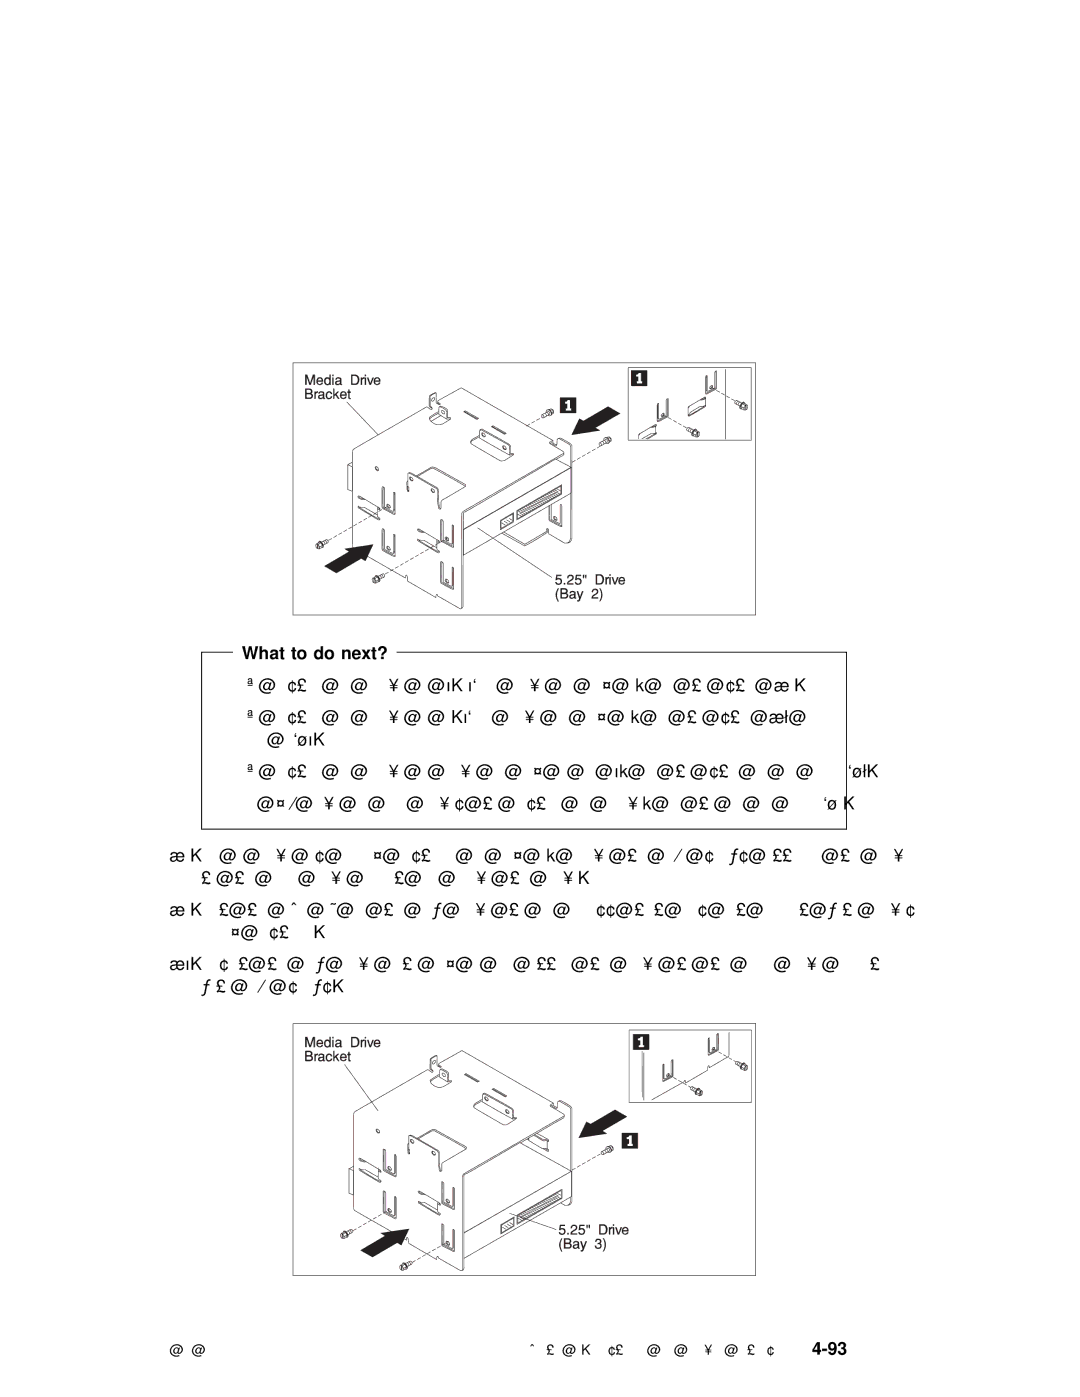
13. If a | drive is already installed in bay | 3, | remove | the |
| four | |||||||||||
| to | the | media | drive bracket and | remove | the | drive. |
|
|
|
| ||||||
14.Set the SCSI ID of the new drive to an address that does n already installed.
15. Insert the new drive into bay 3 and attach the drive to the with four screws.
