SuperTrak66™ User's Manual | Chapter 5 |
Rebuilding An Array
You will want to rebuild an array whenever a drive has failed and been removed from a RAID 1, 0+1, 3 or 5 array. For continuous operation, a replacement drive can be "hot" swapped while the attached system is operational.
NOTE: In most cases, the rebuild process is initiated automatically
When rebuilding manually, data from the remaining working drive(s) can be reconstructed on to the target drive until data is restored. During rebuild, users may continue to access the working array and perform normal PC functions. However, system performance will be slightly degraded and the rebuild process will take longer.
NOTE: Remember that during an array rebuild, the array does NOT provide data redundancy. It is recommended that all rebuilds be carried to completion.
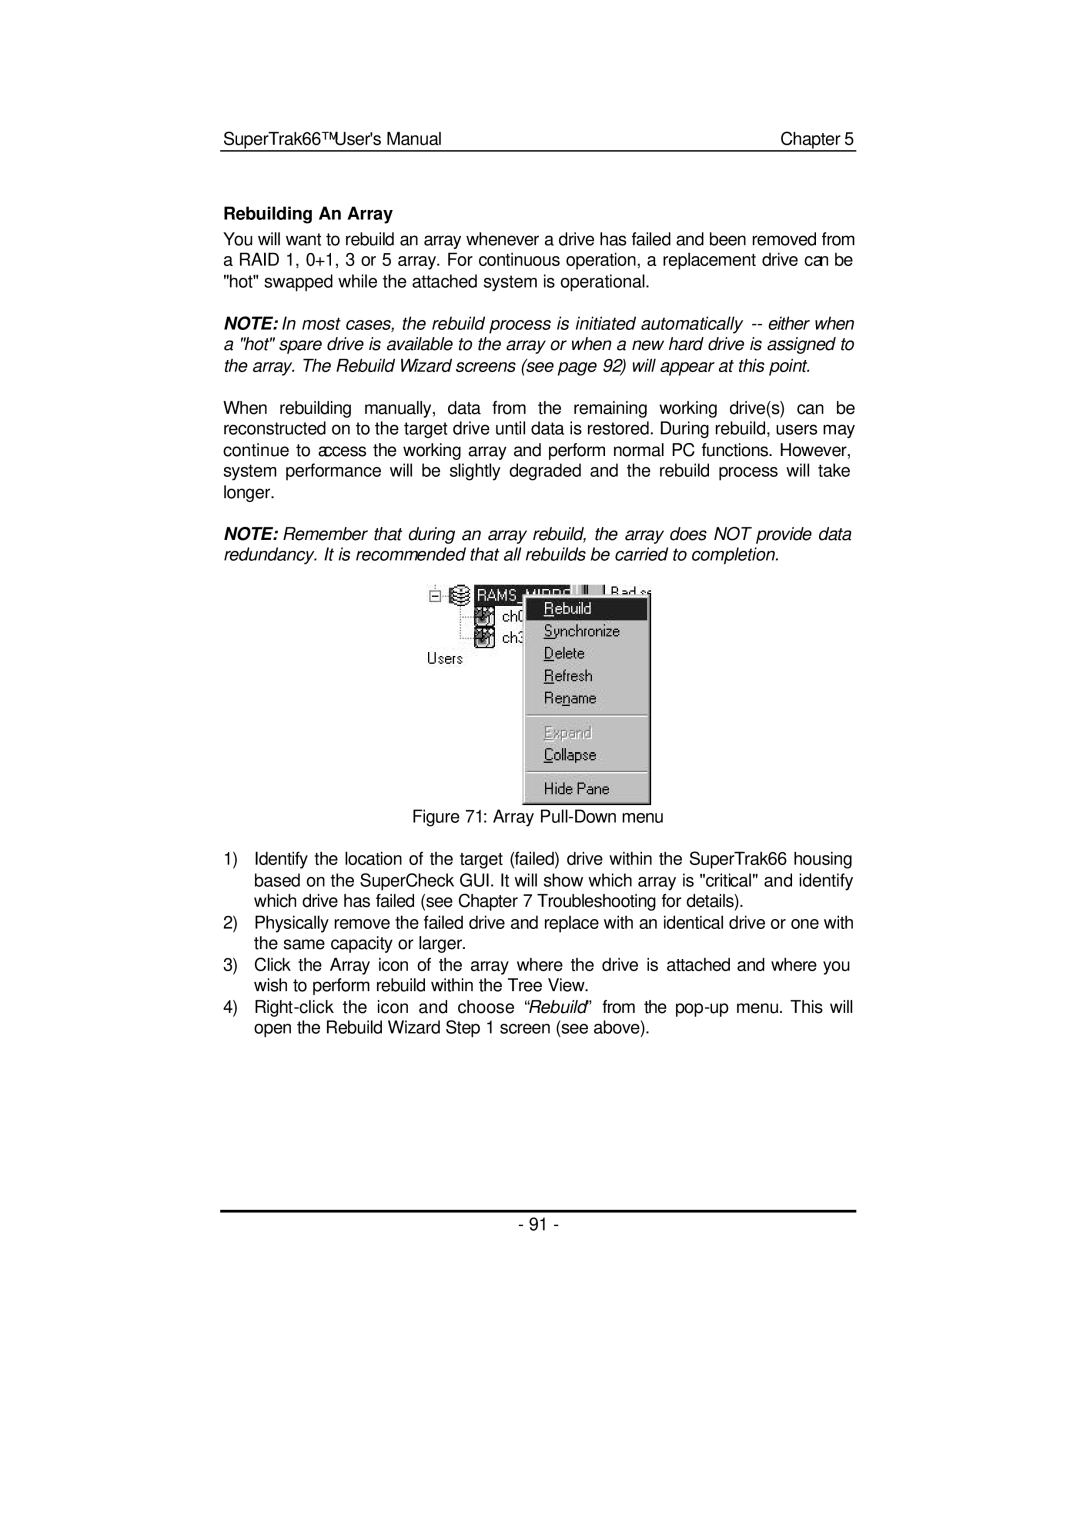
Figure 71: Array Pull-Down menu
1)Identify the location of the target (failed) drive within the SuperTrak66 housing based on the SuperCheck GUI. It will show which array is "critical" and identify which drive has failed (see Chapter 7 Troubleshooting for details).
2)Physically remove the failed drive and replace with an identical drive or one with the same capacity or larger.
3)Click the Array icon of the array where the drive is attached and where you wish to perform rebuild within the Tree View.
4)Right-click the icon and choose “Rebuild” from the pop-up menu. This will open the Rebuild Wizard Step 1 screen (see above).
- 91 -