SuperTrak66™ User's Manual | Chapter 2 |
Driver Installation During New Install of Windows NT 4.0
Under Windows NT 4.0, insert the included “SuperTrak66 Driver” diskette in drive A: when prompted for the drivers.
1a) Floppy Install: Boot the computer with the Windows NT installation diskettes.
1b) Floppyless Install: Boot from floppy and type “WINNT /B”. After files have been copied, the system will reboot. On the reboot, press <F6> when the message “Setup is inspecting your computer’s hardware configuration...” appears.
1c)
2)When the “Welcome to Setup” window is generated, press “Enter.”
3)In the “Setup Method” dialog box, press “Enter” to confirm “Express Setup.”
4)Press “S” to add the SuperTrak66 controller.
5)Select “Other (requires disk provided by hardware
manufacturer).”
6)Specify “a:\”, insert the Promise driver diskette into drive A: and press ENTER.
7)Select the “Promise Technology Inc. SuperTrak Controller” and click “OK”.
NOTE: for CD installations, you must also specify the driver for your
8) Follow the normal setup installation procedure.
To check if the driver installation was successful, perform the following steps:
1)After restarting the system, return to the Control Panel.
2)Click on the “SCSI Adapters” icon.
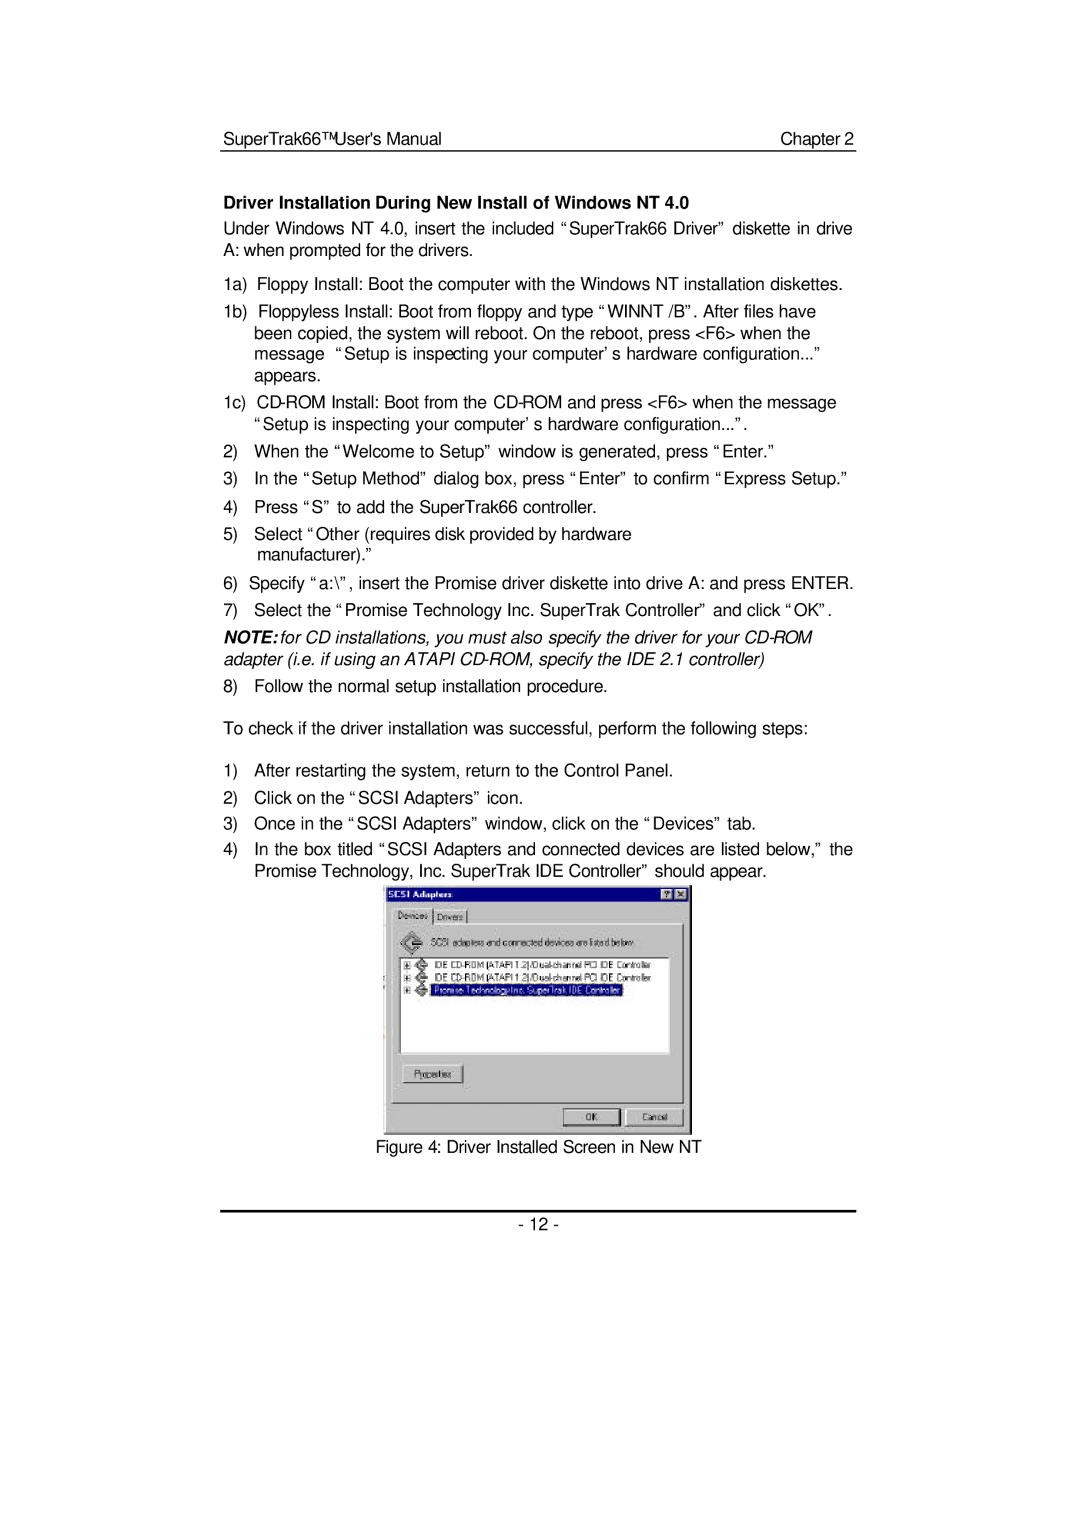
3)Once in the “SCSI Adapters” window, click on the “Devices” tab.
4)In the box titled “SCSI Adapters and connected devices are listed below,” the Promise Technology, Inc. SuperTrak IDE Controller” should appear.
Figure 4: Driver Installed Screen in New NT
- 12 -
