3Cable Testing with the FrameScope 350
Setting Up an Autotest
Choosing the Connector Type
Connectors from different manufacturers have different transmission characteristics. The FrameScope 350 compensates for those differences, if you tell it what connectors are used on the job.
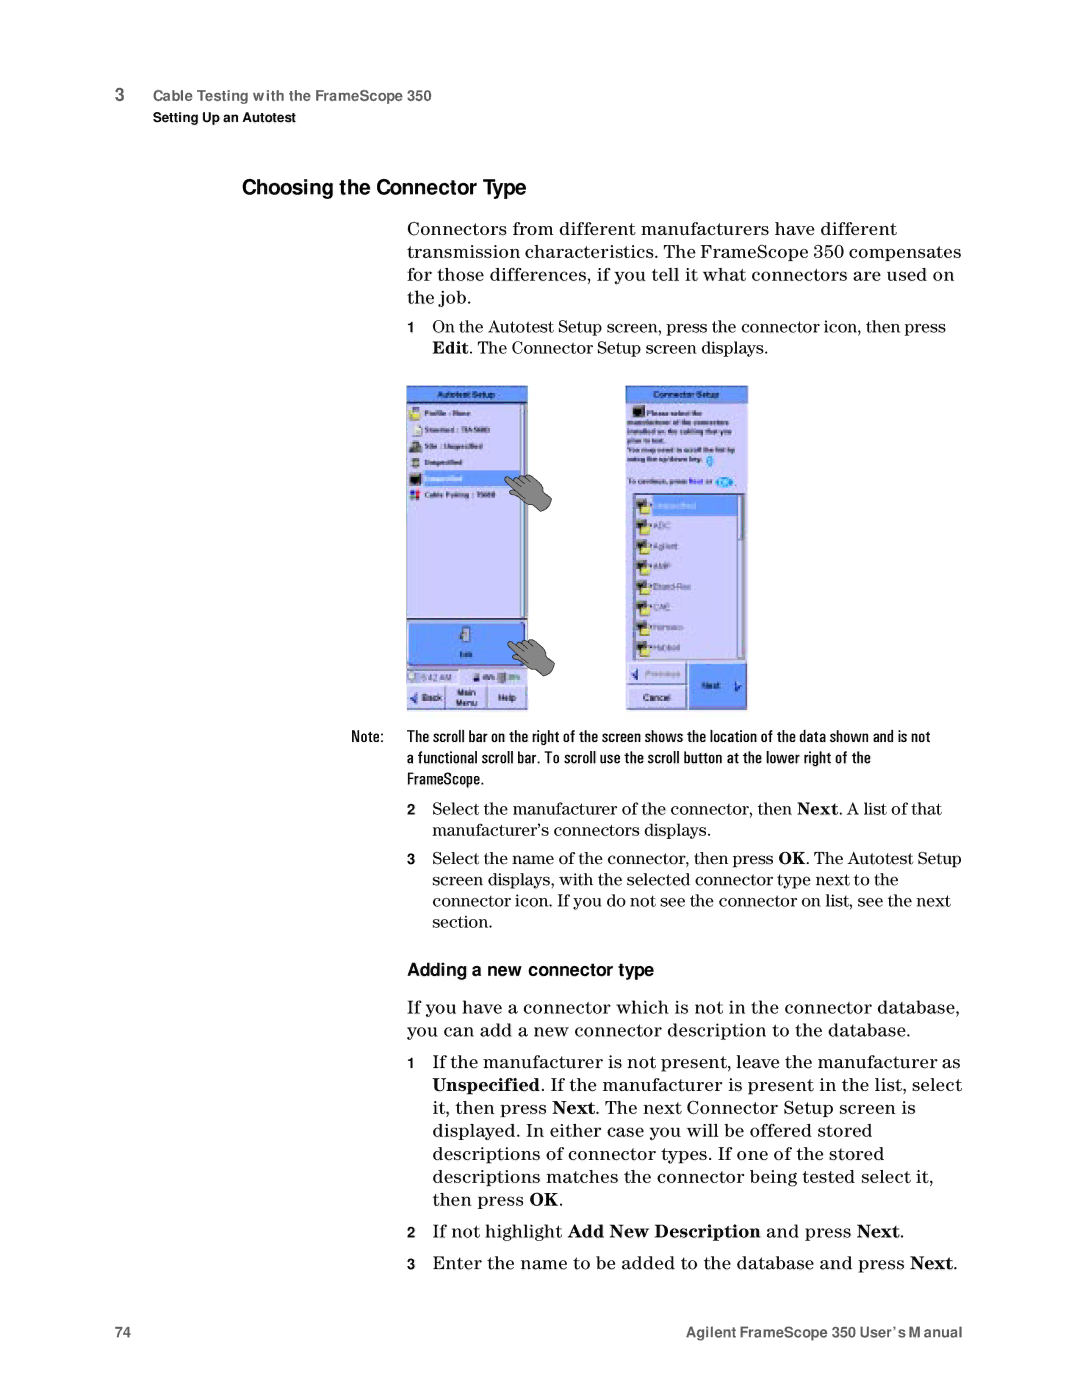
1On the Autotest Setup screen, press the connector icon, then press Edit. The Connector Setup screen displays.
2Select the manufacturer of the connector, then Next. A list of that manufacturer’s connectors displays.
3Select the name of the connector, then press OK. The Autotest Setup screen displays, with the selected connector type next to the connector icon. If you do not see the connector on list, see the next section.
Adding a new connector type
If you have a connector which is not in the connector database, you can add a new connector description to the database.
1If the manufacturer is not present, leave the manufacturer as Unspecified. If the manufacturer is present in the list, select it, then press Next. The next Connector Setup screen is displayed. In either case you will be offered stored descriptions of connector types. If one of the stored descriptions matches the connector being tested select it, then press OK.
2If not highlight Add New Description and press Next.
3Enter the name to be added to the database and press Next.
74 | Agilent FrameScope 350 User’s Manual |