SERVSWITCH™ MULTI
5.Remove the blanking plates on the Hub’s rear panel that cover the slots you want to install your Transmit and Receive Modules in. Gently slide your Modules into the Hub’s chassis and tighten the retaining screws.
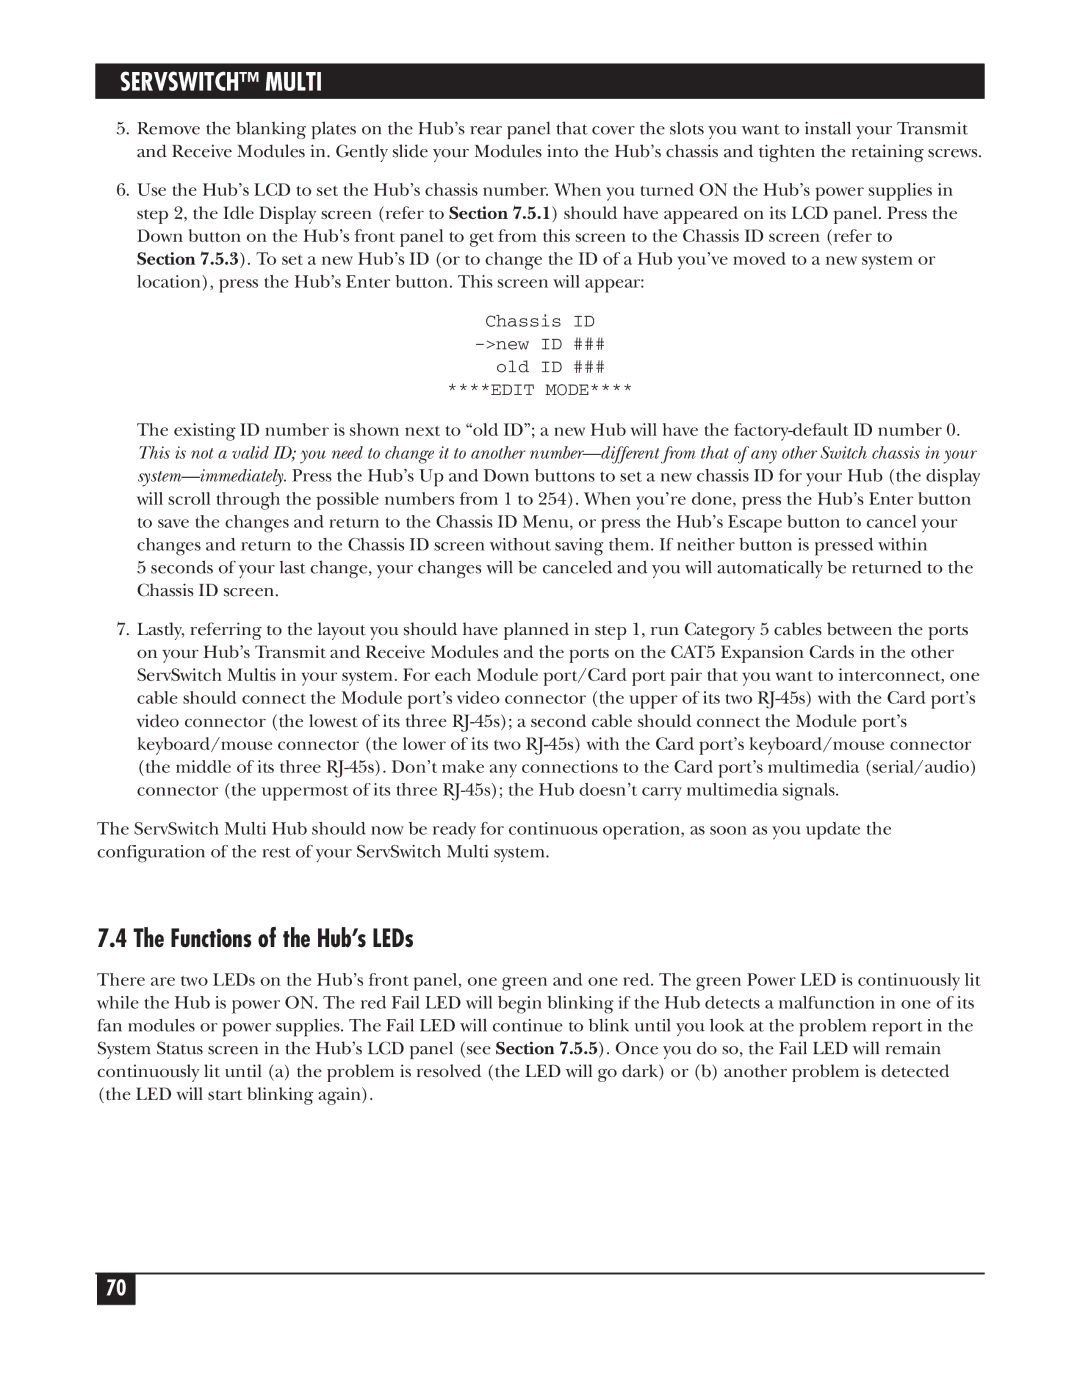
6.Use the Hub’s LCD to set the Hub’s chassis number. When you turned ON the Hub’s power supplies in step 2, the Idle Display screen (refer to Section 7.5.1) should have appeared on its LCD panel. Press the Down button on the Hub’s front panel to get from this screen to the Chassis ID screen (refer to Section 7.5.3). To set a new Hub’s ID (or to change the ID of a Hub you’ve moved to a new system or location), press the Hub’s Enter button. This screen will appear:
Chassis ID
old ID ###
****EDIT MODE****
The existing ID number is shown next to “old ID”; a new Hub will have the
5 seconds of your last change, your changes will be canceled and you will automatically be returned to the Chassis ID screen.
7.Lastly, referring to the layout you should have planned in step 1, run Category 5 cables between the ports on your Hub’s Transmit and Receive Modules and the ports on the CAT5 Expansion Cards in the other ServSwitch Multis in your system. For each Module port/Card port pair that you want to interconnect, one cable should connect the Module port’s video connector (the upper of its two
The ServSwitch Multi Hub should now be ready for continuous operation, as soon as you update the configuration of the rest of your ServSwitch Multi system.
7.4 The Functions of the Hub’s LEDs
There are two LEDs on the Hub’s front panel, one green and one red. The green Power LED is continuously lit while the Hub is power ON. The red Fail LED will begin blinking if the Hub detects a malfunction in one of its fan modules or power supplies. The Fail LED will continue to blink until you look at the problem report in the System Status screen in the Hub’s LCD panel (see Section 7.5.5). Once you do so, the Fail LED will remain continuously lit until (a) the problem is resolved (the LED will go dark) or (b) another problem is detected (the LED will start blinking again).
70