User’s Guide
For immediate technical or application assistance
Revisions
Foreword
Trademarks
Electronic Manuals Provided on the Accompanying CD-ROM
Software Sold Separately
Recorder’s Version and Functions Described in This Manual
RD100B Versions and Functions
Version Suffix Code Added or Modified Functions Reference
About This Manual
Safety Precautions
Safety Standards and EMC Standards
Iii
Handling Precautions of the Software
Exemption from Responsibility
Checking the Contents of the Package
Checking the Contents of the Package
Standard Accessories
Optional Accessories Sold Separately
Dot Model
Removing the Packing Materials
Pen Model
Vii
How to Use This Manual
Viii
Conventions Used in This Manual
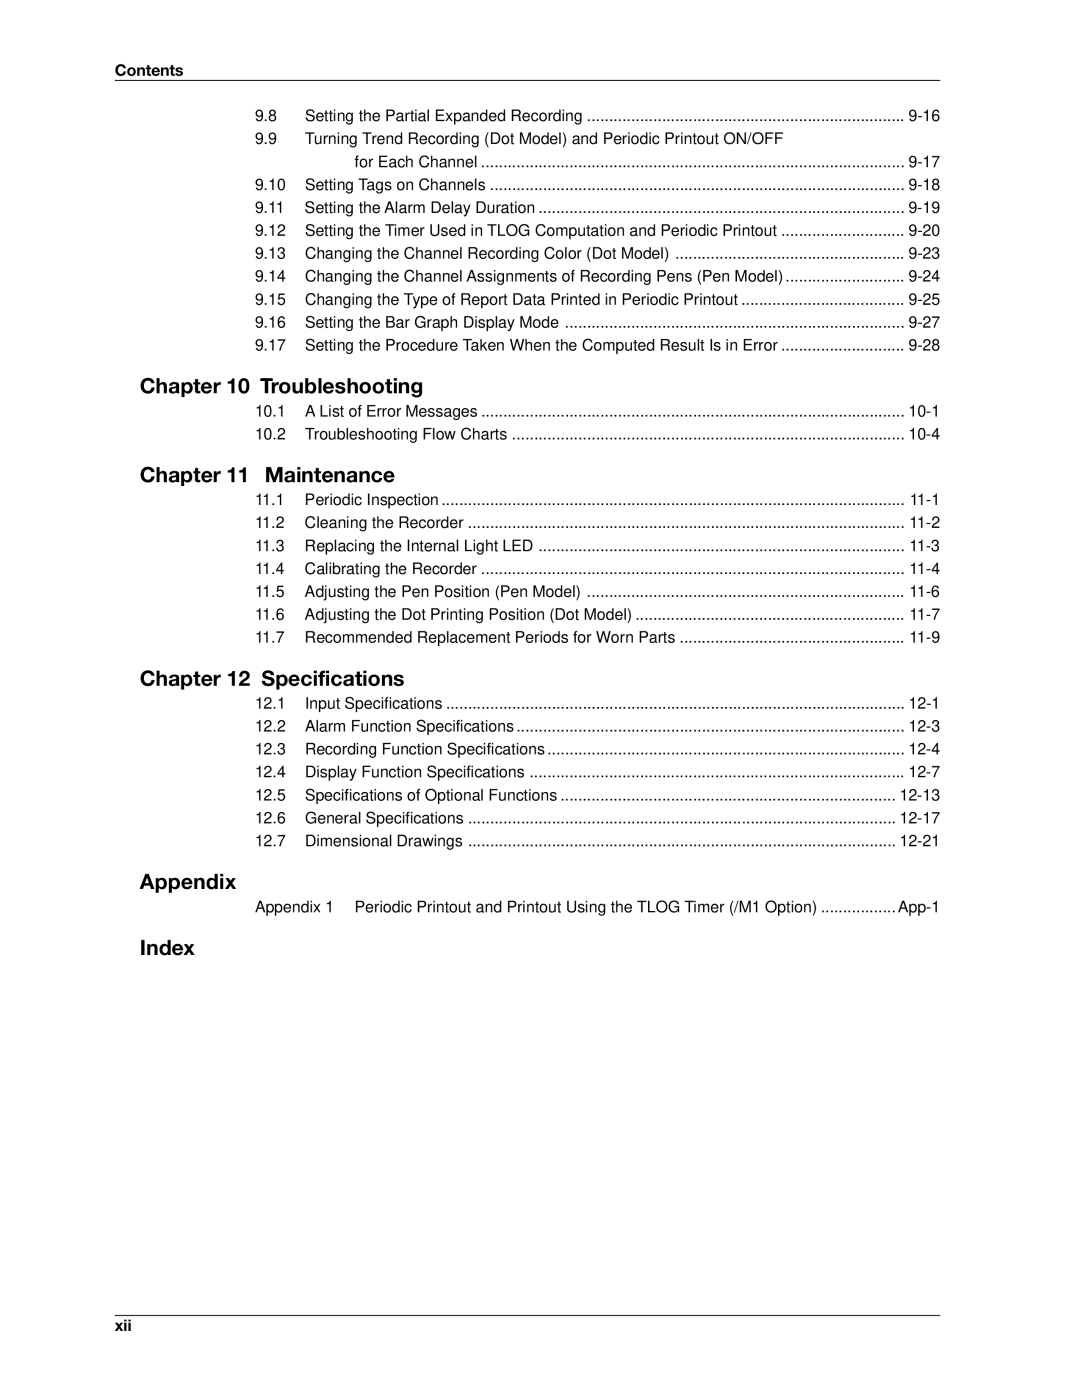
Contents
Setup Operations for Convenient Functions Setting Mode
Contents
Maintenance
Xii
Overview of the Recorder
Measuring Input Section
Input Section
Square Root Computation
Measuring Input Section Delta Computation
Scaling
Measuring Input Section Bias
Burnout Detection of Thermocouples
Reference Junction Compensation of Thermocouple Input
Filter and Moving Average
Noise Elimination from Input Signals
Measuring Input Section
Filter Pen Model
Integration Time of the A/D Converter
Model Integration Time of the A/D Converter
Alarms
Alarm Types
Delay High Limit Alarm Example T is the specified delay
Alarms Delay High Limit Alarm T
Delay Low Limit Alarm t
Alarm Hysteresis
Alarm Output Relay /A1, /A2, and /A3 Options
Alarm Indication
Alarm Recording
Non-Hold/Hold Operation of the Alarm Indication
Channel Approx ms Approx ms
Alarms Reflash Alarm
Alarm
Functional
Alarms AND/OR Operation of Alarm Output Relays
Energized/De-energized Operation of Alarm Output Relays
Description
Alarm ACK Operation
Alarms Non-Hold/Hold Operation of Alarm Output Relays
Recording
Recording Method Pen Model
Chart Speed
Trend Recording
Recording Method Dot Model
Compressed Expanded
Recording Partial Expanded Recording
Pen Offset Compensation Pen Model
Same time
Printout
Printout Example on the Pen Model
Recording Printout Example on the Dot Model
Functional Description Channel Printout Dot Model Only
Periodic Printout
Recording Alarm Printout
Printout Contents for details, see appendix
Interval
Manual Printout
New Chart Speed Printout
Recording Turning ON/OFF the Periodic Printout
Message Printout
Recording Setting Printout
Printout Example of List on the Pen Model
Printout Example of List on the Dot Model
Display Types
Display
Displayed Information
Channel Digital + 1 Bar Graph Display
Alarm Status Display
Date/Time and Chart Speed
Flag Display
Channels Dedicated to Computations
Computation Function /M1 Option
Computation Function
Types of Computations
Trend Recording
Handing of the Unit in Computations
Recording Computation Channels
Assignment of Computation Channels to the Pens Pen Model
Starting/Stopping Computation
Alarms
Display
Printout
Fail Output
FAIL/Chart End Detection and Output Function /F1 Option
Chart End Output
Fail Relay Output
Remote Control Function /R1 Option
Remote Signal Edge, Trigger, and Level
Remote Control Function /R1 Option Computation Start/Stop
Computation Reset
Rising/Falling edge Trigger Level Ms or more
Key Lock
Temperature Unit
Other Functions
Language
Before Using the Recorder
Handling Precautions
Handling Precautions
Installation
Installation Location
Front Contact With each other
Installation Procedure
Installation
Flat blade
External Dimensions of the Recorder
Panel Cutout
Precautions to Be Taken While Wiring
Input Signal Wiring
General Precautions to Be Taken While Wiring
Screw input terminal
Arrangement of the Measuring Input Terminals
Measuring input terminal block
Clamped input terminal H2 option
Recorder
Input Signal Wiring Dot Model
Before Using
DC current input +/A Shunt resistor
Measuring Input Wiring
Input Signal Wiring
Crimp-on lug with insulation sleeves for 4 mm screws
Optional Terminal Wiring
Arrangement of the Optional Terminals
Optional terminal block
Optional Terminal Wiring
Remote Control Input Terminals
Relay Contact Input/Transistor Input Specifications
Wiring Procedure
Relay Contact Output Specifications
Relay contact output Voltage-free contact Open collector
Power Supply Specifications
Power Supply Wiring
Precautions to Be Taken While Wiring the Power Supply
Power Supply Wiring
Turning ON/OFF the Power Switch
Checking the Date/Time
Names of Parts and Run Operations
Names of Parts
Front
Names of Parts
Seven keys are available
Display and Key Panel
Status display
During normal operation CH UP key
Rear Panel
Names Parts Run Operations
Stopper
Installing or Replacing the Chart Paper
Loading the Chart Paper
Chart holder
Installing or Replacing the Chart Paper
Fold chart paper Sprocket teeth
Side with
Feeding the Chart Paper
Display and key panel
Installing/Replacing Felt Pens or Plotter Pen Pen Model
Replacing Felt Pens
Replacing the Plotter Pen
Installing/Replacing the Ribbon Cassette Dot Model
Holder tab
Hole for the ribbon Feed shaft Ribbon feeding knob
Installing/Replacing the Ribbon Cassette Dot Model
Cassette holder
Starting the Recording
Recorded chart paper can be pulled out Front cover tab
Starting/Stopping the Recording
Stopping the Recording
Channel Auto Switching
Switching the Display Screen
Switching the Display Screen
Switching the Displayed Channel Using Keys
Aborting the Manual Printout
Printing Measured Values Manual Printout
Starting the Manual Printout
Aborting the Setup Printout
Printing the Recorder Settings
Starting the Setup Printout
Starting the List Printout
Clearing the Alarm Printout Buffer
Buf.clear=Alarm
Printing a Message
Displays the preset message
Printing Messages
Clearing the Message Printout Buffer
Resetting the Report Data of the Periodic Printout
Resetting the Report Data
Alarm Output Relay Operation
Releasing the Alarm Output Alarm ACK Operation
Releasing the Alarm Output
Alarm Alarm output relay Blinking Alarm indication
Releasing the Key Lock
Activating/Releasing the Key Lock
Activating the Key Lock
Run Modes
Exiting from Setting Mode Returning to Operation Mode
Entering Setting Mode
Entering Basic Setting Mode
Exiting from Basic Setting Mode Returning to Operation Mode
Entering Values
Changing the Settings
Using the ESC Key
Key Operations
Deleting a Character
Entering Characters
Inserting Characters
Copying & Pasting a Character String
Menu Structure, Settings, and List of Default Values
Operation Menus Using the Func Key Operation Mode
Exchange Dot Model
Menu Structure of Setting Mode
Menu Structure, Settings, and List of Default Values
Menu Structure of Basic Setting Mode
POC
Setup Items in Setting Mode and Their Default Values
Setup Items in Basic Setting Mode and Their Default Values
RJC RJC
Setting initialization
Remote control function /R1 option
NORMAL/MODBUS Normal
Function Setup Guide
Description Reference Section
Recording functions Description Reference Section
Function Setup Guide
Alarm functions Description Reference Section
Recording color
Channel number
Or tag
Display functions Description Reference Section
Other functions Description Reference Section
Timer number
Computed value
TC, RTD, and DC Voltage
Setting the Input Range
Frequently Used Setup Operations Setting Mode
N1 Option
Setting the Input range
Selectable Range of Input Range, Span Left, and Span Right
Input Type
Linear Scaling
First channel Last channel
Delta Computation
Span Left and Span Right
ON/OFF Input
Range Type Selectable Span Values
Low-cut
5V Input
Scale Left and Scale Right
Select the right scale value
Changing the Settings
Remote No
Function to Be Assigned
Date Format
Setting Format Example
Changing the Printout/Display Format of the Date
Changing the Temperature Unit
Temp Temperature
Setup Operations for Changing Displayed Contents
Setup Operations for Changing the Displayed Contents
Displaying the Data Display Setup Screen
Key Operations for Changing the Displayed Information
End
Data Display Setup Menu
Key Operations for Changing the Displayed Information
End Flag display
Channel Digital Display
Changing the Displayed Contents
Changing the Displayed Information
Assigning Other Display Types See the menu on the previous
Starting the Computation
Starting/Stopping/Resetting the Computation
Operations Related to the Computation Function /M1 Option
Stopping the Computation
Setting the Computing Equation
Inserting a Character
Description Character Key
Type Operator
Computing Equation
Order of Precedence in Computations
Equation Examples
Power and Other Computations
Four Arithmetic Operation
Relational Computation
Logical Computation
XOR
Equation Example 01-02OR03.GT.04
Examples of Equations That Are Not Allowed
Tlog Computation
Equation Example
Setting the Unit
Characters That Can Be Used for Units
Setting the Constants Used in Equations
Constant
Select On to set the alarm. When set
Alarm Value
Specifying the Timer Used in Statistical Calculations Tlog
Timer operation
Specifying the Timer Used in Statistical Calculations Tlog
Timer No
Timer # Periodic
Set the leftmost value of the recording
New setting takes effect Related Topics
Dot model
Set= Math Math= Aux Aux= Tag
Duration
Basic=Math Math=TimerTLOG Timer No.=1 Mode=Absolute
Timer Type
Timers
Number of Timers
Absolute Time Mode
Timer timeout Reset Reset Reset Reset On Reset Off
Example TLOG.SUM computation
Select the channel
Changing the Channel Assignments of Recording Pens Pen Model
Output pen
Operations
Function /M1 Option
Setting the periodic printout interval Section
Select the display mode of the bar
Select the computation error procedure
Channel Limit Value
Error
Over
Troubleshooting
List of Error Messages
Setting Errors
Troubleshooting 10-1
List of Error Messages
Operation Errors
Communication Errors
When the timer expired
System Errors
Troubleshooting 10-3
Troubleshooting Flow Charts
10-4
Troubleshooting Flow Charts
10-5
10-6
Remaining amount of chart paper
Maintenance
Maintenance 11-1
Periodic Inspection
Pen Model
Cleaning the Recorder
Cleaning Procedure
Dot Model
Flexible printed circuit board LED assembly Connector
Replacement Procedure
Maintenance 11-3
Replacing the Internal Light LED
Required Instruments
Calibration Procedure
Calibrating the Recorder
RJC of TC input
Temperature Measurement When Using a Thermocouple
Maintenance 11-5
11-6
Adjusting the Pen Position Pen Model
Basic=PAdj screen
Adjusting Zero and Full
Adjusting the Dot Printing Position Dot Model
Adjusting the Hysteresis
Maintenance 11-7
Adjusting the Dot Printing Position Dot Model
11-8
Part Name Quantity Period Used
Recommended Replacement Periods for Worn Parts
Maintenance 11-9
11-10
Recommended Replacement Periods for Worn Parts Dot Model
Replacement Part Name Quantity Period Used
Number of Inputs and Scan Interval on the Dot Model
Input Specifications
Number of Inputs and Scan Interval on the Pen Model
Input Type
12-2
Input Specifications
Input Computation Standard Function
Input Type Operating Conditions
Alarm Function Specifications
Specifications 12-3
Trend Recording Pen Model
Recording Function Specifications
Chart Paper
Trend Recording Dot Model
Printouts Pen Model
Recording Function Specifications
Specifications 12-5
Printout Dot Model
12-6
Display Function Specifications
Display and Displayed Contents
12-8
Display Function Specifications
ItemSpecifications
Status Display Description
Specifications 12-9
Symbol Description
12-10
Channel digital display Measurement channel Tag display
Specifications 12-11
Name Display Example DI/DO status display Status display
Digital display is the same as
12-12
Specifications 12-13
Specifications of Optional Functions
Alarm Output Relay /A1, /A2, and /A3
RS-422A/485 Communication Interface /C3
Non-Glare Door Glass /H3
FAIL/Chart End Detection and Output /F1
Clamped Input Terminal /H2
Computation Function /M1
Legs Isolated RTD /N2
Specifications 12-15
Cu10, Cu25 RTD Input /N1
Expansion Inputs /N3
12-16
Remote Control 5 Points /R1
Time When Signal Is Input Procedure
Specifications 12-17
General Specifications
Power Supply
Construction
Transport and Storage Conditions
General Specifications
Isolation
Supported Standards
Standard Performance
Specifications 12-19
Resolution
Excludes
12-20
Other Specifications
Effects of Operating Conditions
220
Dimensional Drawings
Specifications 12-21
144 151.5
Periodic Printout
Scale, recording color, and chart speed
Report Mode
Time tick and time tick cancel mark
Recording color
Channel data, alarm, scale printout, and chart speed
Scale and chart speed
Offset compensation mark, scale, and recording color
Printout Using the Tlog Timer /M1 Option
Timer
App-4
Time of Recovery Statistical Calculation Operation
Operation during Power Failures
Procedure of Handling Over Values during Periodic Printout
Special Cases
Index
Index Index-1
Index
Index-2
Index Index-3
7-11
Index-4
WARRANTY/DISCLAIMER
Shop online at omega.com