Chapter 5: Management with the CLU
If you know a disk drive is good but VTrak shows an Error, wipe the drive’s reserve sector. From the Physical Drive Management menu, press 7 and Enter.
If VTrak does not recognize a disk drive, check for proper installation into the drive carrier and verify that the carrier is properly inserted into the slot.
View Parameters
1.Press 1 and Enter to view the parameters of the selected disk drive.
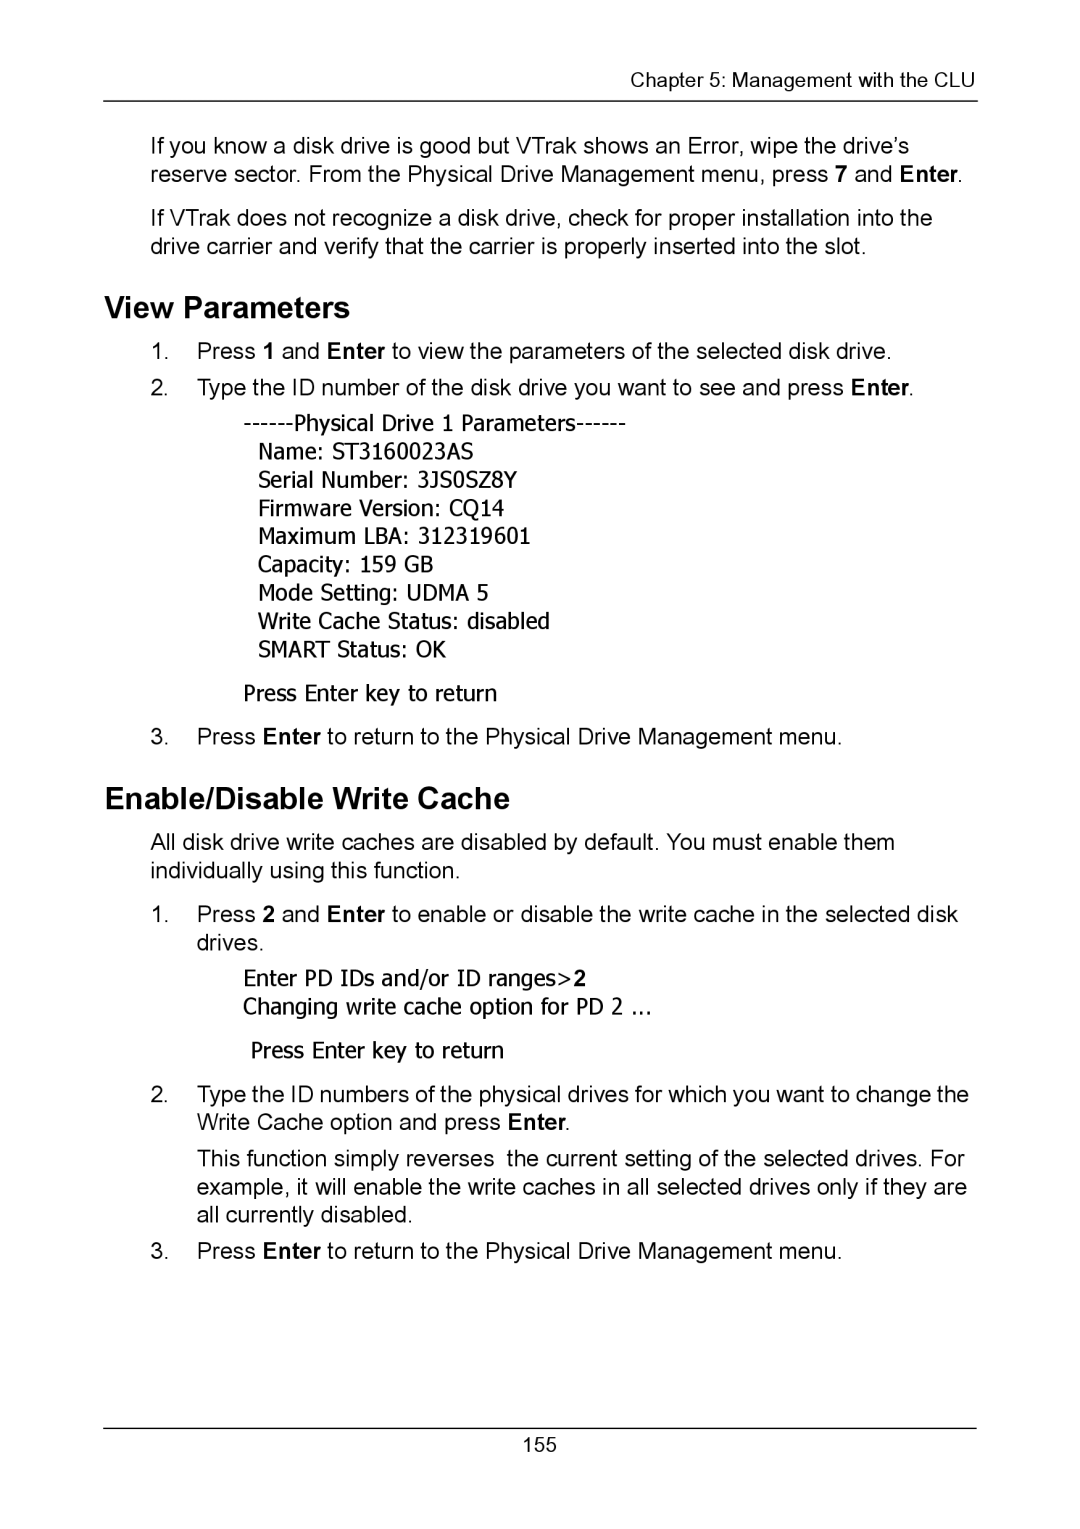
2.Type the ID number of the disk drive you want to see and press Enter.
Name: ST3160023AS
Serial Number: 3JS0SZ8Y
Firmware Version: CQ14
Maximum LBA: 312319601
Capacity: 159 GB
Mode Setting: UDMA 5
Write Cache Status: disabled
SMART Status: OK Press Enter key to return
3.Press Enter to return to the Physical Drive Management menu.
Enable/Disable Write Cache
All disk drive write caches are disabled by default. You must enable them individually using this function.
1.Press 2 and Enter to enable or disable the write cache in the selected disk drives.
Enter PD IDs and/or ID ranges>2
Changing write cache option for PD 2 ...
Press Enter key to return
2.Type the ID numbers of the physical drives for which you want to change the Write Cache option and press Enter.
This function simply reverses the current setting of the selected drives. For example, it will enable the write caches in all selected drives only if they are all currently disabled.
3.Press Enter to return to the Physical Drive Management menu.
155