Delivering Scan Files
5
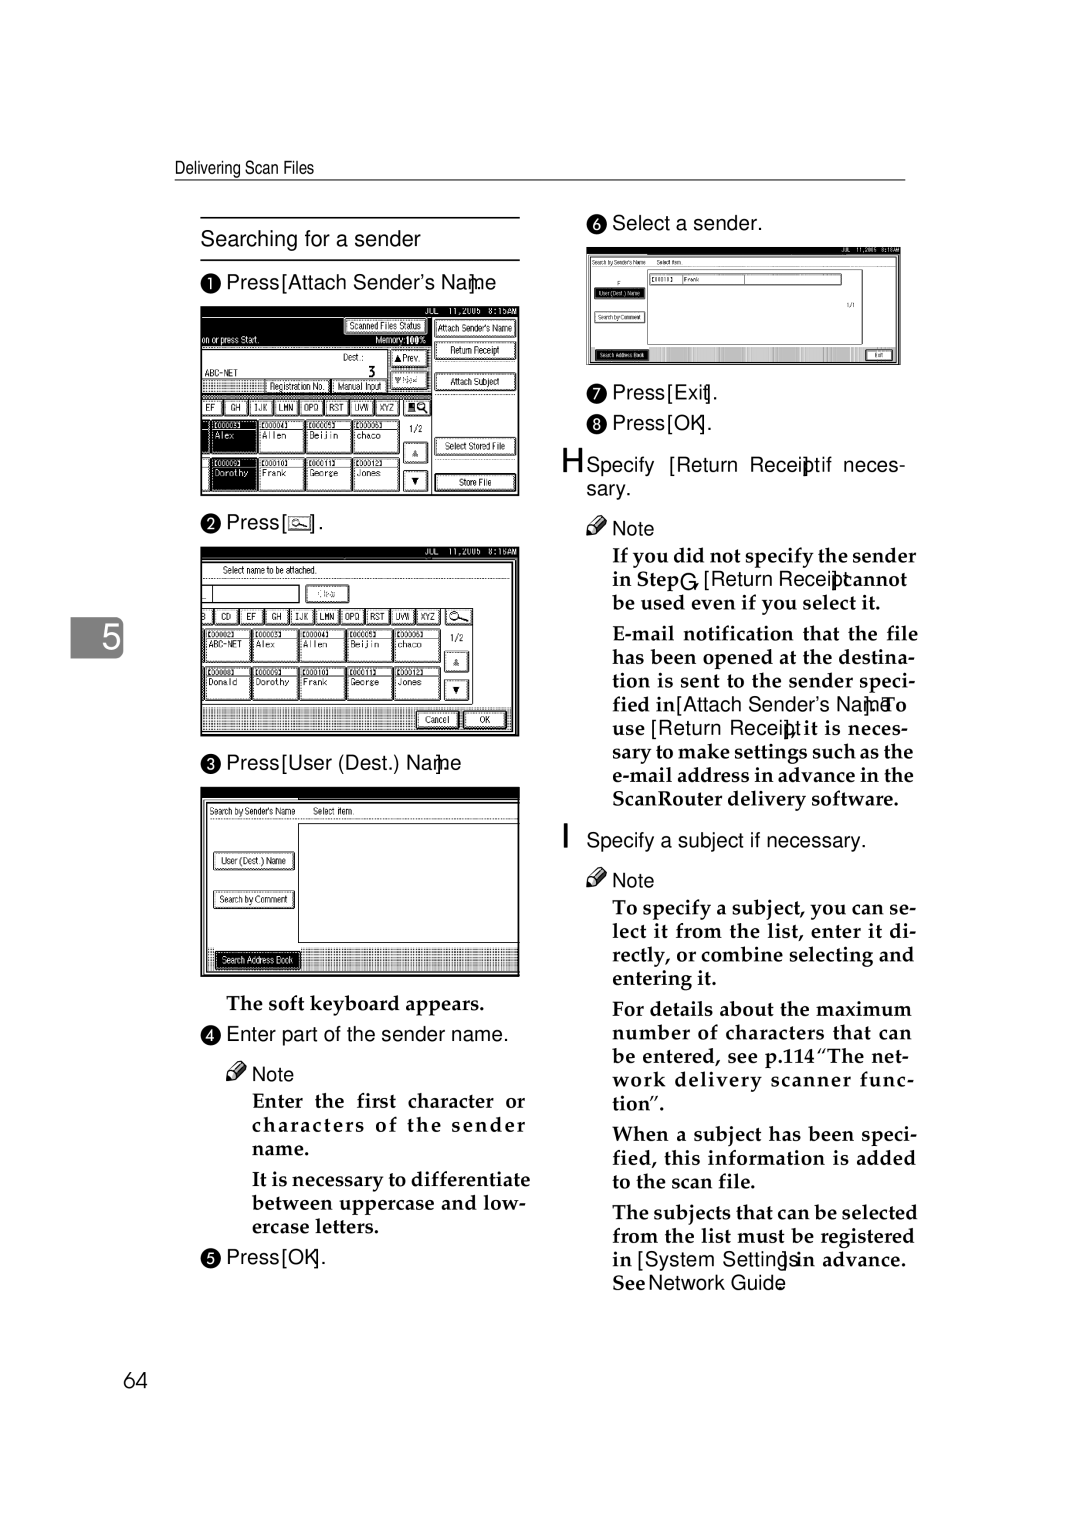
Searching for a sender
APress [Attach Sender's Name].
BPress [![]() ].
].
CPress [User (Dest.) Name].
The soft keyboard appears.
D Enter part of the sender name.
![]()
![]() Note
Note
❒Enter the first character or characters of the sender name.
❒It is necessary to differentiate between uppercase and low- ercase letters.
EPress [OK].
F Select a sender.
GPress [Exit].
HPress [OK].
H Specify [Return Receipt] if neces- sary.
![]()
![]() Note
Note
❒If you did not specify the sender
in Step G, [Return Receipt] cannot be used even if you select it.
❒
I Specify a subject if necessary.
![]()
![]() Note
Note
❒To specify a subject, you can se- lect it from the list, enter it di- rectly, or combine selecting and entering it.
❒For details about the maximum number of characters that can be entered, see p.114 “The net- work delivery scanner func- tion”.
❒When a subject has been speci- fied, this information is added to the scan file.
❒The subjects that can be selected from the list must be registered in [System Settings] in advance. See Network Guide.
64