Delivering Scan Files
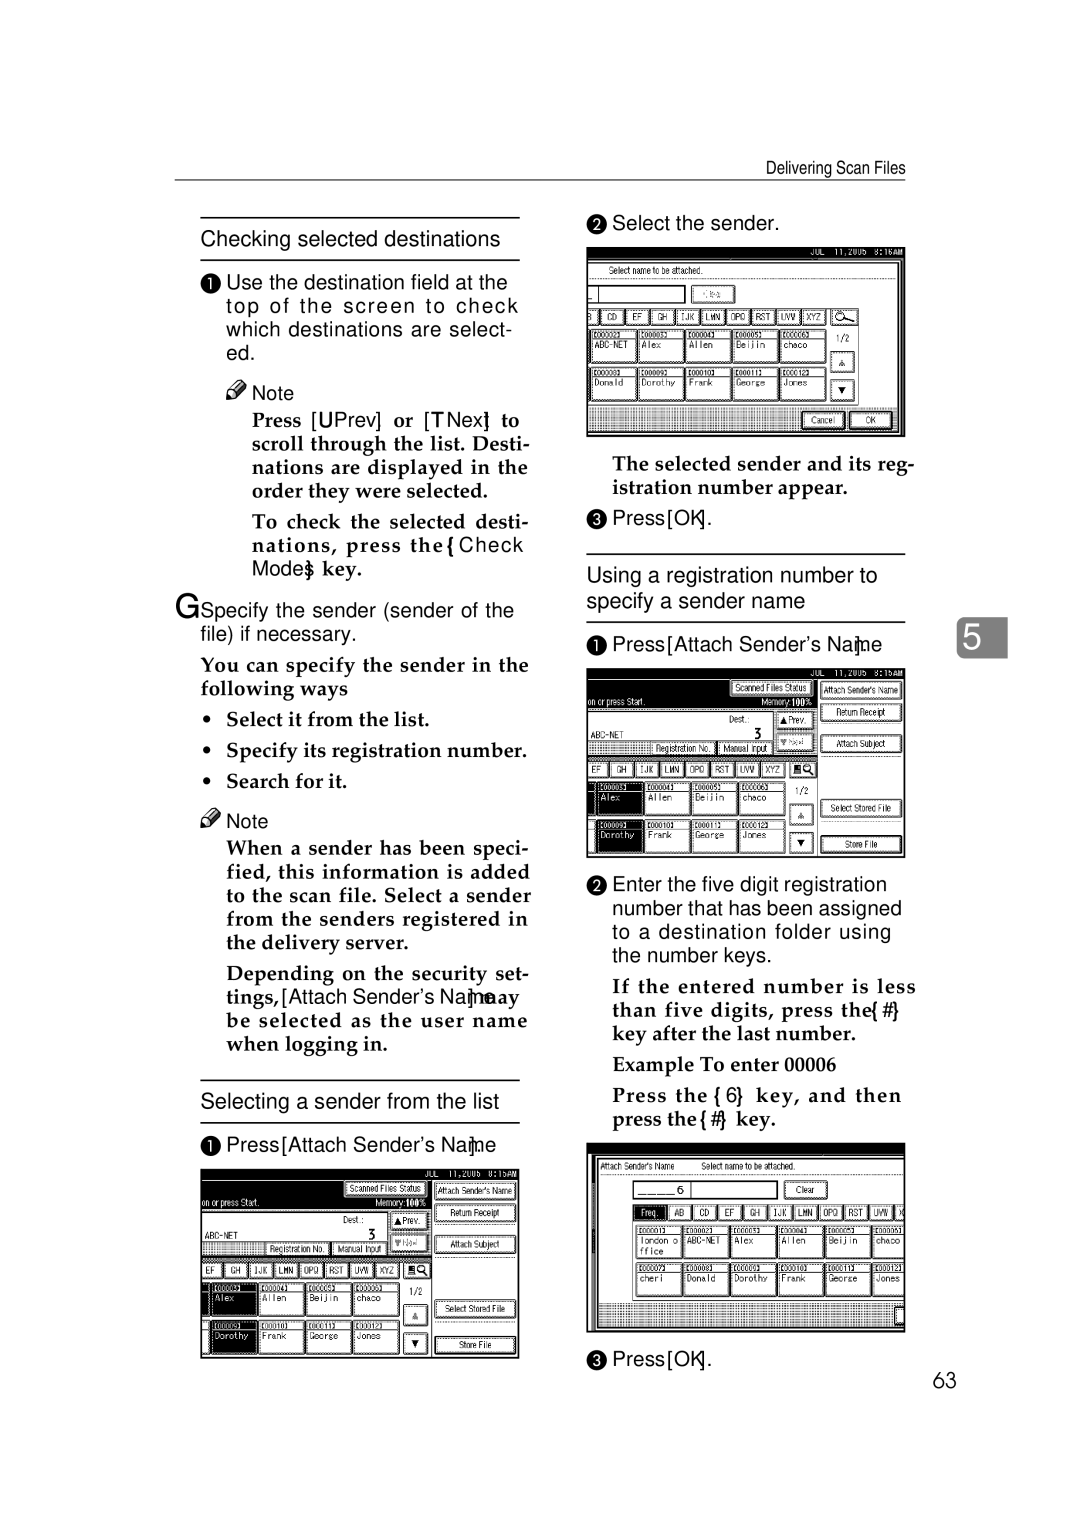
B Select the sender.
Checking selected destinations
A Use the destination field at the top of the screen to check which destinations are select- ed.
![]()
![]() Note
Note
❒Press [UPrev.] or [TNext] to scroll through the list. Desti- nations are displayed in the order they were selected.
❒To check the selected desti- nations, press the {Check Modes} key.
G Specify the sender (sender of the file) if necessary.
You can specify the sender in the following ways:
•Select it from the list.
•Specify its registration number.
•Search for it.
![]()
![]() Note
Note
❒When a sender has been speci- fied, this information is added to the scan file. Select a sender from the senders registered in the delivery server.
❒Depending on the security set- tings, [Attach Sender's Name] may be selected as the user name when logging in.
Selecting a sender from the list
APress [Attach Sender's Name].
The selected sender and its reg- istration number appear.
CPress [OK].
Using a registration number to specify a sender name
A Press [Attach Sender's Name]. |
| 5 |
|
|
|
|
|
|
B Enter the five digit registration number that has been assigned to a destination folder using the number keys.
If the entered number is less than five digits, press the {#} key after the last number.
Example: To enter 00006
Press the {6} key, and then press the {#} key.
CPress [OK].
63