Storing Files
Storage Procedure
You can scan and store files.
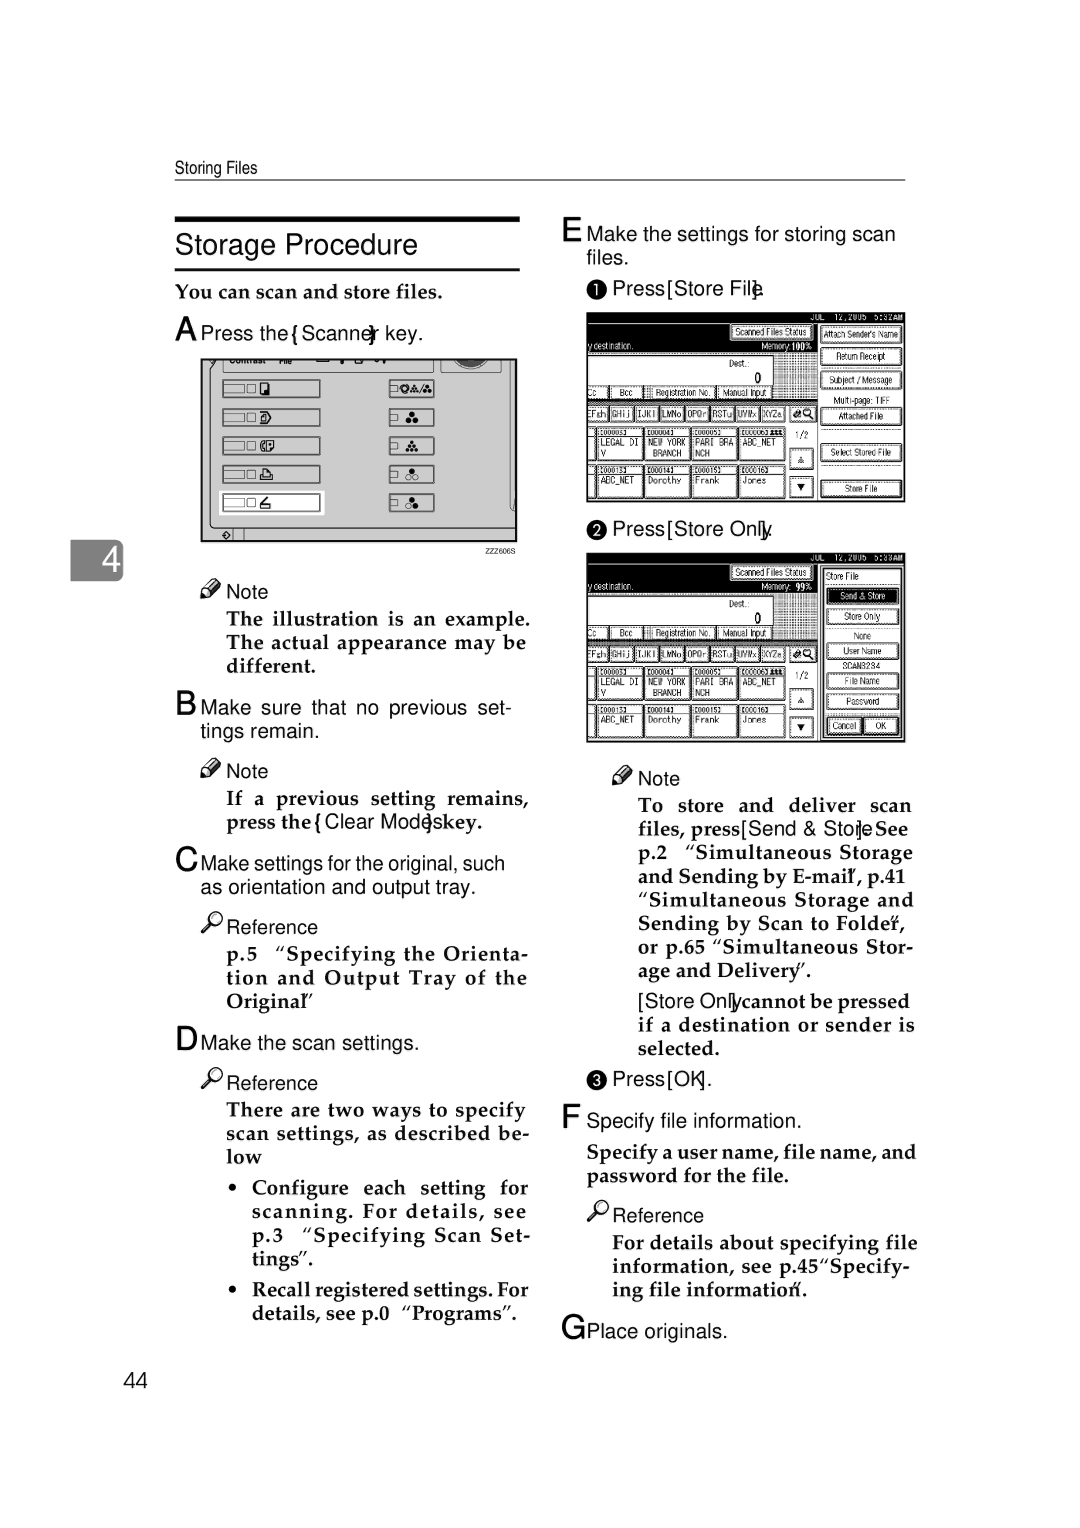
A Press the {Scanner} key.
4 | ZZZ606S |
|
![]()
![]() Note
Note
❒The illustration is an example. The actual appearance may be different.
B Make sure that no previous set- tings remain.
![]()
![]() Note
Note
❒If a previous setting remains, press the {Clear Modes} key.
C Make settings for the original, such as orientation and output tray.

 Reference
p.75 “Specifying the Orienta- tion and Output Tray of the Original”
D Make the scan settings.

 Reference
There are two ways to specify scan settings, as described be- low:
•Configure each setting for scanning. For details, see p.73 “Specifying Scan Set- tings”.
•Recall registered settings. For details, see p.80 “Programs”.
E Make the settings for storing scan files.
APress [Store File].
BPress [Store Only].
![]()
![]() Note
Note
❒To store and deliver scan files, press [Send & Store]. See p.28 “Simultaneous Storage and Sending by
❒[Store Only] cannot be pressed if a destination or sender is selected.
CPress [OK].
F Specify file information.
Specify a user name, file name, and password for the file.

 Reference
For details about specifying file information, see p.45 “Specify- ing file information”.
G Place originals.
44