Configuring/Registering Scan Settings
![]()
![]() Note
Note
❒The selected destination appears while scanning the originals.
E To scan additional originals, load them within the specified time.
Repeat this step until all originals are scanned.
![]()
![]() Note
Note
❒If you change settings while the machine is waiting for addition- al originals, the countdown stops. If you load an original, it is scanned, and the countdown for loading additional originals starts
F When scanning of all originals and the countdown are complet- ed, the machine automatically starts storing/sending the scanned data.
7![]()
![]() Note
Note
❒Alternately, you can press the {#} key to start storing/sending the scanned data.
When a Time Limit Is Not
Specified for Additional
Originals
A Specify scan settings, orientation and output tray for the original.

 Reference
p.73 “Specifying Scan Settings”
p.75 “Specifying the Orienta- tion and Output Tray of the Original”
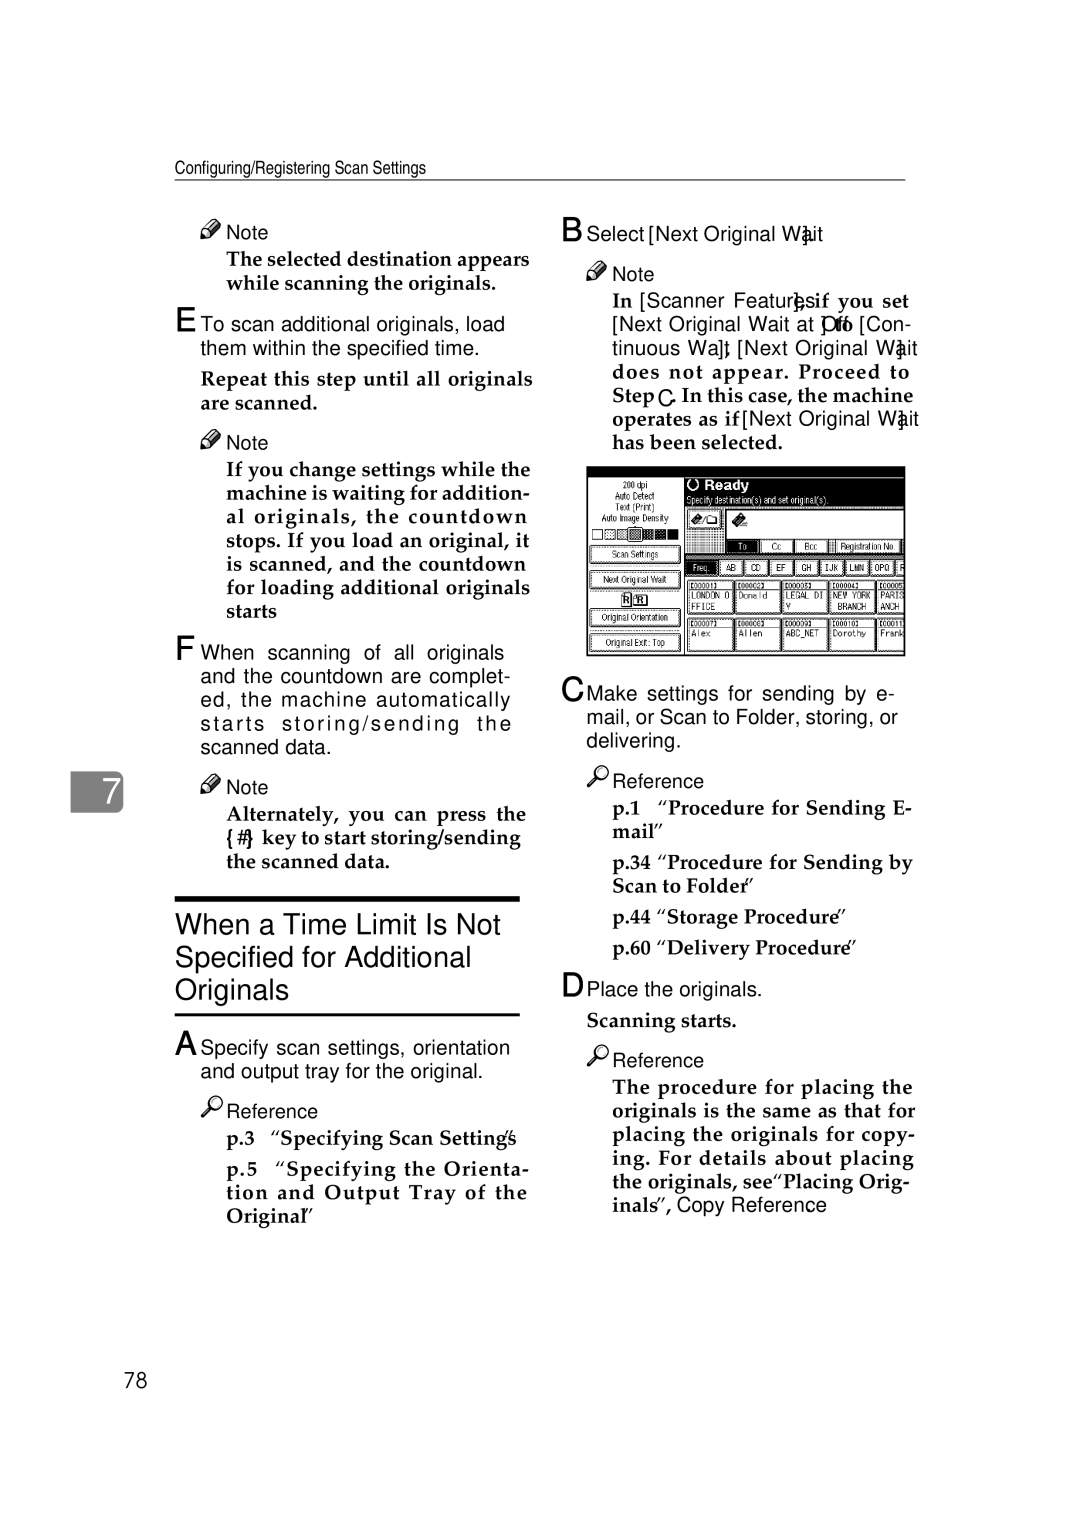
B Select [Next Original Wait].
![]()
![]() Note
Note
❒In [Scanner Features], if you set [Next Original Wait at Off] to [Con- tinuous Wait], [Next Original Wait] does not appear. Proceed to
Step C. In this case, the machine operates as if [Next Original Wait] has been selected.
C Make settings for sending by e- mail, or Scan to Folder, storing, or delivering.

 Reference
p.19 “Procedure for Sending E- mail”
p.34 “Procedure for Sending by Scan to Folder”
p.44 “Storage Procedure”
p.60 “Delivery Procedure”
D Place the originals.
Scanning starts.

 Reference
The procedure for placing the originals is the same as that for placing the originals for copy- ing. For details about placing the originals, see “Placing Orig- inals”, Copy Reference.
78
