Specifying the Orientation and Output Tray of the Original
Specifying the Orientation and Output Tray of the Original
To correctly orient a scanned image on the computer display, you must specify the orientation of the original. Also, specify the original's output tray.
For E-mail, Scan to Folder, and a Network Delivery Scanner
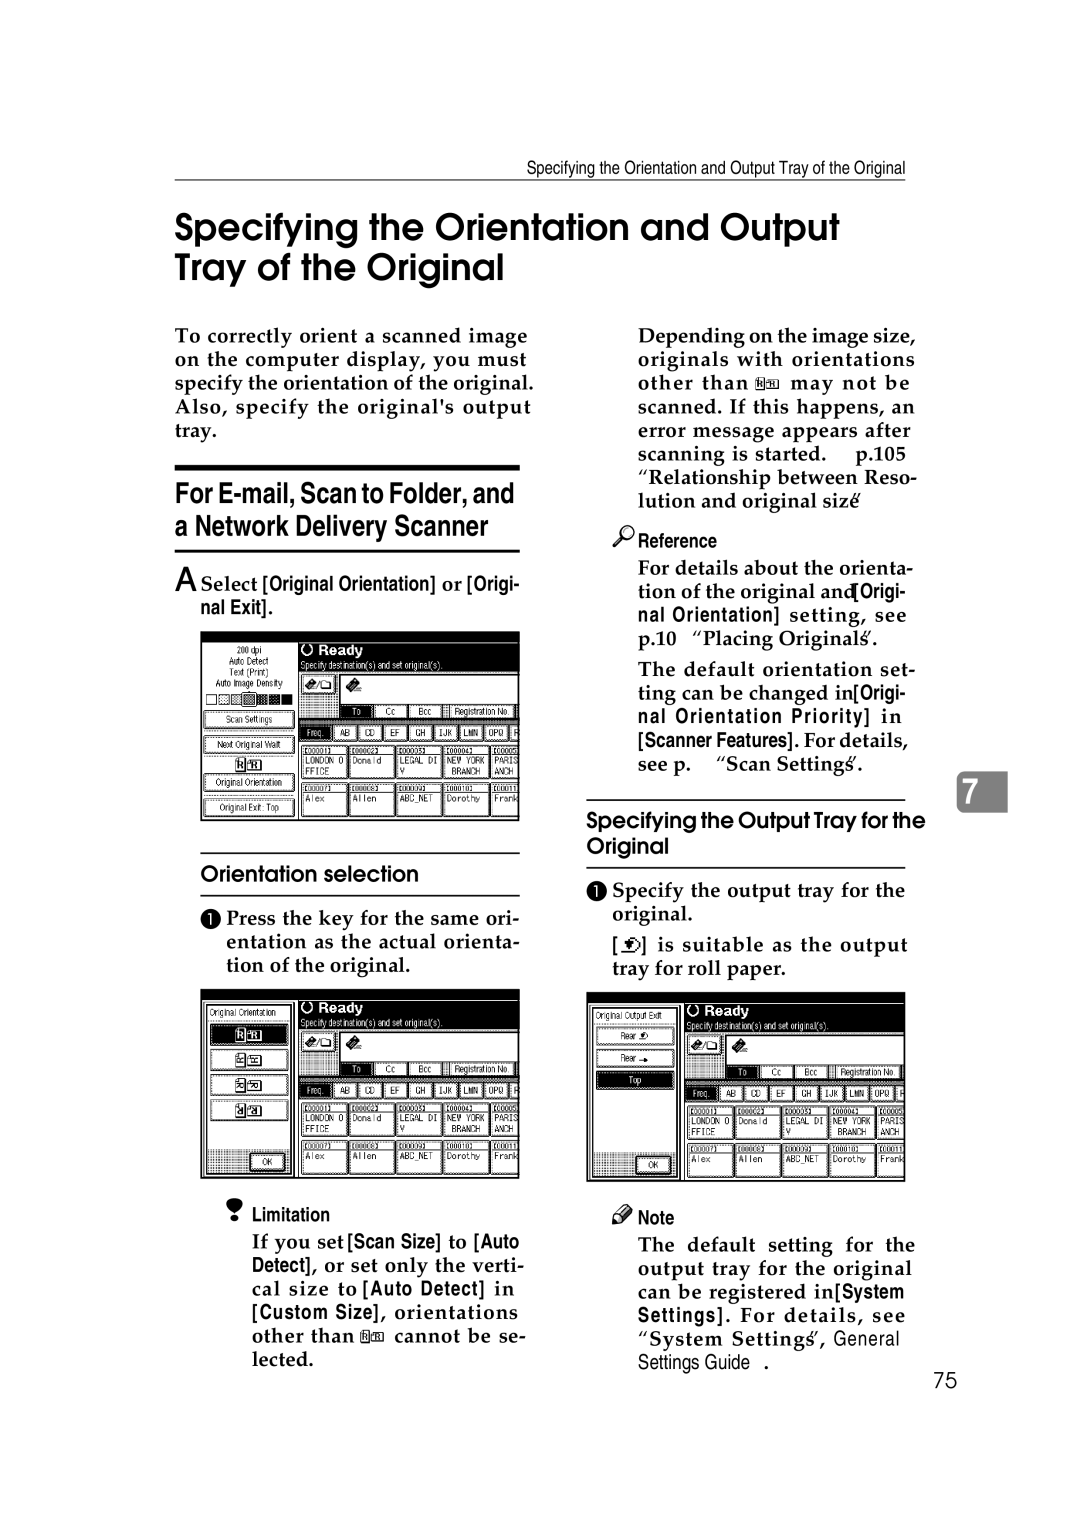
A Select [Original Orientation] or [Origi- nal Exit].
Orientation selection
A Press the key for the same ori- entation as the actual orienta- tion of the original.
❒Depending on the image size, originals with orientations other than ![]() may not be scanned. If this happens, an
may not be scanned. If this happens, an
error message appears after scanning is started. ⇒ p.105 “Relationship between Reso- lution and original size”

 Reference
For details about the orienta- tion of the original and [Origi- nal Orientation] setting, see p.109 “Placing Originals”.
The default orientation set- ting can be changed in [Origi- nal Orientation Priority] in [Scanner Features]. For details, see p.98 “Scan Settings”.
7
Specifying the Output Tray for the Original
A Specify the output tray for the original.
[![]() ] is suitable as the output tray for roll paper.
] is suitable as the output tray for roll paper.
Limitation | Note |
❒If you set [Scan Size] to [Auto Detect], or set only the verti- cal size to [Auto Detect] in [Custom Size], orientations other than ![]() cannot be se- lected.
cannot be se- lected.
❒The default setting for the output tray for the original can be registered in [System Settings]. For details, see “System Settings”, General Settings Guide.
75