CHAPTER 3
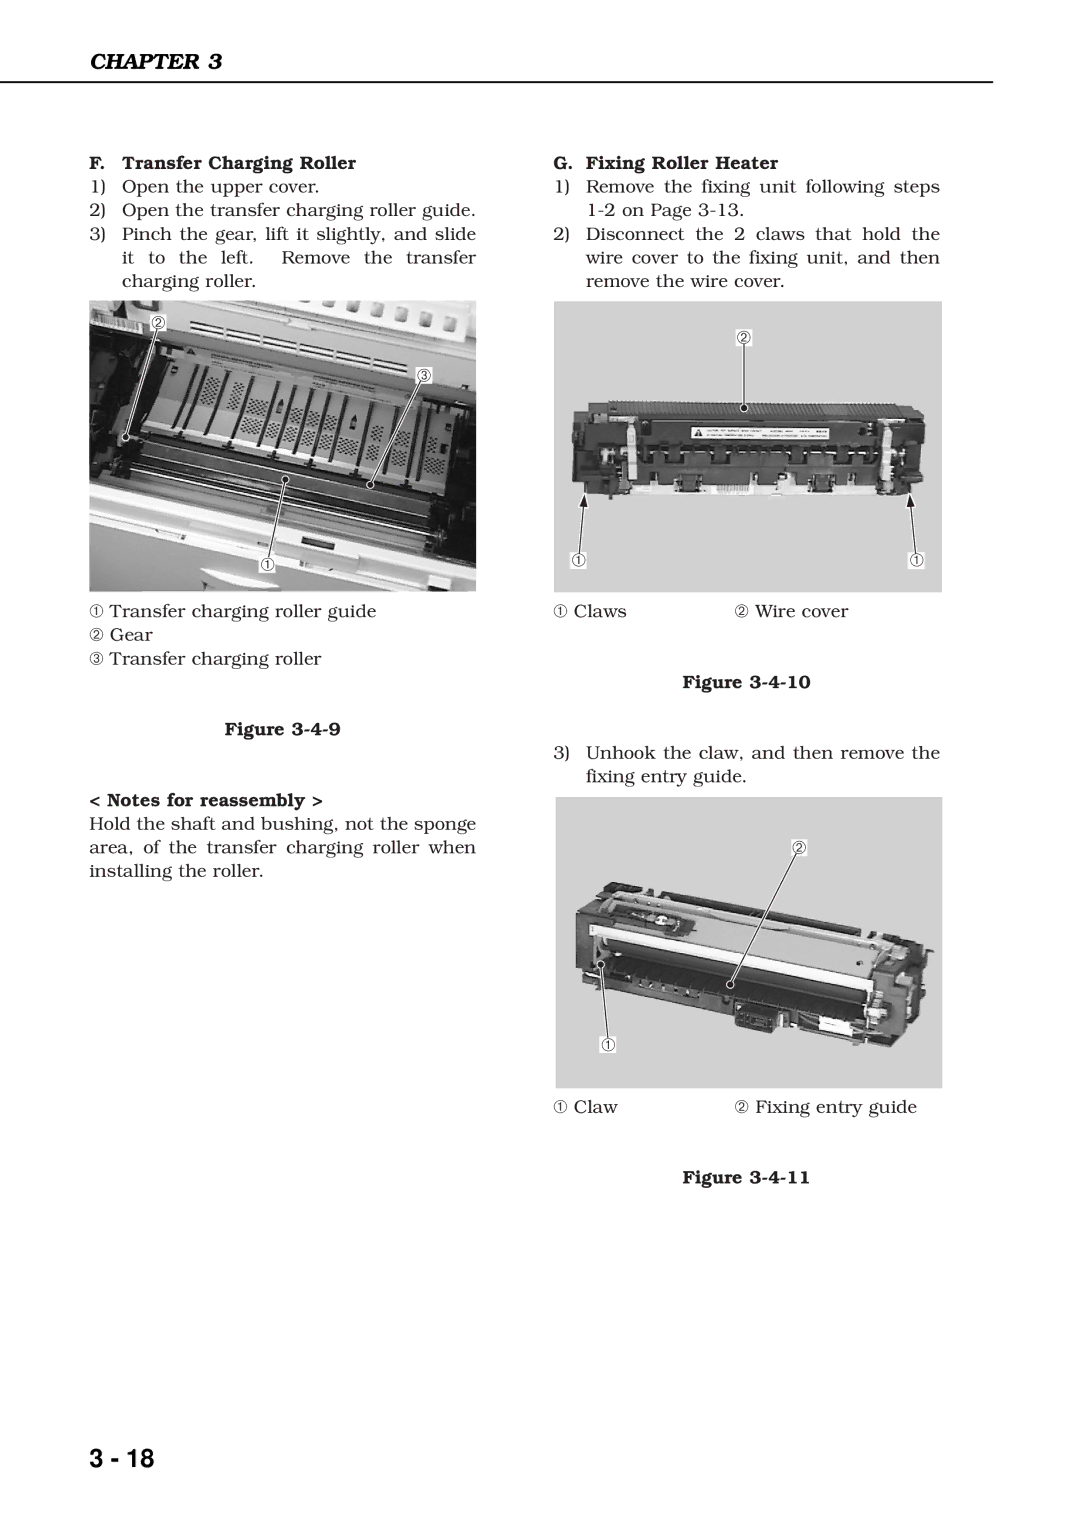
F. Transfer Charging Roller
1)Open the upper cover.
2)Open the transfer charging roller guide.
3)Pinch the gear, lift it slightly, and slide it to the left. Remove the transfer charging roller.
➁
➂
➀
➀Transfer charging roller guide
➁ Gear
➂ Transfer charging roller
Figure
< Notes for reassembly >
Hold the shaft and bushing, not the sponge area, of the transfer charging roller when installing the roller.
G. Fixing Roller Heater
1)Remove the fixing unit following steps
2)Disconnect the 2 claws that hold the wire cover to the fixing unit, and then remove the wire cover.
➁
| ➀ |
| ➀ |
➀ Claws | ➁ Wire cover | ||
|
|
| Figure |
3)Unhook the claw, and then remove the fixing entry guide.
➁
➀
➀ Claw | ➁ Fixing entry guide |
Figure
3 - 18
