CHAPTER 3
B. Thermoswitch
1)Remove the fixing unit following steps
2)Remove the wire cover.
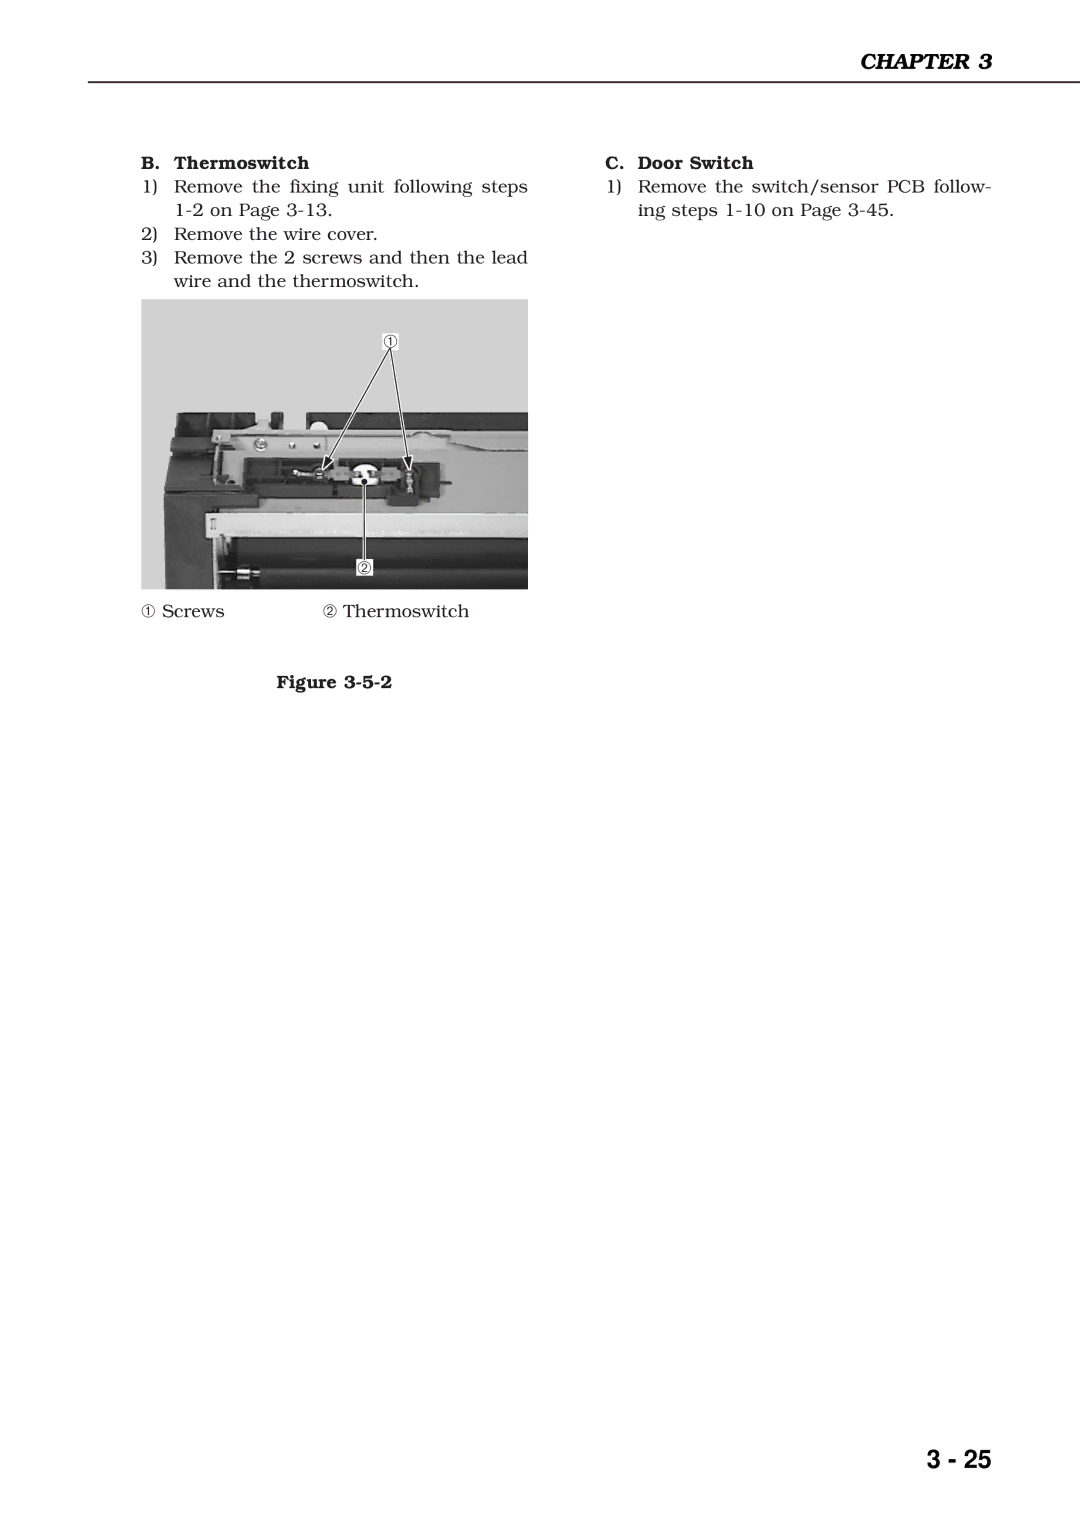
3)Remove the 2 screws and then the lead wire and the thermoswitch.
➀
➁
➀ Screws | ➁ Thermoswitch |
Figure
C. Door Switch
1)Remove the switch/sensor PCB follow- ing steps 1-10 on Page 3-45.
3 - 25
