CHAPTER 3
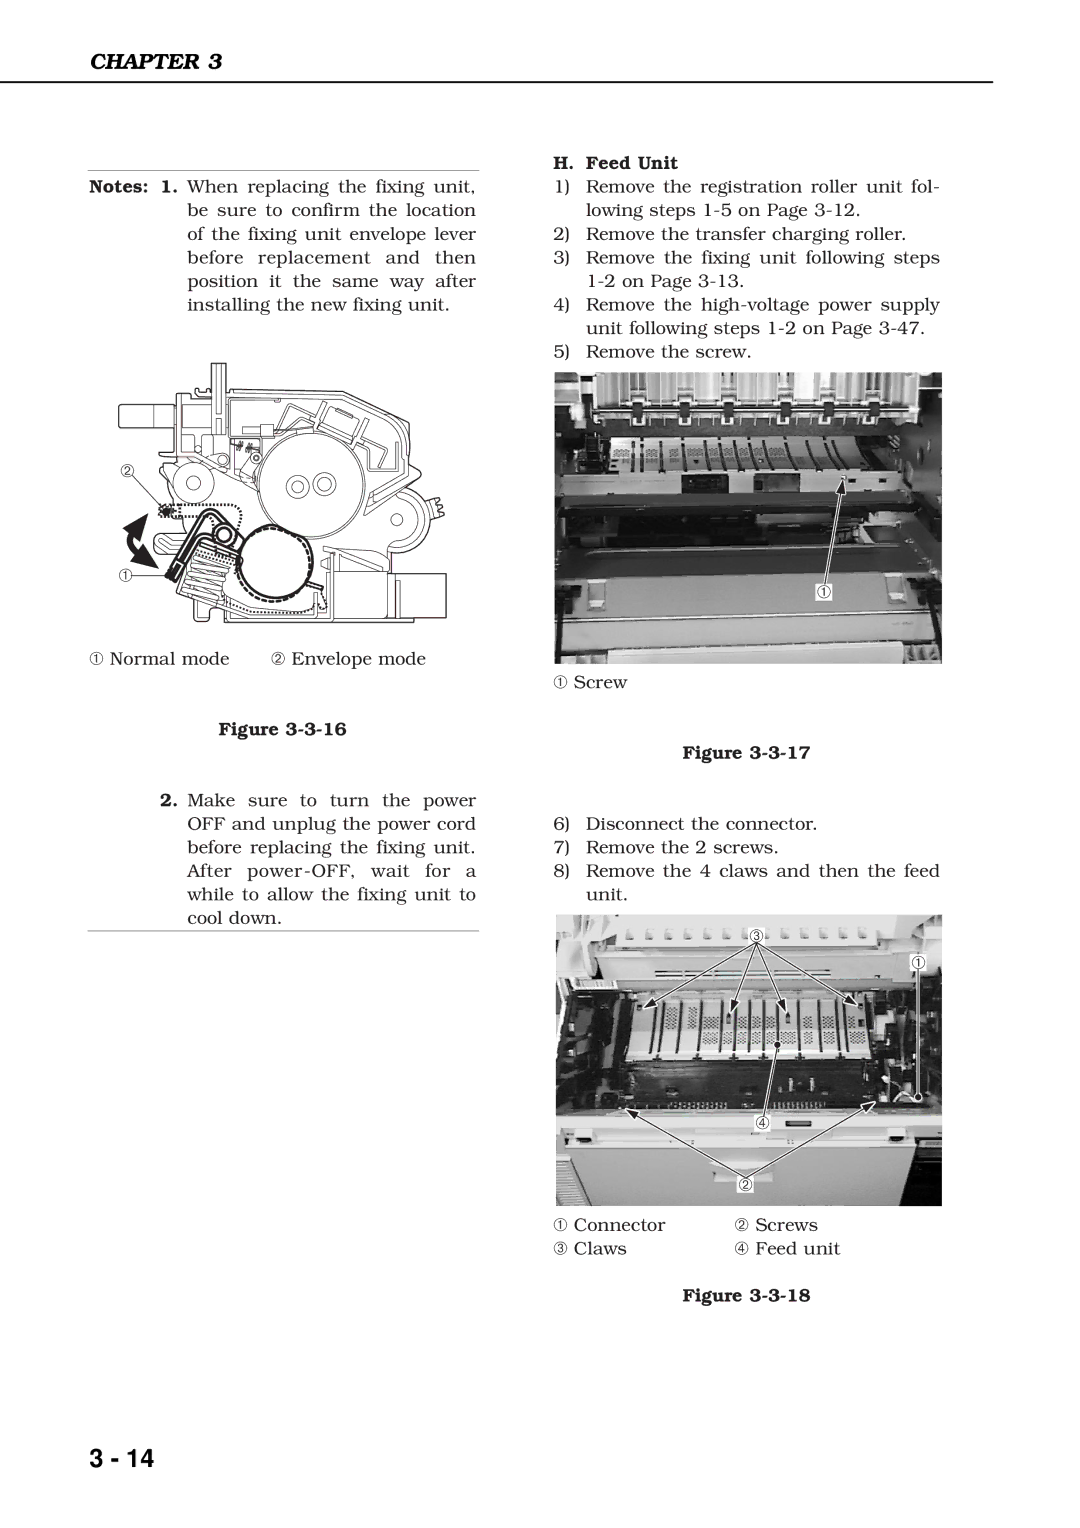
Notes: 1. When replacing the fixing unit, be sure to confirm the location of the fixing unit envelope lever before replacement and then position it the same way after installing the new fixing unit.
➁
➀
➀ Normal mode | ➁ Envelope mode |
Figure
2.Make sure to turn the power OFF and unplug the power cord before replacing the fixing unit. After
H. Feed Unit
1)Remove the registration roller unit fol- lowing steps
2)Remove the transfer charging roller.
3)Remove the fixing unit following steps
4)Remove the
5)Remove the screw.
➀
➀Screw
Figure
6)Disconnect the connector.
7)Remove the 2 screws.
8)Remove the 4 claws and then the feed unit.
➂
➀
| ➃ |
| ➁ |
➀ Connector | ➁ Screws |
➂ Claws | ➃ Feed unit |
| Figure |
3 - 14