Chapter 4. Installation and Configuration
Note: Review the information in ″Installation Planning″ before installing your library.
To install a desktop or rack mounted 2U library or 4U library, perform the procedures in this chapter in the order they are presented.
Installing Your Library
Complete these procedures to install your library hardware.
1.“Using the Library Configuration Form.”
2.“Choosing a Location.”
3.“Unpacking the Library” on page
4.“Verifying the Shipment” on page
5.“Installing the Library Foot Pads (for Desktop Installation ONLY)” on page
6.“Removing and Storing the Shipping Lock” on page
7.“Rackmounting the Library (for Rack Installation ONLY)” on page
8.“Connecting the Host Interface Cable” on page
9.“Connecting a Power Cord” on page
Using the Library Configuration Form
Before beginning the installation and configuration of your library, make a copy of the Appendix F, “Library Configuration Form,” on page
Choosing a Location
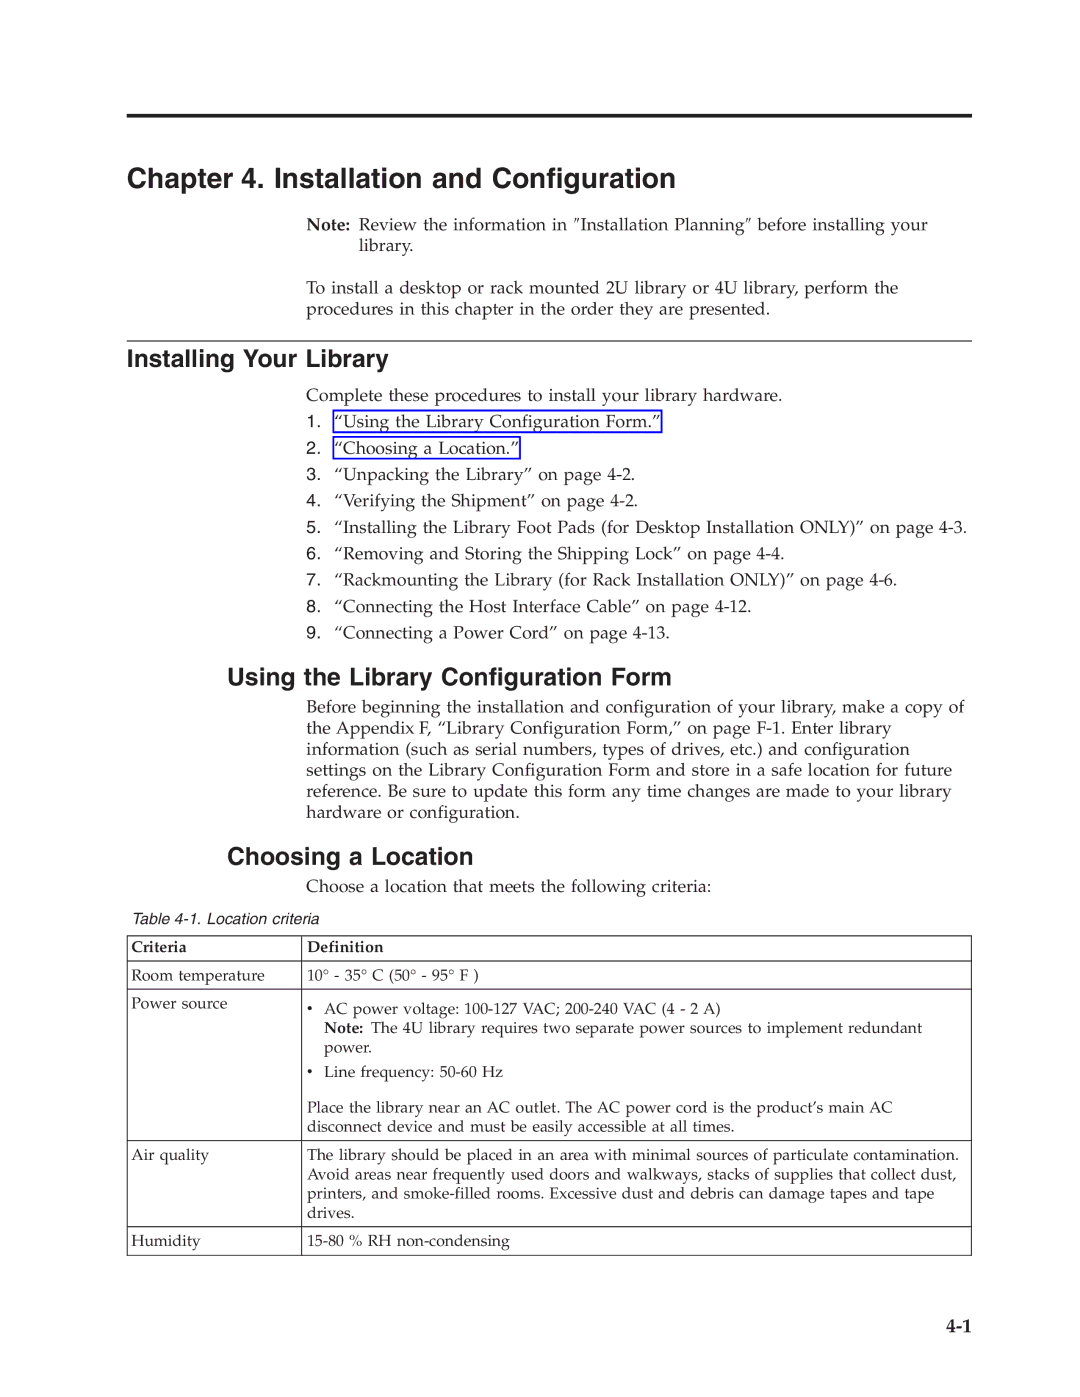
Choose a location that meets the following criteria:
Table
Criteria | Definition |
|
|
Room temperature | 10° - 35° C (50° - 95° F ) |
|
|
Power source | v AC power voltage: |
| Note: The 4U library requires two separate power sources to implement redundant |
| power. |
| v Line frequency: |
| Place the library near an AC outlet. The AC power cord is the product’s main AC |
| disconnect device and must be easily accessible at all times. |
|
|
Air quality | The library should be placed in an area with minimal sources of particulate contamination. |
| Avoid areas near frequently used doors and walkways, stacks of supplies that collect dust, |
| printers, and |
| drives. |
|
|
Humidity | |
|
|