Complete Hardware Guide for EX3200 and EX4200 Ethernet Switches
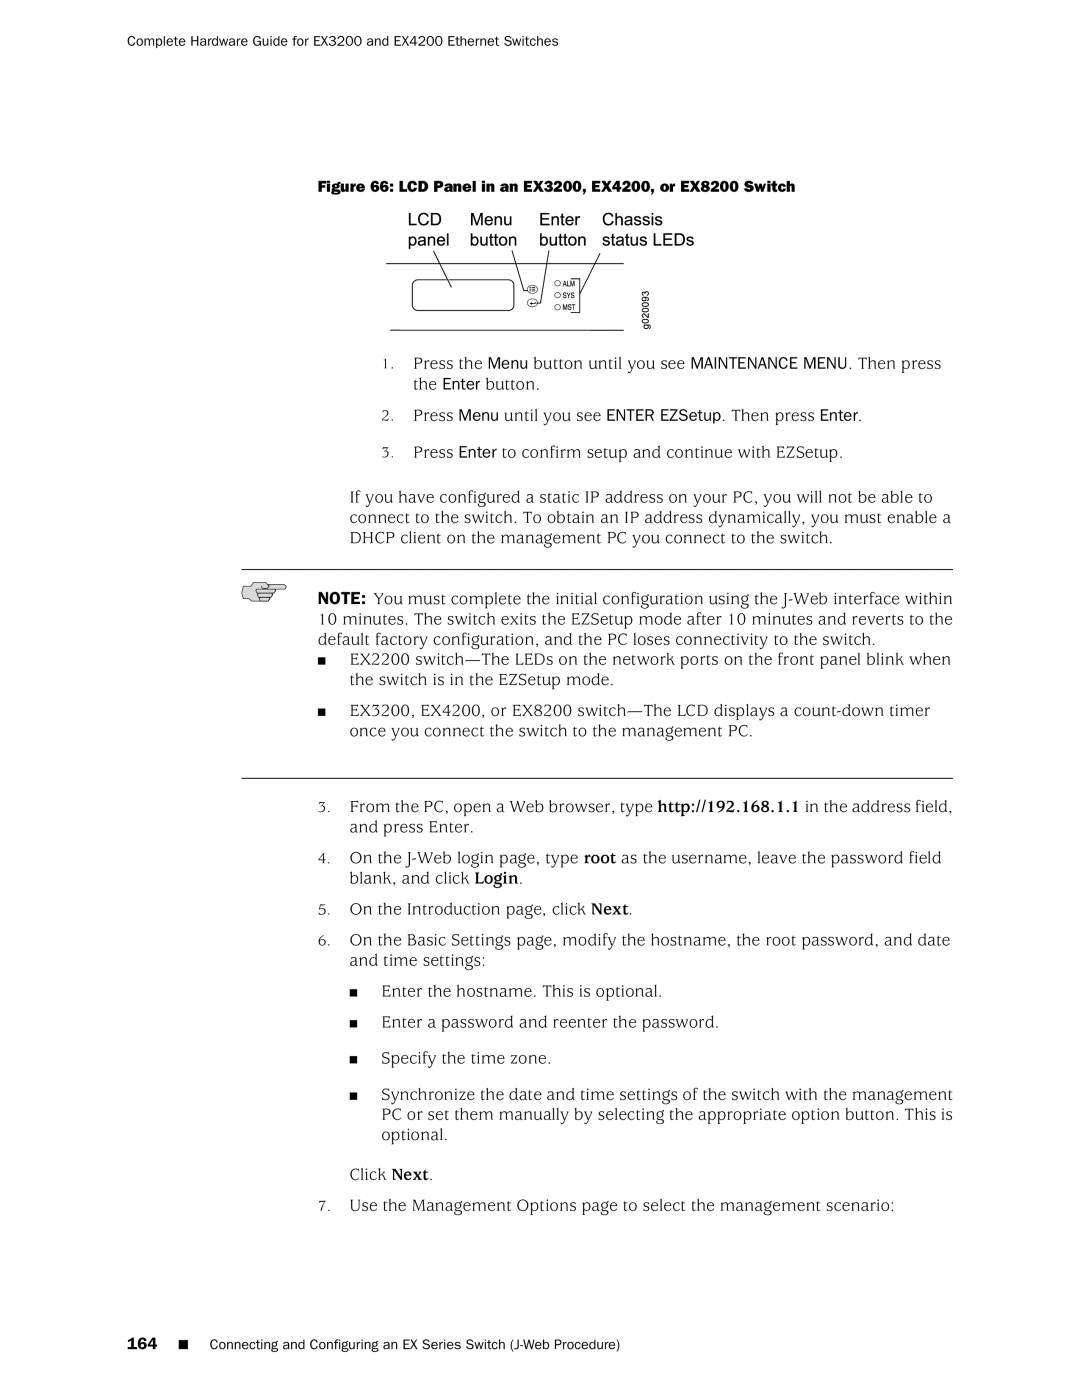
Figure 66: LCD Panel in an EX3200, EX4200, or EX8200 Switch
1.Press the Menu button until you see MAINTENANCE MENU. Then press the Enter button.
2.Press Menu until you see ENTER EZSetup. Then press Enter.
3.Press Enter to confirm setup and continue with EZSetup.
If you have configured a static IP address on your PC, you will not be able to connect to the switch. To obtain an IP address dynamically, you must enable a DHCP client on the management PC you connect to the switch.
NOTE: You must complete the initial configuration using the
■EX2200
■EX3200, EX4200, or EX8200
3.From the PC, open a Web browser, type http://192.168.1.1 in the address field, and press Enter.
4.On the
5.On the Introduction page, click Next.
6.On the Basic Settings page, modify the hostname, the root password, and date and time settings:
■Enter the hostname. This is optional.
■Enter a password and reenter the password.
■Specify the time zone.
■Synchronize the date and time settings of the switch with the management PC or set them manually by selecting the appropriate option button. This is optional.
Click Next.
7.Use the Management Options page to select the management scenario:
164■ Connecting and Configuring an EX Series Switch