Section 4 Other Features of this Fax
3.Touch the “Subadd.” key.
4.Touch the “On” key.
(Inch)
(Metric)
5.Use the keypad to enter the appropriate subaddress.
*This subaddress is required during an
*You can use the “r” and/or “R” keys to move the cursor to a desired location, and you can clear the entered number by touching the “Delete” key.
6.Touch the “Password” key.
7.If necessary, use the keypad to enter the predetermined
*The password can be up to 20 digits in length and can include any combination of the numerals 0 - 9 and the symbols “*” and “#”.
*This password is not required if you agree in advance with the destination party not to use one.
8.Touch the “Close” key.
The message display will return to the same screen as was displayed in step 2. You can now change any transmission settings that you want or set the time for the transmission to begin.
9. Press the Start key. The transmission operation will begin.
(4) Printing Out an F-Code Relay Box List
Print out this list in order to check the information registered for each
*If there are no
*If you want to cancel the procedure part way through, press the Reset key. The touch panel will return to the initial mode settings.
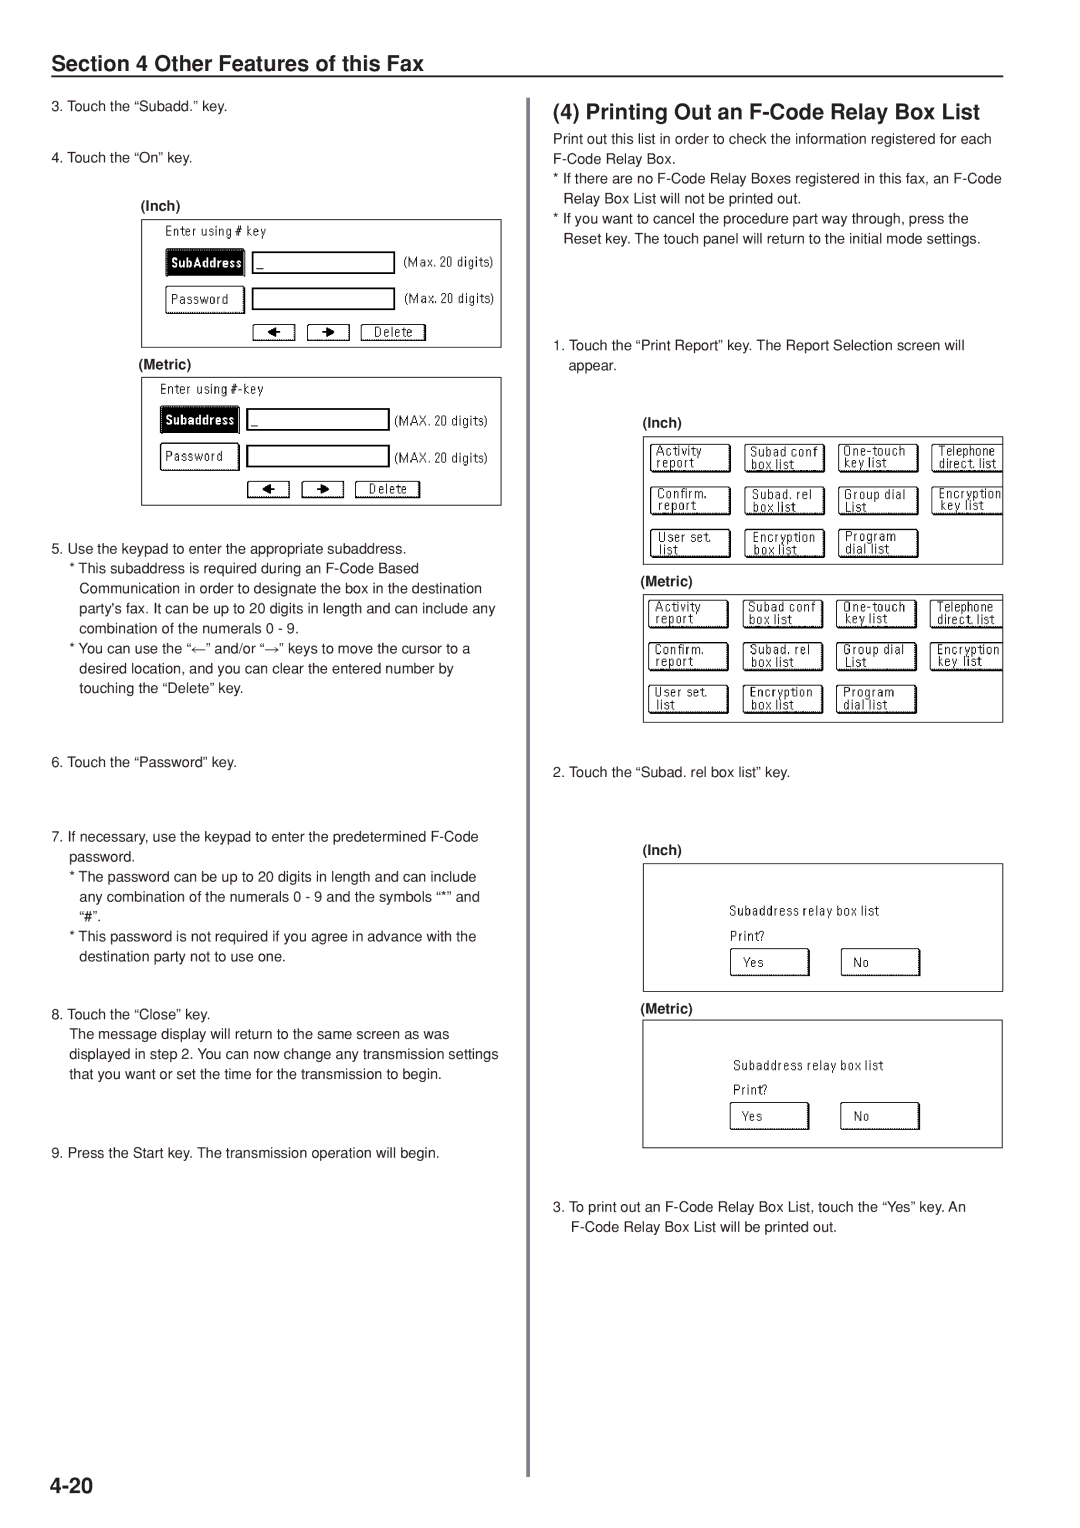
1.Touch the “Print Report” key. The Report Selection screen will appear.
(Inch)
(Metric)
2.Touch the “Subad. rel box list” key.
(Inch)
(Metric)
3.To print out an