Section 8 Network FAX Settings (Option)
Network FAX Registration
Register the following items when you want to use the Network FAX functions.
•File name (Transmission/Reception)...For registering the default file name when documents which have been transmitted or received using the Network FAX functions are saved in the designated folder.
•IP address / Host name...For registering the IP address or host name of the server computer in which documents which have been received using the Network FAX functions are saved. In this case, the Scanner File Utility needs to be installed.
•Administrator's
*If no information is entered here, the Activity Report and Power Failure Report will be printed out at the FAX machine.
•Save Folder Number...For registering the number of the folder in which documents which have been transmitted or received using the Network FAX functions will be saved.
*The folder in which the documents will be saved is set in the Scanner File Utility.
*If you want to cancel the procedure part way through, press the Reset key. The touch panel will return to the initial mode settings.
Touch the “Register” [“Registration”] key. The Registration
1 Select screen will appear.
(Inch)
(Metric)
Touch the “Network FAX” key. If the Network FAX registration
2 procedure has already been performed, the registered information will be displayed.
(Inch)
(Metric)
*If you want to register the file name, go to step 3.
If you want to register the IP address or host name, go to step 7. If you want to register the administrator's
If you want to register the save folder number, go to step 13.
●Registering the file name (factory default setting: “RX” and “TX”)
3 Touch the “File name” key.
If you want to register the file name for received FAXes, touch
4 the “NetworkFAX Rx.”
*The procedure to register the name is the same for both received FAXes and transmitted FAXes.
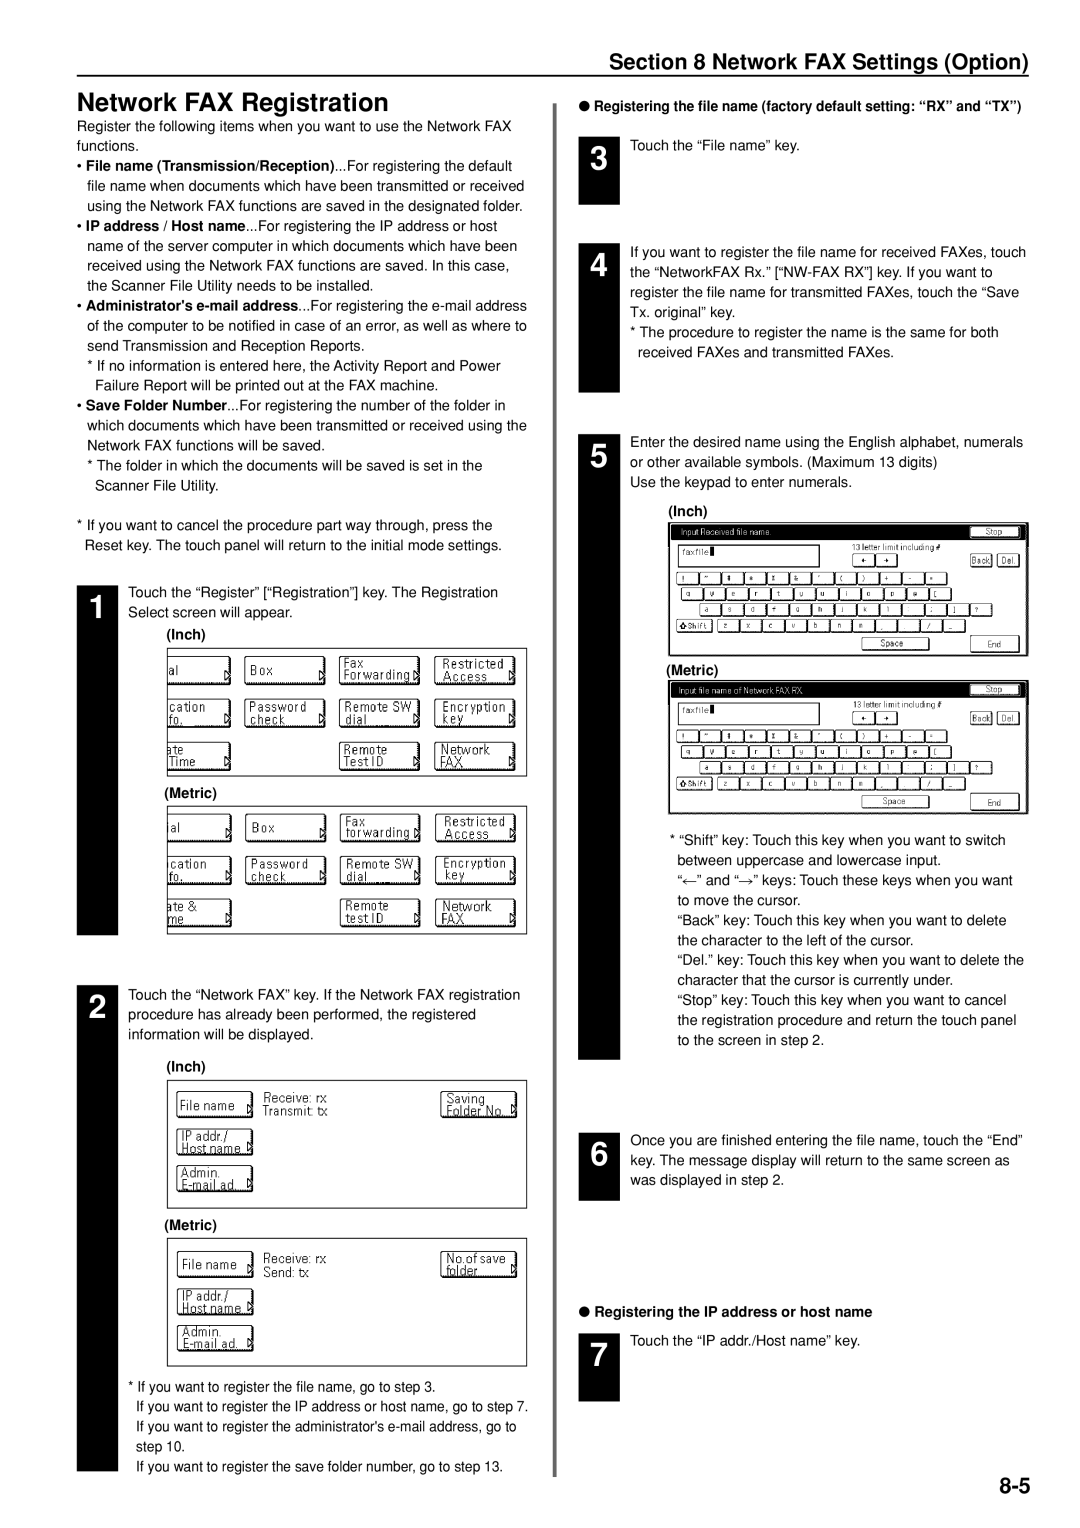
Enter the desired name using the English alphabet, numerals
5 or other available symbols. (Maximum 13 digits) Use the keypad to enter numerals.
(Inch)
(Metric)
*“Shift” key: Touch this key when you want to switch between uppercase and lowercase input.
“r” and “R” keys: Touch these keys when you want to move the cursor.
“Back” key: Touch this key when you want to delete the character to the left of the cursor.
“Del.” key: Touch this key when you want to delete the character that the cursor is currently under.
“Stop” key: Touch this key when you want to cancel the registration procedure and return the touch panel to the screen in step 2.
Once you are finished entering the file name, touch the “End”
6 key. The message display will return to the same screen as was displayed in step 2.
●Registering the IP address or host name
7 Touch the “IP addr./Host name” key.